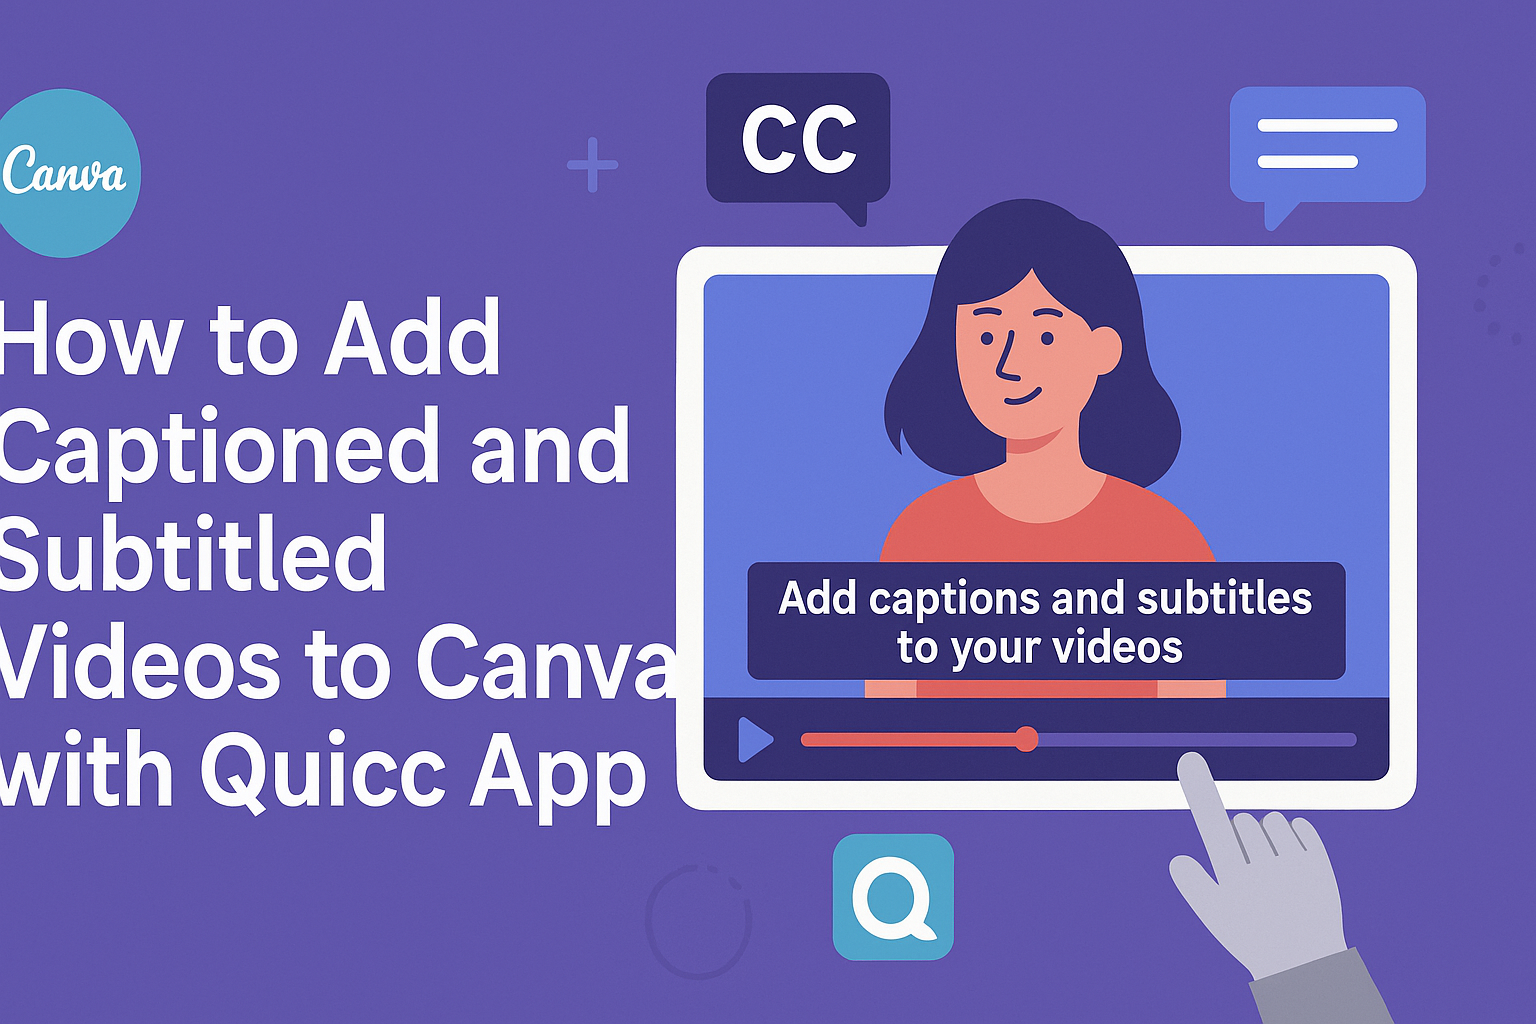
Adding captions and subtitles to videos can significantly enhance engagement and accessibility. With the Quicc app, users can easily create professional-looking captioned videos in Canva.
This guide will explore the simple steps to upload a video, generate accurate subtitles, and customize them to fit personal branding.
Quicc streamlines the captioning process, making it straightforward for anyone to create inclusive content. Users can upload their videos, and the app takes care of transcription and format, allowing for quick edits.
Whether it’s for promotional content or educational videos, having clear captions makes a difference.
By incorporating captioned videos, creators can reach a wider audience and improve viewer experience. This blog post will share practical tips on using Quicc within Canva to produce captivating videos that stand out.
Getting Started with Quicc and Canva
To effectively add captions and subtitles to videos, one first needs to set up a Quicc account and then integrate it with Canva. This process is straightforward and enables users to enhance their video content easily.
Creating a Quicc Account
To start using Quicc, the first step is to create an account. They can visit the Quicc website and click on the “Sign Up” button.
After entering their email address and creating a password, users should check their email for a verification link.
Once verified, they can log in and complete their profile. It’s important to provide accurate information to ensure seamless service.
After signing in, users may need to select a subscription plan that fits their needs. Quicc offers various options depending on video needs and frequency of use.
Integrating Quicc with Canva
After setting up the Quicc account, the next step is integrating it with Canva.
Users will need to log in to their Canva account. In the Canva interface, they can search for the Quicc app in the “Apps” section.
By following the provided instructions, users can connect Quicc to their Canva account. This integration allows them to easily access Quicc’s tools while working on their videos in Canva.
Once connected, they can start using Quicc to add captions and subtitles directly to their video projects.
Preparing Your Video for Captions
Before adding captions or subtitles, it’s important to ensure the video is well-prepared. This includes editing the video for clarity and then exporting it correctly to use with the Quicc app.
Editing Your Video in Canva
Canva offers various tools for video editing.
First, users should open their video project and check for any necessary adjustments. This may include trimming excess footage or rearranging clips for better flow.
Next, adding text overlays can help emphasize key points in the video.
To edit, simply select the video clip, then use the editing toolbar to make adjustments.
Finally, it’s essential to use clear visuals and an easily readable font. This way, when captions appear, they will enhance the viewer’s understanding rather than distract from it.
Exporting Your Video for Captioning
Once the video is edited, it is time to export it.
Users should click on the “Download” button in the top right corner of the editor. Select the video format, such as MP4, for the best compatibility with Quicc.
Before finalizing the export, check the resolution settings. Higher resolutions offer better clarity for captions.
After exporting, the video will be ready for upload to the Quicc app for automatic caption generation. Following these steps will ensure a smoother captioning process.
Using Quicc to Add Captions and Subtitles
Quicc makes it easy to add captions and subtitles to videos, enhancing accessibility and engagement. This process involves a few simple steps, from uploading the video to editing the captions and finalizing the download.
Uploading Your Video to Quicc
First, the user needs to upload their video to Quicc. This can be done directly from their computer or mobile device. Quicc supports various video formats, making this step user-friendly.
To upload, the user clicks the “Upload” button and selects the desired video file. It may take a moment for the video to process, depending on its size.
Once uploaded, the user sees a preview of their video, ensuring everything looks right before proceeding.
Selecting Caption Language and Style
After uploading, the next step is to select the language for the captions. Quicc supports multiple languages, allowing users to reach a broader audience.
The user can also choose the caption style, which includes font, color, and size. Customizing these options helps align the captions with personal or brand preferences. A clear and readable style makes it easier for viewers to follow along.
Reviewing and Editing Captions
Once Quicc generates the captions, the user should review them for accuracy. Quicc provides a simple interface where the user can see the transcribed text against the video.
If there are mistakes, the user can edit individual captions. This step is vital to ensure clarity and correct messaging.
Users can also adjust the timing of each caption, ensuring they match the video perfectly.
Downloading the Captioned Video
After editing, the final step is downloading the captioned video. Quicc makes this easy with a straightforward download button.
The user can choose the video quality as well, depending on how they plan to use it. Once clicked, Quicc prepares the video with captions, and the user can save it to their device. With just a few steps, the user now has a polished video ready for sharing.
Importing and Finalizing Your Video in Canva
In this section, the process of bringing your captioned video into Canva is detailed. It includes steps for uploading, making adjustments to the design, and finally sharing or exporting the finished product.
Uploading the Captioned Video to Canva
First, open Canva and choose the video format that suits your project. You can either select a blank project or use an existing template.
Next, click on the “Uploads” tab located on the left sidebar.
To add your captioned video, simply drag the file from your computer or click the “Upload media” button. Supported formats typically include MP4, MOV, and more.
After the upload is complete, you can find the video in your uploads and click on it to add it to the design.
Design Adjustments for Captioned Video
Once the video is in place, it is time for some design tweaks.
You can resize the video by clicking and dragging its corners. This makes it easy to fit into different project layouts.
More importantly, you may want to adjust the position of the captions. By selecting the video, you can see options for setting the alignment and font style.
If you wish, you can add other design elements like shapes or text overlays to enhance the overall look.
Using the “Elements” and “Text” tabs, you can easily add extra features. It is important to ensure that captions are easy to read against the video background.
Sharing or Exporting Your Final Video
After finalizing the design, it’s time to share or export the video. He should click on the “Share” button usually found in the upper right corner. This opens options for downloading and sharing directly to social platforms.
For exporting, selecting the correct format is crucial. He can choose MP4 for video files. After selecting the desired quality, he clicks “Download” to save the file.
His captioned video can now be shared online with engaging visuals. Through Canva, the process remains simple and user-friendly.