Creating eye-catching designs can greatly enhance any project. One popular effect is the folded text look, which adds depth and interest to graphics.
With Canva, anyone can learn how to make a folded text effect easily and efficiently.
Canva offers simple tools that make this effect accessible, even for beginners. By following a few straightforward steps, users can transform regular text into a stylish and engaging visual element.
This technique is perfect for posters, social media graphics, and more.
Getting Started with Canva
Canva is an intuitive design tool that makes creating stunning visuals easy. Setting up an account and exploring its features is the first step for anyone looking to design with folded text effects and more.
Overview of Canva’s Features
Canva offers a variety of features that cater to different design needs. Users can choose from a wide selection of templates, including social media posts, flyers, and presentations.
Key features include:
- Drag-and-Drop Interface: This makes it simple to add images, text, and elements.
- Text Effects: A range of effects enhances text, making designs pop.
- Design Elements: Users can access photos, illustrations, and shapes to enrich their projects.
- Collaboration Tools: Canva allows users to work together by inviting others to edit.
These features make Canva a versatile tool for beginners and experienced designers alike.
Setting Up Your Canva Account
To get started with Canva, users first need to set up an account. This can be done easily by visiting the Canva website.
Users can sign up using:
- Email Address: Enter an email and create a password.
- Google Account: This option makes signing in convenient.
- Facebook Account: For users who prefer social media logins.
Once signed up, users will have access to the dashboard. Here, they can explore templates or start a new design.
Navigating the dashboard is straightforward. Users can find options for creating designs, accessing saved projects, and exploring features efficiently.
Creating Your First Design
Starting a new design in Canva involves selecting the right template and understanding the design interface. These steps can make a big difference in creating a folded text effect that pops.
Choosing the Right Template
When beginning a design, picking a template can set the stage. Canva offers a wide variety of templates tailored for different uses like social media posts, flyers, and presentations.
To find the perfect template, he or she should explore the “Templates” tab on the left side of the screen. Using specific keywords like “folded” or “text” helps narrow the choices.
Once he or she finds a template they like, they can click it to open. This will create a new design workspace, making it easy to customize and add that unique folded text effect.
Navigating the Design Interface
Understanding the design interface is crucial for a smooth experience. The main area displays the design itself, while the left sidebar shows options for elements, text, and uploads.
At the top, there are tools for editing the design, including color adjustments and text sizing. He or she can easily drag and drop elements from the sidebar to the main canvas.
For creating a folded text effect, it’s essential to explore the “Effects” button under the text options. This lets them see different styles and select the ones that best fit their vision.
Mastering the Folded Text Effect
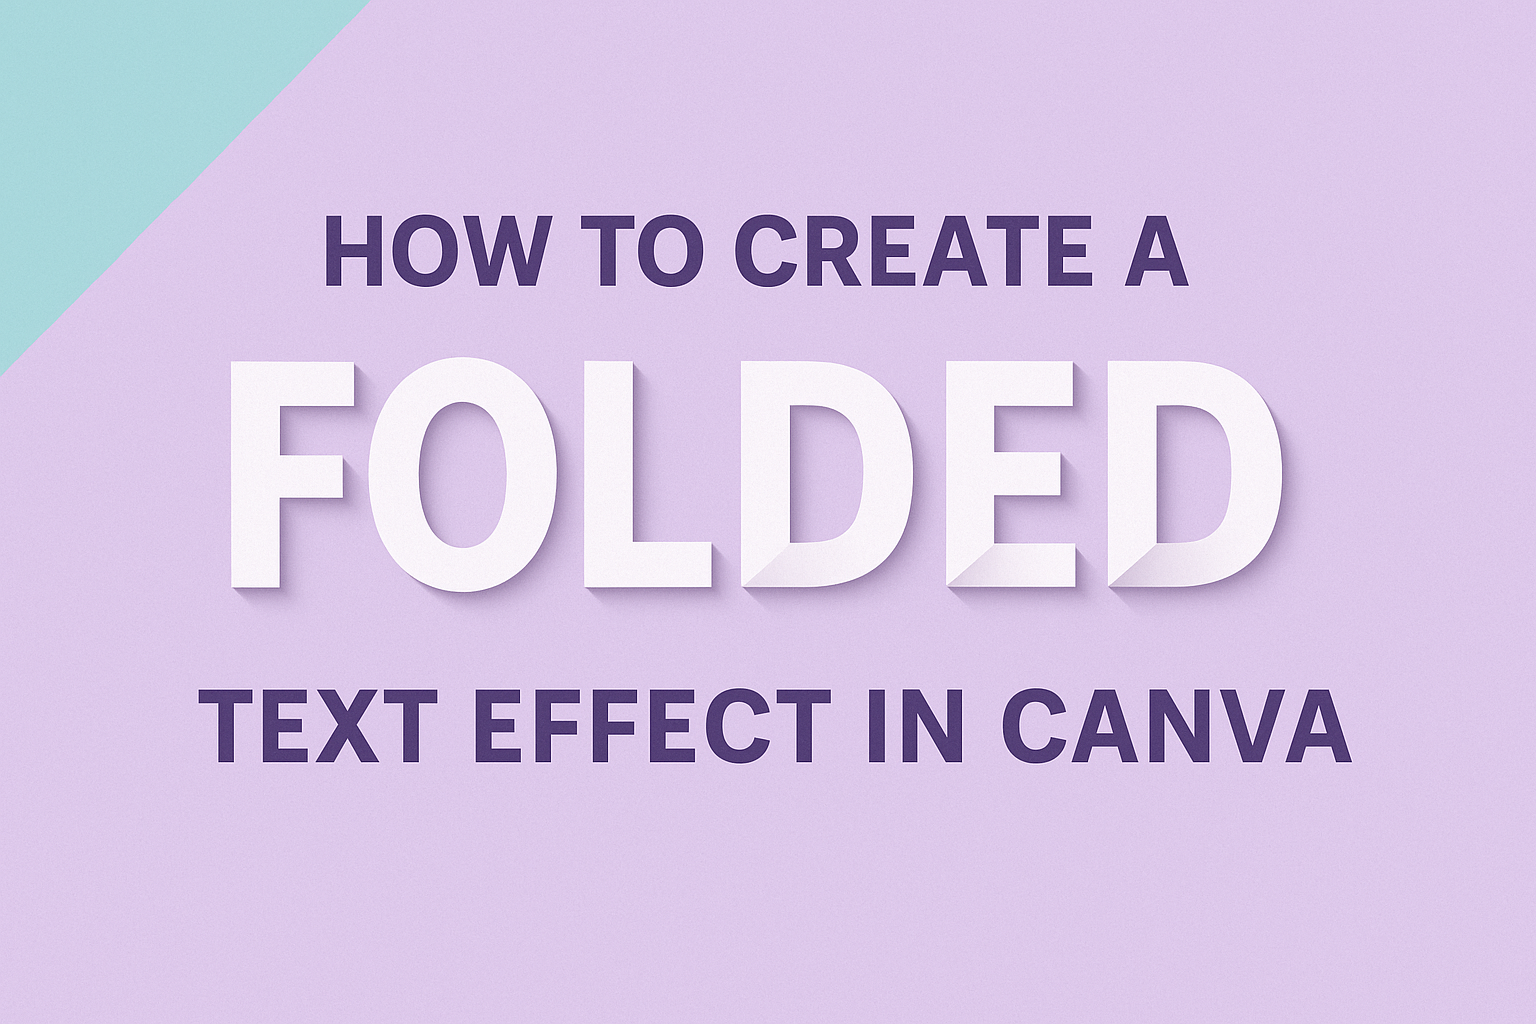
Creating a folded text effect in Canva involves careful selection of fonts and textures, applying the right fold effects, and adjusting shadows for a realistic look. Each step is essential for achieving a stunning design that stands out.
Selecting Fonts and Textures
Choosing the right font is crucial for a folded text effect. Bold and thick fonts like Arial Black or Bebas Neue work well. These fonts create a strong visual impact and better highlight the fold effect.
Textures also play a significant role. A paper-like texture adds depth and realism. Users can explore Canva’s texture options or upload custom textures for a unique touch. The key is to ensure the text and background textures complement each other to enhance the overall design.
Applying the Fold Effect
To create the fold effect, a designer can start with a text box. First, type the desired text into the box. After that, they should access the “Effects” menu in Canva.
By selecting the “Shadow” option, users can adjust the shadow settings. This step mimics a folding appearance. Duplicating the text box is helpful, placing one copy slightly off to create the illusion of a fold. This method leads to a more dynamic and intriguing text display.
Adjusting Shadows and Angles
Shadows and angles are key to making the folded effect look realistic. Users should focus on adjusting the shadow settings carefully. A slight blur and an angle that matches the light source can enhance realism.
Experimenting with the opacity of the shadow is also beneficial. A lower opacity can suggest a softer, more natural fold. Additionally, users can rotate text slightly to create depth. Proper adjustment helps the folded text stand out against the background and draws attention effectively.
Enhancing Your Design
To make a folded text effect truly stand out, incorporating visual elements and final touches is essential. These steps can elevate the overall quality of the design and ensure it captures attention.
Incorporating Visual Elements
Adding images, icons, or shapes can enhance the folded text effect significantly. Canva provides a library of graphics that can complement the text. For example, using a background image with a subtle texture can create depth.
Consider these tips:
- Use contrasting colors for the text and background to make the folded effect pop.
- Incorporate shadows behind the text for a 3D look.
- Add relevant icons or shapes that align with the theme of the design.
These elements not only beautify the design but also engage the audience more effectively.
Final Touches and Exporting
Before exporting, it’s crucial to check alignment and spacing.
Ensure that all elements are symmetrically placed and that the design looks balanced.
Final adjustments can include:
- Adjusting opacity on overlapping elements for a cohesive look.
- Ensuring the text is readable against the background, avoiding overly busy designs.
- Once satisfied, choose the right format for exporting, like PNG for high quality or JPEG for smaller file sizes.