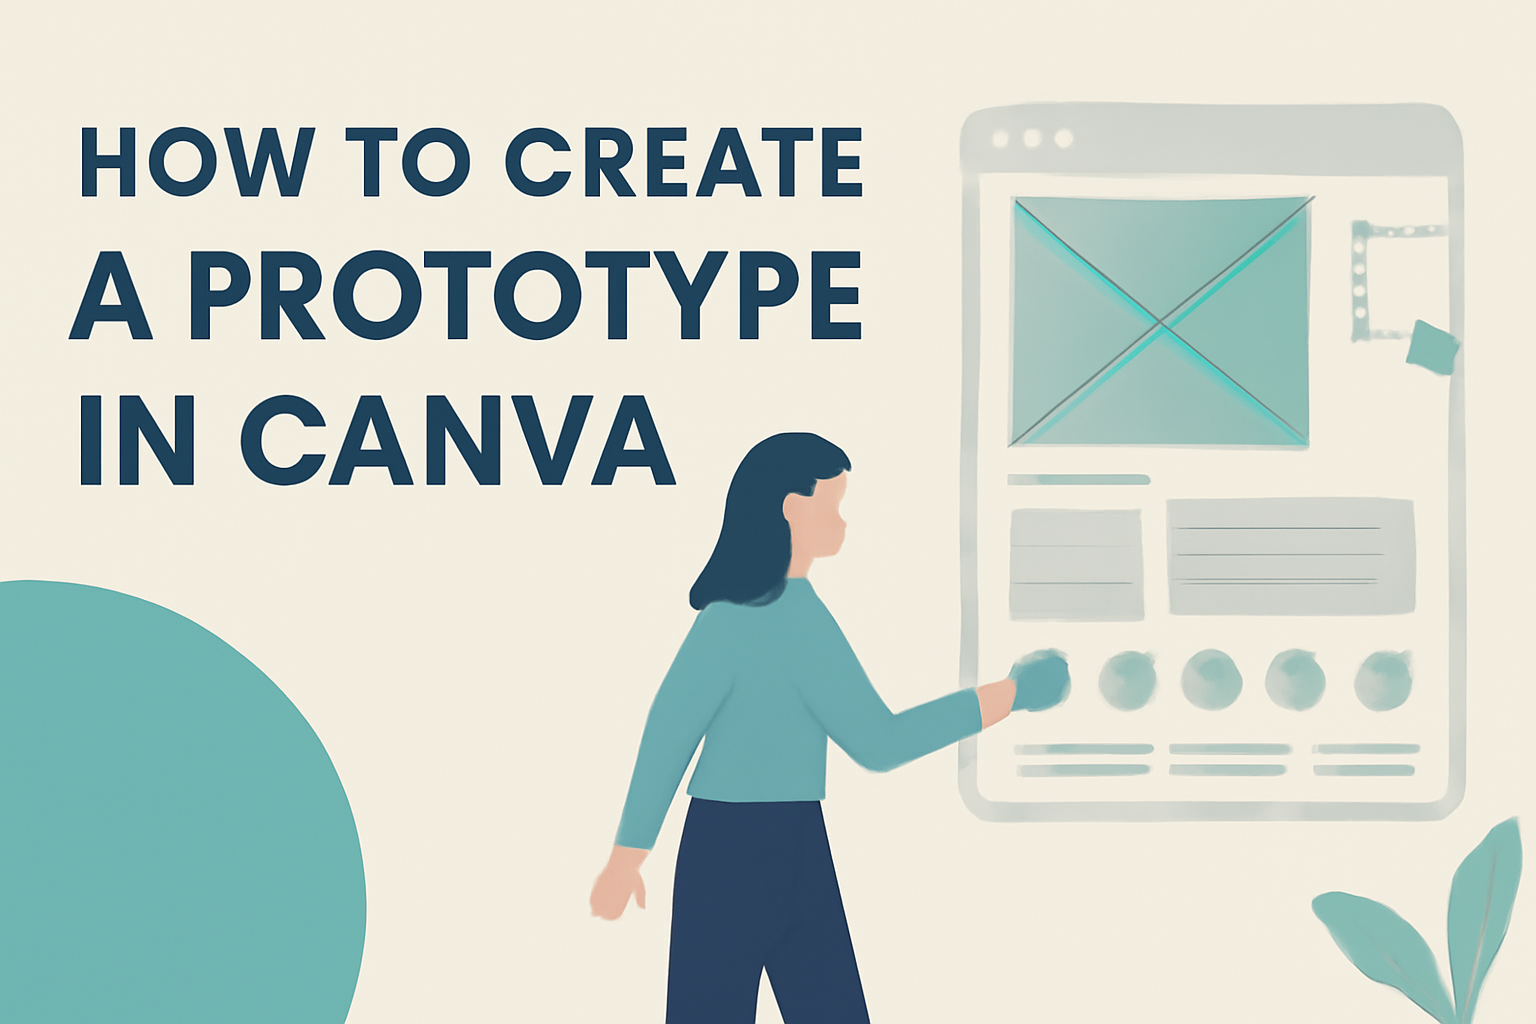
Creating a prototype can be an exciting step in turning ideas into reality. It allows designers to visualize their projects and test their concepts before full development.
Canva provides a user-friendly platform that makes it easy to create interactive prototypes without needing advanced design skills.
Whether it’s for a mobile app, website, or any other digital project, Canva offers a variety of templates that cater to different needs.
With its drag-and-drop features, anyone can quickly assemble designs and add interactive elements like buttons and links to simulate a real user experience.
Understanding Prototypes
Prototypes are essential tools in design and development. They allow creators to visualize ideas and test them before the final product is made.
Understanding prototypes can help anyone improve their designs effectively.
What Is a Prototype?
A prototype is a working model of a product. It serves as a preview of the final design, showing how an idea will look and function.
Prototypes can vary in complexity from simple sketches to detailed interactive models.
In digital design, prototypes can include links, buttons, and animations to simulate user interactions. This helps designers visualize the user experience clearly.
Creating a prototype makes it easier to identify potential problems early on. It allows for feedback from users and stakeholders, which can lead to important improvements.
Benefits of Prototyping
Prototyping comes with several key advantages. First, it allows for early testing of ideas before full-scale production. This can save time and resources.
Feedback is another significant benefit. By sharing a prototype, designers can gather insights from users. This feedback helps refine the design further.
Prototyping also encourages collaboration among team members. It provides a tangible representation of ideas, making discussions more productive.
Additionally, it can boost confidence in decision-making, as creators can see their vision in action.
By using prototypes, teams can create better products that meet user needs and expectations.
Navigating Canva
Canva offers an intuitive layout and a variety of tools that make designing a prototype easy. Understanding its layout and tools allows users to create and customize their designs effectively.
Basic Canva Layout
When you log into Canva, the first thing you notice is the user-friendly interface. The workspace is divided into several sections.
On the left side, there is a toolbar with options for templates, elements, and text.
The main area is where users create and edit their designs. At the top, users find menus for sharing, downloading, and publishing designs. The right side displays the current design page.
Understanding these sections helps users find tools quickly. Mastering the basic layout is essential for efficient design work, and it leads to smoother navigation throughout the Canva platform.
Using Canva Tools
Canva provides various tools that enhance the design process. Users can access elements such as shapes, icons, and images through the toolbar. Simply click on “Elements” to explore different options.
Text tools allow users to add headings, subheadings, and body text easily. They can adjust fonts, colors, and sizes to match their design theme.
Another important feature is the “Upload” button, which lets users add their images for a personal touch.
Canva also has tools for aligning and grouping elements, making organization simple and effective.
Customizing Your Workspace
Users can personalize their Canva workspace for better efficiency.
Start by adjusting the grid layout using the “Grid” button found under the “View” menu. This helps in planning alignment and spacing.
Additionally, users can save their favorite templates in the “Folders” section. This makes it easy to access frequently used designs without searching each time.
Canva also allows users to change their workspace view from standard to presentation mode. This is useful for reviewing designs.
Customizing the workspace means users can work in an environment that feels comfortable and tailored to their needs.
Starting Your Prototype
To kick off a successful prototype in Canva, it’s crucial to start with the right template and set up your canvas effectively. These initial steps lay the groundwork for a smooth design process.
Choosing the Right Template
Canva offers a variety of templates to help users create prototypes easily. Selecting a suitable template saves time and provides a structured layout.
Users can browse the extensive library and find templates tailored to their project needs. For example, there are options for mobile applications, web interfaces, and more.
When choosing a template, consider the target audience and the purpose of the prototype. A clean and modern design usually works best.
After selecting a template, users can customize it with their branding elements, such as logos and colors, to enhance its appeal.
Setting Up Your Canvas
After picking a template, setting up the canvas is the next important step. Users should ensure the canvas size fits the project requirements, such as mobile or desktop views.
In Canva, adjusting the canvas size is simple. They can click on “Resize” and input the desired dimensions.
It is also crucial to organize elements on the canvas.
Grouping related items helps keep the design tidy. Utilizing grids and alignment guides can enhance the structure of the prototype. This makes it easier for others to understand the layout and flow of the design.
Finally, adding navigation links to different screens can help simulate user interactions within the prototype. This step is vital for testing the overall user experience.
Designing the Prototype
Creating an engaging prototype in Canva involves careful attention to design elements. By adding visuals, selecting the right text and fonts, and applying colors and effects, a designer can build a prototype that captures the intended feel and purpose.
Adding Elements
When designing a prototype, adding elements like images, icons, and shapes is essential. Canva provides a vast library of elements to enhance layouts.
To start, the designer can browse the “Elements” tab in the sidebar. Here, they can search for specific items or explore categories like “Icons” or “Shapes.”
Steps to Add Elements:
- Click on the “Elements” tab.
- Search for a specific design item.
- Drag and drop the selected element onto the canvas.
The designer can resize and reposition elements easily. Grouping elements by holding the shift key allows for efficient modifications. This method helps maintain a clean and organized layout.
Incorporating Text and Fonts
Text is a critical part of any prototype. It communicates ideas, instructions, and branding messages.
Canva offers a selection of fonts to match any style. Designers should choose fonts that enhance readability and fit the design theme.
Tips for Incorporating Text:
- Select text boxes from the sidebar.
- Edit the text by clicking into the box.
- Use the toolbar to change fonts, sizes, and colors.
Mixing different font styles can add visual interest, but it’s important to limit styles to two or three for consistency.
Consider using larger sizes for headings and smaller sizes for body text to create a clear hierarchy.
Using Colors and Effects
Colors play a vital role in prototype design as they evoke emotions and attract attention. Designers should pick a color palette that aligns with the brand or project goals.
Canva allows users to customize colors with ease.
Key Steps for Color Application:
- Click on the element to be colored.
- Use the color picker in the toolbar.
- Explore the “Styles” section for preset palettes.
Effects like shadows or glows can enhance elements further. To apply effects, select the element, and use the “Effects” button in the toolbar.
Subtle effects can help elements stand out without overwhelming the design.
Interactivity and Animation
Making prototypes interactive and animated adds an engaging touch to designs. This can greatly enhance user experience and make the prototype feel more dynamic.
Creating Interactive Elements
Interactive elements can make a prototype feel alive. In Canva, users can add buttons, links, and hotspots to their designs.
-
Buttons can be created by using shapes or text boxes. Change the color and add text like “Click Here” to improve visibility.
-
Links allow navigation between pages. Highlight text or shapes, then use the link option to connect to another design page. This mimic real app navigation.
-
Hotspots are invisible areas that trigger actions like opening new screens. These can be added easily and were useful in guiding users.
By incorporating these elements effectively, the prototype becomes more user-friendly and engaging.
Animating Your Prototype
Adding animations gives life to static designs. Canva provides various animation options suitable for different elements.
Users can choose to animate text, images, or entire pages.
- Text animations can be subtle or bold, depending on the design purpose.
- Image animations can include effects like fade-in or pop.
To apply an animation, select the element and choose an animation style from the menu.
Users can also control the speed and timing of the animations.
Testing how the animations flow together ensures a smooth user experience. Engaging animations can capture attention and convey the desired message effectively.
Feedback and Revision
Getting feedback is a crucial part of the prototyping process. It allows creators to see their design from different perspectives and make necessary improvements. Engaging with others can enhance the final product and ensure it meets user needs.
Sharing Your Prototype for Feedback
Once the initial prototype is ready, it’s time to share it for feedback. Canva allows users to easily share their prototypes with team members or potential users.
To do this, the creator can click the “Share” button at the top right corner in the Canva editor.
From there, they should select the “Prototype” option to enable the interactive view. This lets others explore the design as intended.
It’s important to encourage honest and constructive feedback. Clear communication about the type of feedback desired can help guide reviewers.
Consider creating a simple feedback form with specific questions. This can help gather focused responses.
It could ask what works well, what needs change, and if the flow is intuitive. Using this method can streamline the feedback process.
Iterating Based on Input
After collecting feedback, it is essential to take it seriously. Iteration is key to refining the prototype.
The creator should review the feedback and identify common themes or suggestions.
Determining which feedback is most actionable can make revisions more meaningful.
For example, if multiple users mention that a button is hard to find, that is an area to focus on. Adjustments can include changing the button’s color, size, or placement.
To effectively implement these changes, the creator can use lists. Keeping a checklist of feedback items ensures each suggestion is addressed.
After making adjustments, it’s advisable to share the updated prototype again for another round of feedback. This ongoing process leads to a more polished and user-friendly final design.
Finalizing Your Prototype
In this stage, it’s important to refine the prototype and ensure it’s ready for presentation. This involves making final adjustments to details and preparing for effective sharing with others.
Making Final Adjustments
Adjustments can make a big difference in how a prototype is perceived.
Start by reviewing the design layout for visual clarity. Ensure elements are well-aligned and spaced properly.
Check for consistency in font sizes and colors across all pages. This creates a unified look that is easy to follow.
Link elements that need user interaction to show flow clearly. This helps viewers understand how the prototype navigates from one screen to another.
Finally, gather feedback from team members or friends. Their insights can help catch errors or suggest improvements that may have been overlooked.
Preparing for Presentation
Preparation is key to a successful prototype presentation.
Begin by testing the prototype thoroughly. Click through each link to ensure everything works smoothly.
Organize the prototype in a logical sequence. This helps guide the audience through the user experience seamlessly.
Next, create a brief presentation outline.
Highlight the main features and key user interactions to focus on during the presentation.
Finally, choose the right sharing options in Canva.
Use the “Share” button and select the “Prototype” mode. This allows others to view and interact with the prototype easily.