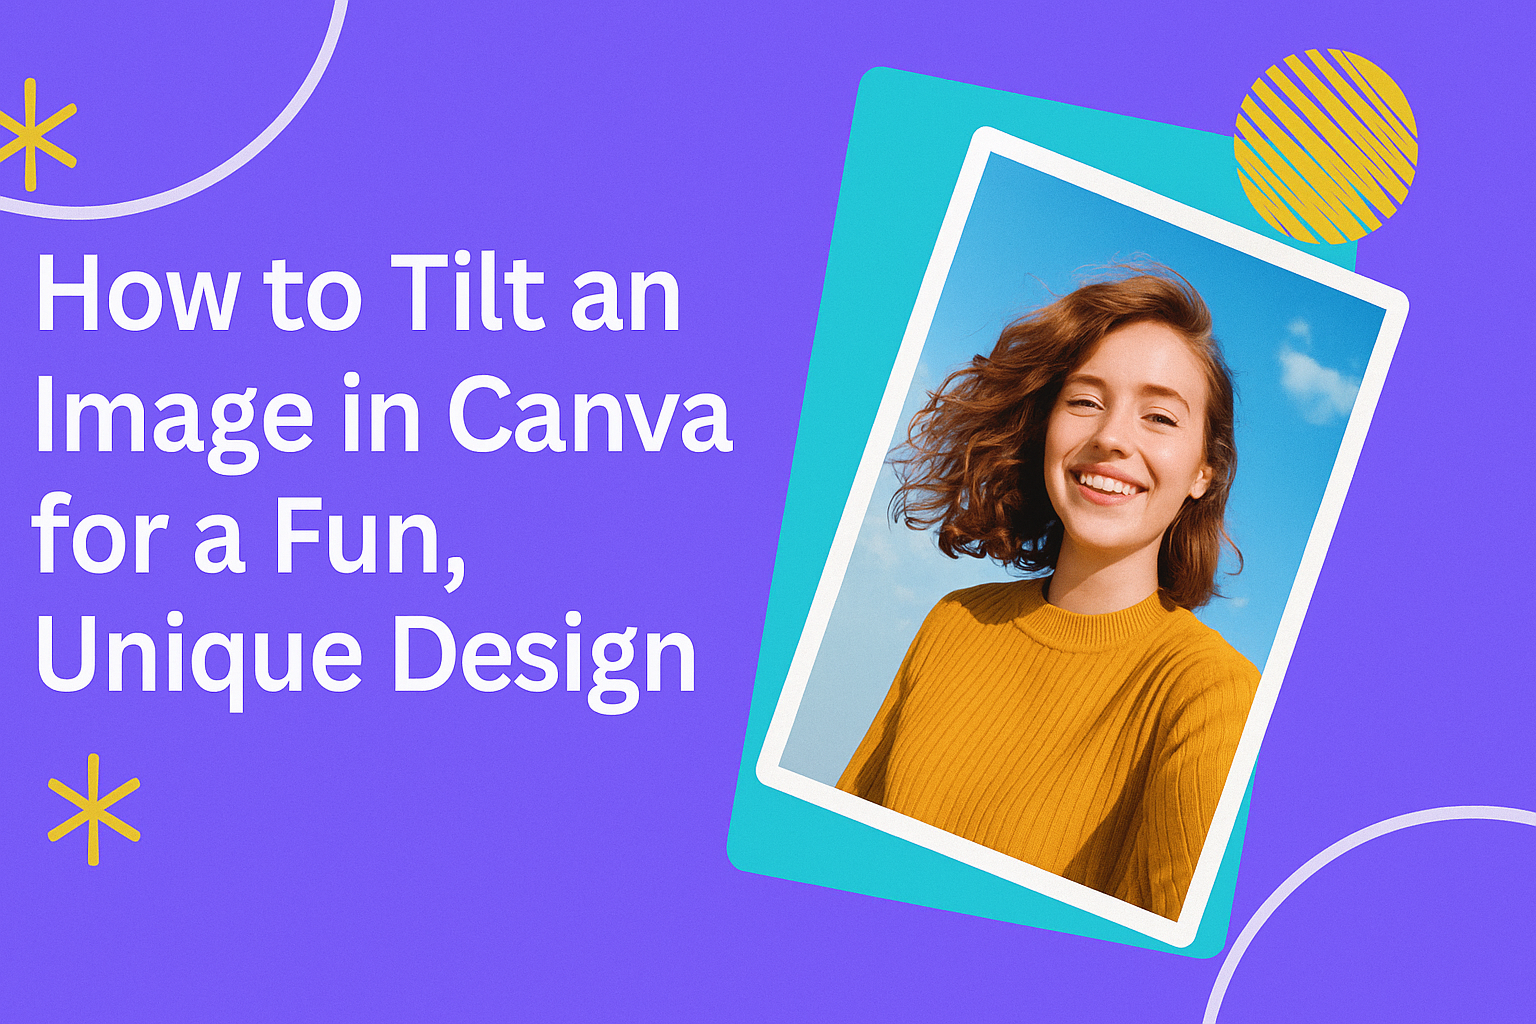
Tilting an image in Canva can bring a fresh and dynamic look to any design.
Many users want to know how to easily adjust their images to create eye-catching graphics for social media, presentations, or personal projects.
With just a few simple steps, anyone can tilt an image in Canva to enhance their designs.
This handy feature allows for greater creativity and expression.
By learning to tilt images, users can make their work stand out and attract more attention. Whether it’s for adding a subtle angle to a photo or creating a more dramatic effect, understanding how to utilize this tool is essential for anyone looking to elevate their Canva creations.
In this article, readers will discover the straightforward process of tilting images within Canva. They will find useful tips and tricks, ensuring they get the most out of this feature and impress their audience with unique and engaging visuals.
Getting Started with Canva
Canva is a user-friendly design tool that makes creating graphics easy and fun.
Understanding how to start a new design and access images can help users efficiently bring their ideas to life.
Creating a New Design
To create a new design in Canva, users should first log into their account.
Once logged in, they will see a “Create a design” button located at the top right corner of the screen. Clicking this button reveals options for various design types, such as presentations, social media posts, or custom dimensions.
After selecting a design type, a new tab opens with a blank canvas.
Users can easily adjust the canvas size if needed. Canva also offers templates that can be customized.
To explore these options, they can check the sidebar for different categories. It’s a wonderful way to start with a foundation tailored to their needs.
Accessing the Image Library
Canva’s image library is vast and filled with options.
To access it, users can click on the “Photos” tab in the left sidebar after opening a design. This tab provides a search bar where users can type keywords related to the images they need.
Canva includes a mix of free and premium images. Free images can be identified easily since they do not have a dollar sign.
Users can select an image by simply clicking on it. The chosen image will then be added directly to the canvas.
Additionally, users can drag images onto the canvas from the library. This feature makes it simple to layer and arrange images for a unique design.
Selecting the Image to Tilt
Choosing the right image is crucial for creating effective designs in Canva. Whether uploading your own image or using Canva’s extensive photo library, knowing how to select the perfect image will enhance your projects greatly.
Uploading Your Own Image
To upload an image, start by clicking on the “Uploads” button located on the left-hand side of the screen. This will open your upload panel.
Next, click on the “Upload an image or video” button.
Once here, select the image file from your computer that you want to tilt. Be patient as the upload process may take a moment.
After the image is uploaded, it will appear in your uploads section. You can then drag and drop the image onto your design.
Make sure to choose a clear, high-quality image for the best results. This will ensure that when you tilt the image, it retains its quality and looks good within your design.
Utilizing Canva’s Photo Collection
Canva offers a wide range of images to choose from. To access this collection, click on the “Photos” tab on the left side of the screen. You can browse categories or use the search bar to find specific images.
When you find an image that suits your needs, simply click on it. It will automatically be added to your design.
You can also filter images by style, color, or theme to find the perfect fit for your project.
Using Canva’s photos helps save time, and many images are free. Always check the image license to see if any attribution is needed before using it in your own work.
Tilting the Image
Tilting an image in Canva can add a fun and creative look to designs. This section covers how to use image frames and how to adjust the tilt with handles.
Using Image Frames
To start, Canva offers image frames that help create unique layouts.
First, users should select a frame from the “Elements” section in Canva. After choosing a frame, drag and drop an image into it.
The image will automatically fit inside the frame. Then, users can select the frame to see rotation options. Clicking on the rotate icon allows the image to tilt at different angles. This feature is perfect for creating dynamic designs by simply adjusting the frame.
Adjusting the Tilt with Handles
After tilting an image, users can fine-tune the angle using handles.
Once an image is selected, small circles appear on its corners. Clicking and dragging these handles allows users to tilt the image precisely.
The rotation will change according to how much the user drags the handle.
It’s useful to keep an eye on the design to ensure it looks balanced. Users can also use the rotation tool found in the toolbar to set a specific angle. This approach provides more control over the image’s appearance in the final design.
Fine-Tuning the Image Position
Adjusting the image position is crucial for achieving the desired look in a design. It helps to make images fit perfectly within the project’s layout. Keeping clarity and focus on the main elements also enhances the overall appearance.
Resizing and Cropping
Resizing and cropping allow users to control how an image fits their project.
To resize an image, simply click on it and drag the corners. This increases or decreases the size smoothly.
- Aspect Ratio: Hold down the Shift key while resizing to maintain the aspect ratio. This ensures the image doesn’t stretch or squeeze.
- Cropping: Click on the crop button to remove unwanted parts. Grab the edges of the image, and drag them inward.
Users may also find it helpful to use the grid lines for guidance. This can help achieve a balanced look within the design. Cropping can put emphasis on the most important parts of an image.
Alignment and Spacing
Alignment ensures that images fit well with other design elements. It creates a clean, polished look. Canva provides guidelines to help align images precisely.
- Alignment Tools: Use the alignment tools to center images, align them to the left or right, or distribute them evenly. Just select the image, then choose the appropriate option.
- Spacing: Adjusting the space between images and text is important too. It helps to avoid clutter. A good rule is to keep at least a small margin around each image.
Using these techniques, users can enhance their designs further and make sure everything fits together nicely. Fine-tuning positions can lead to visually appealing results that attract attention.
Adding Effects to Tilted Images
Tilted images can gain a lot from added effects. By applying filters and adjusting transparency, users can enhance their designs in Canva and create unique visuals.
Applying Filters
Filters can dramatically change the appearance of an image.
In Canva, after tilting an image, users can select the image and click on the “Filters” option in the toolbar.
A list of filter options will appear. Some popular filters include Vintage, Epic, and X-Pro. Each filter adds a different mood to the image.
To apply a filter, simply click on the desired one.
Users can adjust the intensity of the filter by using the slider tool. This way, they can find the perfect balance that meets their design needs.
If a particular filter is not suitable, users can always reset it and try another option.
Adjusting Transparency
Adjusting transparency can create an interesting effect in a design.
After selecting a tilted image in Canva, users should look for the transparency option, often represented by a checkered square icon.
By clicking on this icon, a slider appears. Moving the slider to the left reduces the opacity of the image. This allows the background or other elements to show through, creating a layered look.
Adjusting transparency can make an image blend better with the design. It can also highlight specific details in the picture. It is a simple yet effective way to enhance any tilted image.
Layering and Grouping
Layering and grouping in Canva are essential for creating organized and visually appealing designs. By understanding how to stack images and group elements, users can enhance their work efficiently.
Layering Images and Elements
Layering lets users create depth in their designs. It involves placing elements on top of each other to achieve a desired look.
To layer images in Canva, follow these steps:
- Select Your Elements: Click on the images or graphics you want to layer.
- Arrange Position: Use the “Position” option on the toolbar. Users can choose to send elements backward or bring them forward.
- Adjust Transparency: For a more blended effect, adjusting the transparency of certain layers can help. This feature is found in the toolbar as well.
Layering can make a design more eye-catching and dynamic, using images, text, and shapes together effectively.
Grouping and Ungrouping Items
Grouping in Canva simplifies the design process. It allows users to move and align multiple items as a single unit.
To group elements, users can:
- Select Multiple Elements: Hold down the Shift key while clicking on each item.
- Click Group: Select “Group” on the floating toolbar. This makes it easier to work with them as one element.
When users need to make changes, ungrouping is simple.
- Select the Grouped Elements: Click on the group.
- Click Ungroup: Choose “Ungroup” from the floating toolbar.
Grouping helps maintain organization and makes editing designs much easier.
Saving and Sharing Your Design
Once the design is complete, saving and sharing it is the next step. This process allows for easy access and distribution of the finished work. Users can choose to download their images or publish them directly to social media.
Downloading Your Image
To download an image from Canva, the user should locate the Download button at the top right corner of the screen. Once clicked, options for different file types will appear. Popular formats include PNG, JPG, and PDF.
After selecting the desired format, the user should click the Download button again. The image will then be saved to the device’s default downloads folder.
It’s important to ensure the design meets their expectations before downloading, as the image quality may vary with different formats.
Publishing to Social Media
Canva makes it easy to share designs directly to social media platforms.
To do this, the user should click on the Share button. A dropdown menu will display various social media icons, such as Facebook, Twitter, and Instagram.
Choosing a platform will prompt the user to log in if not already connected.
Once logged in, they can add captions or hashtags before sharing.
This feature streamlines the process, allowing users to get their designs in front of an audience quickly and efficiently.