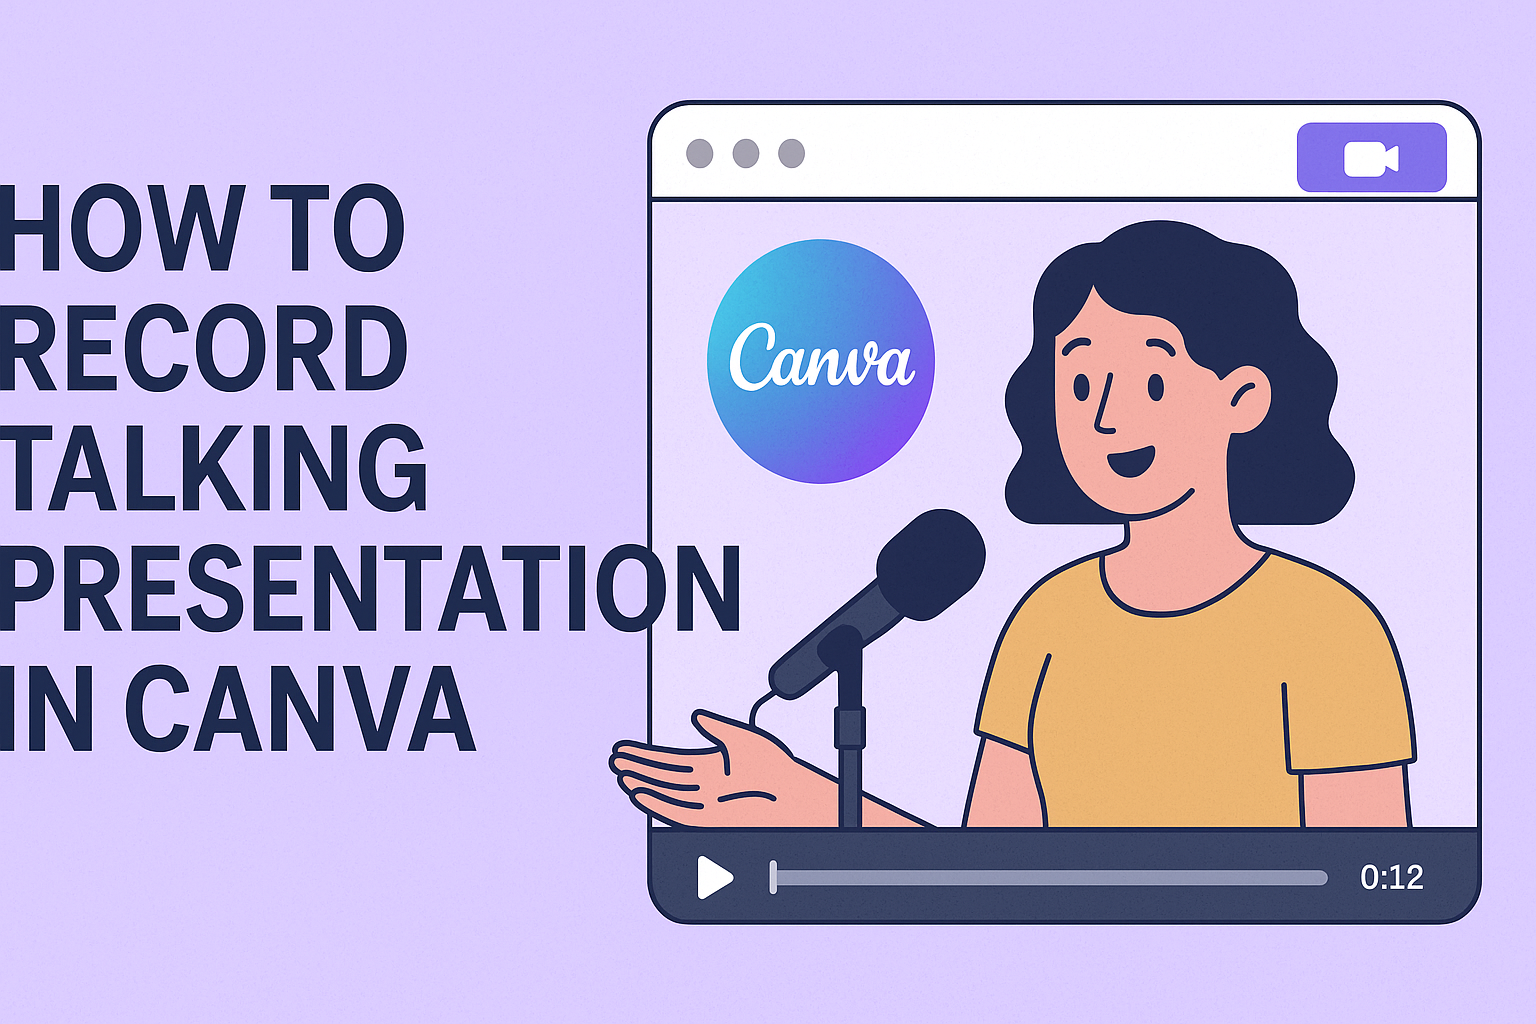
Recording a talking presentation in Canva is an easy and effective way to engage an audience.
Users can create visually appealing slides and add their own voice, making presentations more personal and memorable. This feature allows anyone to produce a polished presentation without needing advanced technical skills or extra software.
In this blog post, readers will discover the simple steps to record their own talking presentations directly within Canva.
From setting up the recording studio to sharing the final product, each step will be covered clearly. This guide will help anyone feel confident in using this powerful tool for their next project or presentation.
Getting Started with Canva
Canva is a user-friendly design platform that helps anyone create beautiful presentations. Getting started is simple, and understanding the interface plus choosing the right template can make a big difference.
Signing Up for Canva
To begin, visit the Canva website. The sign-up process is straightforward.
Users can sign up using an email address, Google account, or Facebook account.
Once signed up, a user should verify their email if prompted. This step ensures that they have access to all features. After logging in, they may see a welcome dashboard and various design options.
Canva also offers different plans. The free plan is great for beginners, while the Pro version includes extra features like advanced templates and stock photos.
Overview of Canva Interface
When a user opens Canva, they are greeted with a clean and easy-to-navigate interface. The main dashboard shows different design types, including presentations.
On the left side, users will find templates, elements, uploads, and text options. Each of these categories contains tools to enhance designs.
The top toolbar includes options for sharing, downloading, and presenting designs. Users can easily switch between different design modes here.
Canva’s simple drag-and-drop feature allows users to add elements seamlessly. Understanding this layout will make the design process quicker and more enjoyable.
Choosing the Right Presentation Template
Selecting the correct template is crucial for an effective presentation. Canva offers a wide range of templates to fit different styles and purposes.
Users can browse by category. Some templates are suitable for business, while others are geared toward educational or creative presentations.
When picking a template, it’s essential to consider the audience and message. A more casual tone may require vibrant colors and playful fonts. In contrast, a formal presentation may benefit from a more subdued theme.
Once a suitable template is found, users can customize it easily by changing text, images, and colors to match their content and branding.
Setting Up Your Presentation
Getting started with a presentation in Canva involves a few important steps.
He will need to add and customize slides, work with text and fonts, and incorporate images and icons to create an engaging talking presentation.
Adding and Editing Slides
To begin, he should open Canva and select a presentation template. This makes it easier to arrange content efficiently. Each slide will serve a specific purpose, such as introducing topics or highlighting key points.
He can add slides by clicking the “+” button in the slide panel on the left. After inserting a slide, he can rearrange them by dragging and dropping. If he needs to delete a slide, he can simply click the trash can icon.
Customizing slides is equally important. He can change the background color or style by selecting the slide and choosing options from the top menu.
Working with Texts and Fonts
Text is crucial for communicating ideas clearly. He should keep text concise and focused on main points.
When adding text, he can use the “Text” tool from the sidebar. Here, he can choose different text boxes like headings or body text.
Canva offers a variety of fonts. It is essential to choose fonts that are readable and fit the presentation’s theme. He can adjust the font size, color, and spacing to make sure the text stands out.
Using bullet points can help organize information and make it easier for the audience to follow along. He should keep paragraphs short and avoid cluttering slides with too much text.
Incorporating Images and Icons
Visuals enhance a presentation’s appeal. He can add images and icons to make content more engaging.
To add an image, he can use the “Uploads” section to import personal images or choose from Canva’s extensive library.
It’s important to select high-quality images that align with the slide content. Icons can be used to represent ideas or concepts visually. He can find icons in the “Elements” tab and simply drag them onto the slide.
When placing images and icons, he should ensure they complement the text rather than overwhelm it. Adjusting their size and position helps achieve a balanced layout that is visually pleasing.
Recording Your Talk in Canva
Creating a talking presentation in Canva can enhance communication and engagement. Proper preparation and understanding of the tools can make the process smooth and effective.
Preparing Your Script
Before starting the recording, having a well-prepared script is key. A script helps in organizing thoughts and covering all important points.
- Outline the Talk: Start with a clear outline. This will guide the flow of the presentation.
- Keep it Concise: Aim for a script that is direct and to the point. Avoid jargon and complex phrases.
- Practice Reading: Read the script aloud multiple times. This will help identify any awkward phrases and improve delivery.
Writing notes can be helpful too. Use bullet points for quick reminders of key ideas during the recording.
Using Canva’s Recording Feature
To record a presentation, open the desired Canva design and click the “Present” button.
- Select “Present and Record”: This option appears when recording is available.
- Start Recording: Click on the record button to begin your presentation. Speak clearly.
- End Recording: When finished, click “End recording.” Wait for the file to upload. This makes sharing the link or downloading the file easy.
After recording, users have options: sharing a link, downloading, or deleting the recording.
Best Practices for Voice Recording
Good audio quality can make a big difference. Ensure the recording environment is quiet and free from distractions.
- Use a Good Microphone: Headsets or standalone microphones often capture clearer sound than built-in laptop mics.
- Maintain Consistent Volume: Speak at a steady volume and pace. Avoid whispering or shouting.
- Minimize Background Noise: Close windows and doors to reduce external noise. Silence phones and other devices to prevent interruptions.
Following these tips will create a more professional and engaging presentation, making the content more enjoyable for the audience.
Enhancing Your Recorded Presentation
Improving a recorded presentation can make it more engaging and informative. Focusing on music, video elements, and timing can significantly enhance the viewer’s experience.
Adding Background Music
Background music can set the mood and keep the audience’s interest. Canva allows you to add music easily to your presentation.
- Select Music: Go to the audio tab in Canva and browse through options. Look for tracks that fit the tone of the presentation.
- Adjust Volume: Make sure the music volume is not too loud. It should complement the narration, not overpower it.
- Timing: Sync the music with key moments in the presentation. Fade in at the beginning and fade out at the end for a smooth experience.
Incorporating Video Elements
Adding video clips can provide visual interest and help explain concepts better. Canva makes this easy to implement.
- Choose Videos: Use short video clips that relate to your content. Search for free stock videos or upload your own.
- Placement: Insert videos at logical points in the presentation. This keeps the audience engaged and reinforces the message.
- Editing: Trim videos for precision. Use Canva’s editing tools to ensure they fit well within the presentation’s flow.
Adjusting Timings and Transitions
Proper timing and smooth transitions are crucial for a polished presentation. Canva offers flexible options for these adjustments.
- Set Timings: Review each slide’s duration. For smoother flow, ensure that slides change at a pace that matches the narration.
- Use Transitions: Experiment with different transition effects. Simple fades or slides can make the presentation feel more dynamic.
- Preview: Always preview the presentation before finalizing. This helps in adjusting any elements that may seem abrupt or out of sync.
By carefully enhancing these aspects, she can create a more captivating recorded presentation in Canva.
Finalizing and Sharing
After recording a talking presentation in Canva, it is important to review, export, and share the final product. This ensures that everything is polished and ready for the audience.
Reviewing Your Presentation
Before sharing, reviewing the presentation is crucial. This step allows the creator to catch any mistakes and refine the content.
They should watch the recorded presentation to check for clarity, pacing, and engagement.
It is helpful to take notes on sections that may need adjustments. For instance, if a slide feels too rushed, they can adjust the timing.
Listening to the audio quality is equally important. It should be clear and free from background noise.
If changes are needed, they can easily go back to the editing features in Canva. This way, they can fine-tune text, images, or other elements to enhance the presentation.
Exporting Options in Canva
Once satisfied, the next step is exporting the presentation. Canva offers several options for this process.
Creators can choose to download their presentation as a video file or MP4 format. This allows for easy playback on various devices.
Alternatively, exporting as a PDF is also available for those who prefer a document format.
To download, they simply click on the share button and select the preferred format. It’s a straightforward process that ensures presentations can be easily accessed and reviewed later.
Sharing Your Presentation Online
Sharing the presentation is where the fun begins. Canva provides options to share via link or directly on social media.
To share via link, they can use the “Copy Link” feature after exporting. This allows others to view the presentation without needing to log into Canva.
They can also choose to adjust the privacy settings to control who has access.
For those who wish to share on social media, Canva simplifies this process with direct integration options. This means they can post to platforms like Facebook or Twitter right from Canva.
Using these methods, creators can easily get their presentations out to viewers, maximizing their reach and impact.
Tips and Tricks
To make the most out of recording a talking presentation in Canva, there are some useful tips to consider. These include keyboard shortcuts that can speed up the process and best design practices to enhance the visual appeal of the presentation.
Keyboard Shortcuts
Using keyboard shortcuts can significantly increase efficiency while navigating Canva. Here are some essential shortcuts:
- Copy: Ctrl + C (Windows) or Command + C (Mac)
- Paste: Ctrl + V (Windows) or Command + V (Mac)
- Undo: Ctrl + Z (Windows) or Command + Z (Mac)
- Zoom In: Ctrl + Plus (+) or Command + Plus (+)
- Zoom Out: Ctrl + Minus (−) or Command + Minus (−)
These shortcuts allow users to edit slides quickly, making it easier to focus on the content during the recording process. Practicing these can improve flow and allow for smoother transitions between slides.
Design Best Practices
Designing an appealing presentation is essential for engaging the audience. Here are key best practices:
-
Consistent Theme: Choose a color palette and font style that reflects the presentation’s tone.
Consistency keeps it professional.
-
Limit Text: Use bullet points and concise phrases.
Too much text can overwhelm viewers.
-
High-Quality Images: Incorporate sharp and relevant visuals.
Avoid using pixelated images, as they can distract from the message.
-
Readable Fonts: Select fonts that are easy to read from a distance.
Stick to sans-serif fonts for clarity.
-
Animation and Transitions: Use subtle effects to enhance, not distract.
Simple transitions can keep the focus on content.