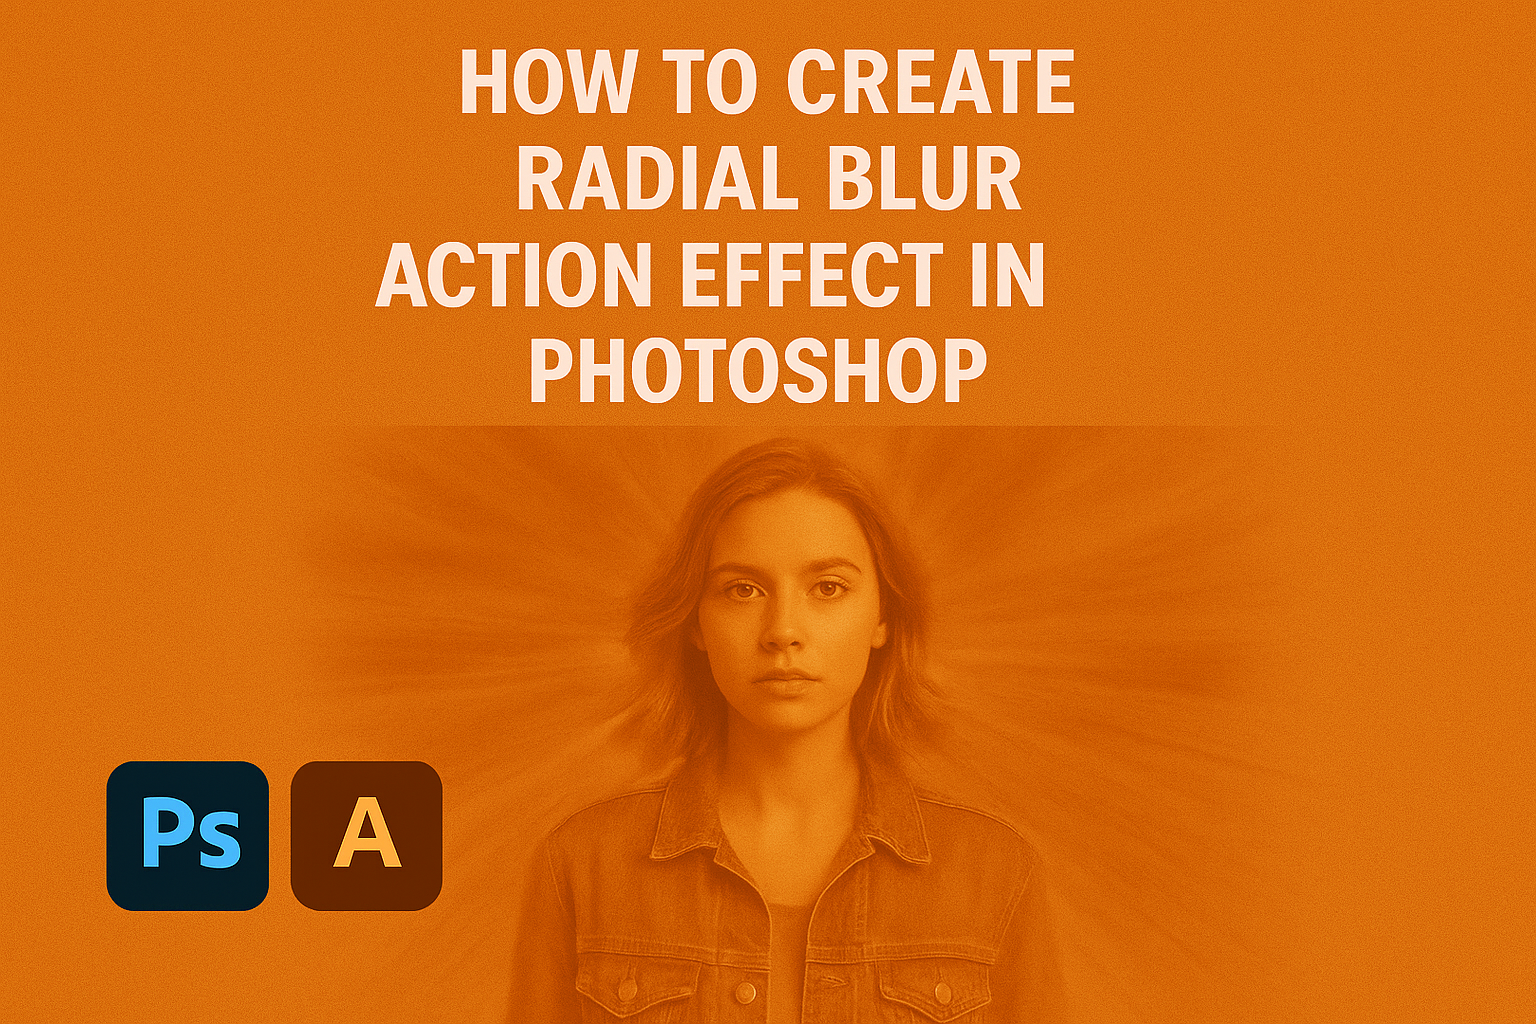
Creating a radial blur effect in Photoshop can transform ordinary photos into dynamic works of art. This effect adds movement and energy, making it perfect for action shots or creative compositions.
To achieve the radial blur effect, users need to convert their image layer into a smart object and then apply the radial blur filter. This approach ensures the original image remains editable, allowing for flexibility in adjustments.
Learning to apply radial blur in Photoshop involves understanding a few key steps.
By heading to the Filter menu and selecting the Radial Blur option, users can access controls to adjust the blur method, quality, and amount. This method allows photographers and digital artists to create stunning visuals effortlessly.
Exploring tutorials and guides can be an excellent way for beginners to master this effect.
For those looking to further enhance their skills, resources like Photoshop Essentials and Shotkit offer in-depth instructions on creating and customizing radial blur effects. The process is straightforward and can significantly elevate the appearance of images, giving them a sense of speed and excitement.
Getting Started with Photoshop
When beginning with Photoshop, it’s important to know how to open an image and set up your workspace. This will help streamline the editing process and make it easier to work on your projects with precision.
Opening Your Image
To start working on a new project, the first step is to open your image in Photoshop.
Click on File in the top menu, then select Open. A dialog box will appear, allowing you to browse your computer for the image file you want to edit.
Once you find it, click Open to load the image onto the Photoshop canvas.
Working with different file types is common in Photoshop, such as JPEG, PNG, and PSD. Each type has its own benefits, with PSD files being preferred for maintaining layers and edits. PSD allows for easy adjustments later without losing any work.
Arrange your layers in the Layers Panel on the right. This panel is vital for managing image components.
Users can adjust visibility by clicking the eye icon, reorder layers via drag and drop, and even lock layers to prevent accidental edits.
Setting Up the Workspace
Having an organized workspace enhances efficiency when editing.
Users can customize their workspace by arranging panels and tools based on the tasks they frequently do. Go to Window in the top menu to select or deselect the panels you want visible.
Photoshop offers a variety of workspaces tailored to different editing tasks, such as Essentials, Photography, and Typography. Users can select a default workspace or create their own by moving and resizing panels.
The Tools Panel on the left is essential for edits, providing quick access to tools like crop, brush, and selection.
Users can hover over any tool to see a tooltip with its function. Customizing toolbars helps in accessing frequently used features quickly, improving the workflow significantly.
Understanding Layers
Layers are fundamental in Photoshop, allowing users to organize, edit, and apply effects like radial blur efficiently. Understanding how layers work will help you manipulate your images better, giving you more creative control and flexibility.
What Are Layers?
In Photoshop, layers act like sheets stacked on top of each other. Each layer can contain different elements, like images, text, or adjustments.
Layers help isolate edits to specific parts of an image without affecting the entire picture. For example, if you want to apply a filter only to the background, you can do so without changing the foreground elements.
Types of Layers:
- Image Layers: Hold pixel-based data.
- Adjustment Layers: Apply non-destructive changes, such as brightness or contrast.
- Text Layers: Contain text elements, easily editable at any time.
Creating and Managing Layers
Creating a new layer is as simple as clicking the New Layer button in the Layers panel. This opens up opportunities to experiment with edits without altering the original content.
To move elements between layers, simply drag them in the Layers panel. Managing layers also includes grouping related layers, which helps keep your workspace organized.
Layer Management Tips:
- Use layer names to keep track of edits.
- Group layers by selecting multiple layers and pressing Ctrl/Cmd + G.
- Hide layers to see how individual changes affect the overall image.
Creating the Radial Blur Effect
Creating a radial blur effect in Photoshop involves selecting the right tool, adjusting the settings properly, and applying the effect to your desired layer. Each step requires attention to detail to achieve the desired final look.
Selecting the Blur Tool
To begin creating the radial blur effect, the user should first navigate to the Blur tool. It can be found by accessing the Filter menu at the top of Photoshop, then choosing Blur.
From here, select Radial Blur. This opens a dialog box with options for setting up the blur. It is crucial to begin with this step, as choosing the right tool sets the foundation for the entire process.
Radial Blur is special because it creates a rotation effect around a central point, giving the impression of motion radiating outwards. This tool is especially useful for adding dynamic motion to still images.
Adjusting Blur Settings
Once the Radial Blur tool is selected, the settings must be adjusted to achieve the best result. The main options are Blur Method, Amount, and Quality.
- Blur Method: Choose between Spin and Zoom.
- Amount: Controls how intense the blur is. More blur can add drama, while less keeps the image softer.
- Quality: Options are Draft, Good, and Best.
Selecting Zoom with Best quality often gives high-quality results. The blur method should match the creative vision for the project. Experimenting with these settings might be needed to achieve the exact look desired.
Applying Radial Blur to a Layer
Before applying the blur to a layer, it is often best to convert the layer into a Smart Object. This allows non-destructive editing, meaning the effect can be adjusted later without altering the original image.
To do this, right-click the layer and select Convert to Smart Object. Then, apply the Radial Blur. This uses the settings previously chosen.
This method is effective because it offers flexibility. Adjustments can be made without starting over. Therefore, it’s a preferred approach for many users who need to tweak effects multiple times during the editing process.
Enhancing the Effect
To make your radial blur effect in Photoshop more dynamic, you can use layer masks for precise control and add spin blur for motion. These techniques help in manipulating parts of the image and introducing movement, giving your project a distinctive look.
Using Layer Masks for Control
Layer masks allow precise control over where the radial blur appears in an image. By applying a mask, one can selectively hide or reveal parts of the blur. This technique is useful when keeping some areas sharp is important while blurring others.
Start by creating a new layer for the effect. After applying the radial blur, add a layer mask to this layer. Use a soft brush to paint on the mask.
Painting with black conceals the blur effect, while white reveals it. This method allows for gradual transitions between blurred and sharp areas, making the effect look more natural.
Tip: Experiment with brush opacity for gentle blending. Lower opacity results in softer transitions and can help in maintaining important details in the image.
Adding Motion with Spin Blur
Spin blur adds dynamic movement to the image. This effect can make static objects seem like they are rotating. In Photoshop, using the spin blur path can help in targeting specific areas.
Access the path blur option through the filter menu. Set the blur type to spin. Then, adjust the blur angle to control the rotation speed and direction. For best results, increase the intensity gradually to see how it affects the image.
Key Point: Test different amounts and directions of spin to find the most appealing result. Small adjustments can make a big difference, especially when applying the spin blur to an image’s central point or a moving object.
Customizing the Effect
Customizing a radial blur effect in Photoshop involves tweaking the intensity and direction of the blur while also experimenting with different blending modes. These adjustments can help achieve the desired artistic look.
Adjusting Intensity and Direction
To enhance the radial blur effect, focus on the intensity and direction settings. In Photoshop, open the Radial Blur dialog box by going to Filter > Blur > Radial Blur.
Use the Amount slider to control the intensity of the blur. Increasing the amount will make the blur more pronounced, adding drama and movement to the image. Keep an eye on your composition, as too much blur can blur out key elements.
Adjusting the Blur Method between Spin and Zoom allows control over the direction. Spin creates a circular blur, while Zoom makes it radiate outward. Experiment with both methods to see which best fits your image’s needs.
Don’t forget to set the Quality. Options include Draft, Good, and Best. Higher quality settings may take longer to process but result in a smoother finish.
Experimenting with Blending Modes
Another way to customize the radial blur effect is by using different blending modes. After applying the radial blur, locate the Layers panel and experiment with different modes to find the perfect blend.
Overlay and Soft Light are popular choices for adding depth and contrast while retaining some natural details. For a dramatic look, try using Hard Light or Linear Light.
For unique effects, consider modes like Multiply or Screen. These can create a more vibrant or night-like atmosphere by darkening or lightening certain areas.
Always make small adjustments to ensure the blending mode complements the radial blur without overwhelming the original image. Feel free to toggle the Opacity to finesse the effect further.
Saving Your Action
In Photoshop, saving your action helps automate repetitive tasks, which makes the editing process faster and more efficient. This section will explain how to create and record actions for the radial blur effect.
Creating a New Action
Start by opening the Actions panel in Photoshop, which can be found under the “Window” menu. This panel is where actions are created and managed. Once open, click the “Create New Action” button at the bottom of the panel.
A dialog box will pop up where you can name your action. It’s helpful to choose a descriptive name like “Radial Blur Effect.” Set the function key and color if desired, which makes it easy to find and run the action later. Once everything is set up, click the “Record” button to begin.
Recording Your Steps
With recording started, every step you take in Photoshop will be saved as part of the action.
Begin by selecting the layer you wish to apply the radial blur to. Go to Filter > Blur > Radial Blur to open the radial blur dialog box.
Adjust the blur method and quality settings, ensuring they are set according to your needs. After setting up the blur, confirm the action to apply it.
Remember to stop the recording by clicking the “Stop Recording” button in the Actions panel once all steps are complete. This saves the action, allowing for quick application in future projects.
Applying Your Action on Other Images
After creating a radial blur action in Photoshop, the next step is to use it on different images effortlessly. Understanding how to load and play your action, as well as batch processing multiple images, will save you time and make your workflow more efficient.
Loading and Playing the Action
To apply the radial blur action you’ve made, first, ensure Photoshop is open and the Actions panel is visible.
They can load the action by clicking on the small menu icon in the Actions panel and selecting Load Actions. This will open a dialog box where the action file can be selected.
Once loaded, the actions listed should include the newly created radial blur.
To use the action, open an image in Photoshop. Click on the radial blur action in the Actions panel and then hit the Play button at the bottom. This will apply the effect to the open image. Adjustments can still be made if the effect isn’t quite right, especially since it might have been saved as a Smart Filter.
Batch Processing Multiple Images
For those looking to save time by applying the action to several images at once, batch processing is a powerful tool.
First, ensure all images are in the same folder.
Go to File > Automate > Batch in Photoshop. In the dialog box that appears, choose the radial blur action under the Action dropdown menu.
Under Source, select Folder, then click Choose to select the folder containing the images.
Determine where you want the processed images to be saved by setting the Destination.
Choose whether to overwrite files in the same location or save them separately.
Once configured, click OK to start processing.
Photoshop will automate the radial blur effect across each image in the folder, significantly speeding up the editing process.
Final Touches and Tips
When creating a radial blur action effect in Photoshop, it’s important to focus on refining the image details and adjusting the sharpness to achieve a polished look.
Paying attention to these aspects will greatly enhance the overall quality of your work.
Refining the Edge Details
Refining edge details is crucial for making the radial blur effect look seamless.
First, use a soft brush to go over the edges of the blurred areas. This helps to blend the blurred portions with the rest of the image, creating a natural transition.
Consider using the Erase Tool set to a low opacity. This allows for gradual erasing, which can be used to soften harsh lines that might appear at the boundary of the blur effect.
The Layer Mask provides further control. Apply it to the blurred layer to selectively hide and reveal areas.
Painting with black on the mask will conceal parts of the layer, while white reveals them. This technique is useful for adding detail back into specific areas of the image.
Adjusting Overall Image Sharpness
Balancing sharpness in a photo with radial blur ensures that the main subject stands out, while still maintaining the dynamic movement of the effect.
Start by selecting the Sharpen Tool and apply it to parts of the subject that need more definition.
The Unsharp Mask filter is another option. Navigate to Filter > Sharpen > Unsharp Mask and carefully adjust the sliders.
A low threshold and moderate amount and radius settings often work best. This tool is effective in enhancing edges without introducing too much noise.
Be mindful to adjust only the focal areas. Over-sharpening can spoil the intended effect and make the picture appear unrealistic.
Adjust the opacity of the sharpened layer if necessary, using the Opacity Slider in the layers panel, to ensure a balanced final image.