Creating a Polaroid photo effect in Photoshop combines the charm of vintage photography with modern editing techniques. This effect can bring a nostalgic feel to your digital images, making them look as though they were taken in a different era. To achieve this, use the canvas size tool to frame your image and add a white or off-white background for the authentic Polaroid look.
Photography enthusiasts and creative individuals will enjoy experimenting with this unique style. By playing with layers and masks, they can transform any picture into a delightful keepsake. Adding custom elements, like text or slight color adjustments, can make each Polaroid-style image stand out even more.
Exploring different approaches and techniques will enhance the final result. This process is not only a fun project but also a great way to deepen one’s Photoshop skills while designing something visually striking.
Understanding the Polaroid Aesthetic
The Polaroid aesthetic is cherished for its unique charm and nostalgic feel. It captures life’s moments with a blend of simplicity and vintage style. This section explores where it began and what makes it special.
The Origin of Polaroid
Polaroid cameras became popular in the mid-20th century. They allowed people to capture and instantly develop photographs, revolutionizing photography. Edwin Land, the inventor, introduced the first commercial Polaroid camera in 1948. Instant photography was a hit because it was fun and accessible.
The technology developed over the years, producing iconic images with its trademark instant print. This easy and quick solution made photography more playful and interactive, setting a new trend. The Polaroid quickly found its place among both amateur photographers and professionals. Its cultural significance continues today, with many appreciating its simplicity and spontaneity.
Key Characteristics of Polaroid Photos
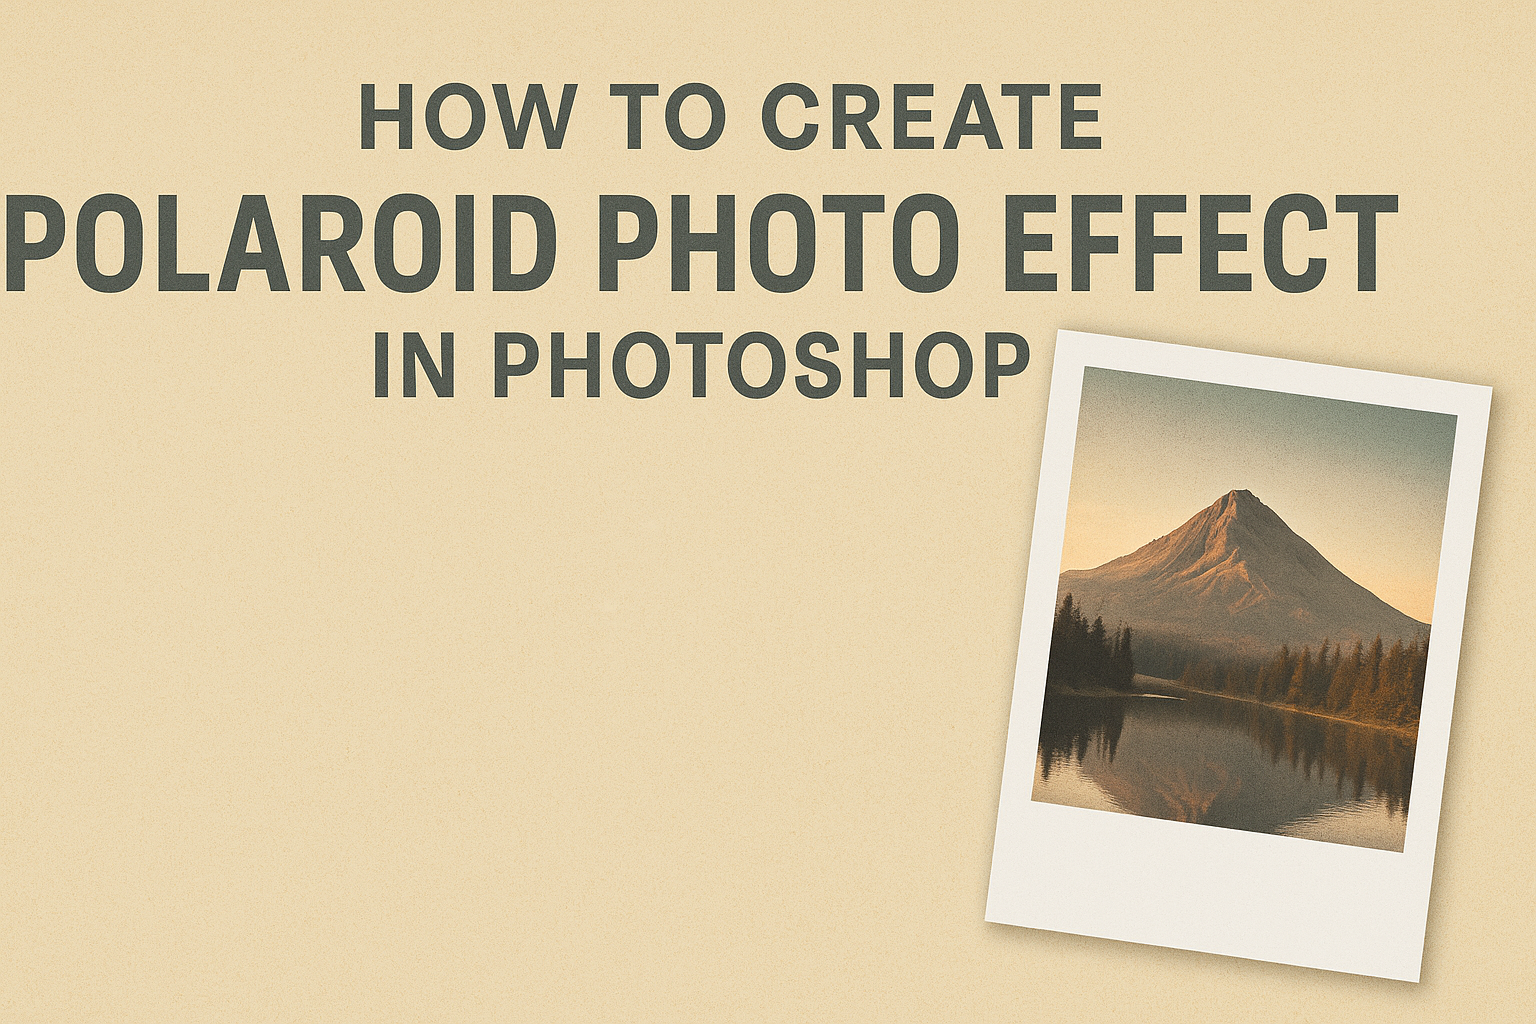
Polaroid photos have a distinct size and shape, typically 3.4 x 4.2 inches. The white border that frames the image is a signature detail. Photos developed as Polaroids often have soft, muted colors, which is part of their appeal.
The images sometimes show a slight blur or washed-out effect, adding to their charm. The spontaneity tied to instant photography brings a candid and intimate feel. Each photo is unique, developing directly on film, making them one-of-a-kind. This uniqueness, combined with the nostalgic qualities, makes them a favorite among photography enthusiasts seeking that vintage vibe.
Setting Up Your Photoshop Workspace
Setting up your Photoshop workspace is crucial to achieving the best results. This involves arranging the essential tools and panels for easy access and creating a new project with the correct settings.
Essential Tools and Panels
When starting with Photoshop, having the right tools and panels readily available can make tasks efficient. Layers, adjustments, and history panels are fundamental. They help manage edits and keep track of changes while working on the Polaroid effect.
To access these, go to the Window menu and select each panel you need. It’s helpful to organize them in a way that makes sense for the project. For example, placing the layers panel on the right or left side of the workspace.
Toolbar placement is also important; it should be visible at all times. Customizing these panels to fit one’s workflow can save time and make the editing process smoother.
Creating a New Project
Starting a new project in Photoshop requires setting the correct dimensions and resolution. For a Polaroid effect, consider a frame of 3.4 x 4.2 inches. To do this, select File > New and enter these dimensions.
Choose a resolution of 300 pixels per inch (PPI) for high-quality printing. An off-white or light gray background color works well to mimic the classic Polaroid look.
By setting the workspace with these specifications, the project aligns better with the intended aesthetic. This preparation helps streamline the process of applying the Polaroid effect.
Creating the Polaroid Frame
To achieve a classic Polaroid look in Photoshop, you need to draw the frame and add texture. These steps help give your photo that nostalgic feel that Polaroids are known for.
Drawing the Frame Shape
Start by creating a new layer in Photoshop where the frame will sit. Use the Rectangle Tool to draw a white rectangle around your image. This rectangle is the iconic border that Polaroids have. Make sure the bottom edge is thicker to capture the real-life Polaroid feel.
Adjust the size of the rectangle to fit your image perfectly. Keep the photo centered within the frame to maintain balance. By doing this, you create the illusion of an old photograph ready to be admired.
Next, add rounded corners to the rectangle. Go to the Properties Panel and adjust the corner radius until it closely matches that of a genuine Polaroid frame.
Adding Texture and Detail
To give the frame a realistic touch, add some texture. You can use Photoshop’s Filter Gallery to accomplish this. Choose a subtle texture overlay that mimics paper grain, which makes the frame look more authentic.
Add a drop shadow effect to create a sense of depth. Go to Layer Styles and select Drop Shadow. Adjust the settings to mimic the soft shadow typical of Polaroid photos.
Finally, you might want to age the frame a bit. Use the Noise Filter to add a slight grain to the frame and photo. This small touch gives it the aged, classic look that Polaroids are famous for.
Working With Your Photo
Creating a Polaroid photo effect involves preparing your image by importing it into Photoshop and then adjusting its size and position to fit the frame properly. These steps are essential for achieving that classic look.
Importing the Photo
To start, open Photoshop and load the image you want to transform. Begin by clicking on File > Open and selecting your chosen photo. It’s helpful to work with high-resolution images to ensure the best quality result.
After opening the photo, consider converting it to a compatible format like JPEG or PNG if it’s not already. This ensures smooth editing and compatibility with various Photoshop tools.
Once the image is loaded, it’s time to organize your workspace. Arrange your toolbars and panels so you can easily access everything you need. This makes the editing process more efficient.
Adjusting the Size and Position
Next, focus on resizing your image to mimic the traditional Polaroid dimensions. Use the Rectangular Marquee Tool to create a selection around the photo. You can adjust the selection to a typical Polaroid ratio, such as 3.4 x 4.2 inches.
After making the selection, go to Image > Crop to trim the photo down to size. It’s important to ensure the main subject of your photo is centered and aligned properly within this cropped area.
Once cropped, you might want to reposition the image on the canvas. Click and drag to move it around, making sure it fits snugly within the intended Polaroid frame. Experiment with slight rotations or shifts to get the perfect alignment.
Applying the Polaroid Effect
Transforming regular photos into ones with a Polaroid effect involves careful adjustments. This includes correcting the colors for a vintage feel, adding filters and blurs, and applying edge effects and vignettes. Each step adds to the nostalgic charm of a classic Polaroid look.
Color Correction for Vintage Feel
To achieve a vintage vibe, tweaking the colors is key. Start by reducing the saturation slightly. This softens the colors and gives a more muted appearance.
Next, adjust the contrast to lower levels. This step helps emulate the softer contrast seen in old Polaroid photos. Shift the color balance towards warmer tones like yellows or reds to mimic the faded look typical of aged prints. Subtle adjustments can make a big difference in creating that timeless, old-school charm.
For precise control, use the Curves tool. This can help fine-tune highlights and shadows to replicate the unique contrast of a Polaroid. Playing around with these settings allows you to perfect that nostalgic look.
Adding Filters and Blurs
Adding filters can enhance the retro feel. Consider using filters that simulate film grain to add texture and depth. This roughens the image slightly, imitating the natural grain found in Polaroid photos.
Applying a slight blur can soften the image, lending it a dreamy quality. This effect can be achieved through a Gaussian blur. It’s important not to overdo it; a subtle blur is all that’s needed to replicate the natural softness of a Polaroid.
Use layer blending options to merge these effects seamlessly. Adjusting opacity when adding filters and blurs helps maintain the picture’s authenticity, ensuring it doesn’t feel overly edited.
Edge Effects and Vignettes
To complete the Polaroid effect, focus on the edges. Creating a thin, white border around the photo mimics the classic Polaroid frame. Use the Rectangular Marquee Tool to select the border and fill it with white.
Add a vignette by darkening the edges of the photo slightly. This draws attention to the center and enhances depth. Quite often, a vignette can be achieved using the Lens Correction filter in Photoshop.
These subtle edge adjustments give the photo a finished look, reminiscent of vintage prints. Such details are essential for capturing the essence of Polaroids.
Adding Final Touches
To achieve a realistic Polaroid look in Photoshop, extra steps can significantly enhance the effect. Texturing the photo surface, incorporating light leaks, and simulating handwritten captions will complete the vintage aesthetic.
Texturing the Photo Surface
Adding texture can make the image feel like a true Polaroid. Start by applying a subtle grain or noise to the photo. This mimics the film-like quality of vintage photographs. In Photoshop, this can be done using the Noise filter. Choose Filter > Noise > Add Noise, and adjust the amount to fit the desired effect.
Experiment with blending modes such as Overlay or Soft Light to see what works best. Combining textures with blending modes can highlight certain areas of the photo, enhancing the overall look.
Textures can be layered for more complexity. Using multiple layers of noise with varying blending modes and opacities will create a deeper, more authentic look.
Incorporating Light Leaks and Flares
Light leaks can introduce a nostalgic, dreamy feel to photos. To create them, use gradient layers. Go to Layer > New Fill Layer > Gradient and select warm colors like orange, red, or yellow. Adjust the angle and scale for a natural effect.
Positioning light leaks around the edges can be particularly effective. Use the Screen or Lighten blending modes to blend these layers seamlessly into the image. Adjust opacity for subtlety.
Additionally, lens flares can add a magical touch. Use Filter > Render > Lens Flare for this. Place the flare in a corner where it naturally complements the light source in the photo. This can enhance the atmospheric quality of the image.
Simulating Handwritten Captions
To give the Polaroid a personal touch, add a handwritten caption. Create a new text layer, then write the desired text in a handwriting-style font. Fonts like Lucida Handwriting or Segoe Script are good choices.
Position the text at the bottom of the image frame, as if it’s written on the Polaroid border. Adjust the size to make sure it fits neatly without overwhelming the picture.
For extra realism, use the Warp Text tool in Photoshop. This can subtly distort the text, simulating the imperfections of actual handwriting. Adjusting the font color to a deep gray can also mimic ink, blending well with the Polaroid effect.
Saving and Exporting Your Artwork
Once the Polaroid photo effect is complete in Photoshop, saving and exporting the final image correctly is crucial. The choice of format and settings can impact how well your artwork maintains its quality and how it is viewed across different mediums.
Best Formats for Preservation and Sharing
For preserving high-quality images, the TIFF and PSD formats are excellent choices. TIFF is ideal because it retains all details without compression loss. PSD is useful for keeping layers and edits intact for future modifications.
For sharing online, JPEG is a popular format due to its smaller file size and broad compatibility. It’s perfect for social media and easy sharing, though some detail may be lost. Another option for artwork is PNG. It offers lossless compression, maintaining image quality while still producing reasonably small file sizes. PNG is especially useful when transparency is needed or for images with vibrant colors and clear details.
Exporting for Web and Print
When preparing artwork for web use, resolution and size need adjustment. 72 DPI (dots per inch) is typical for web images, providing a balance between quality and load time. JPEG or PNG formats work well here due to their file size and quality balance.
For print, aim for a higher resolution, like 300 DPI, to ensure clarity and sharpness on paper. TIFF is preferred for its superior preservation. Use the “Save As” or “Export” options in Photoshop, selecting the correct format and resolution based on the intended use.