Accessing the Adobe Bridge Quick Tour in Photoshop can really enhance your workflow. Adobe Bridge is a powerful file management program that integrates seamlessly with Photoshop, making it much easier to organize and manage your images before editing.
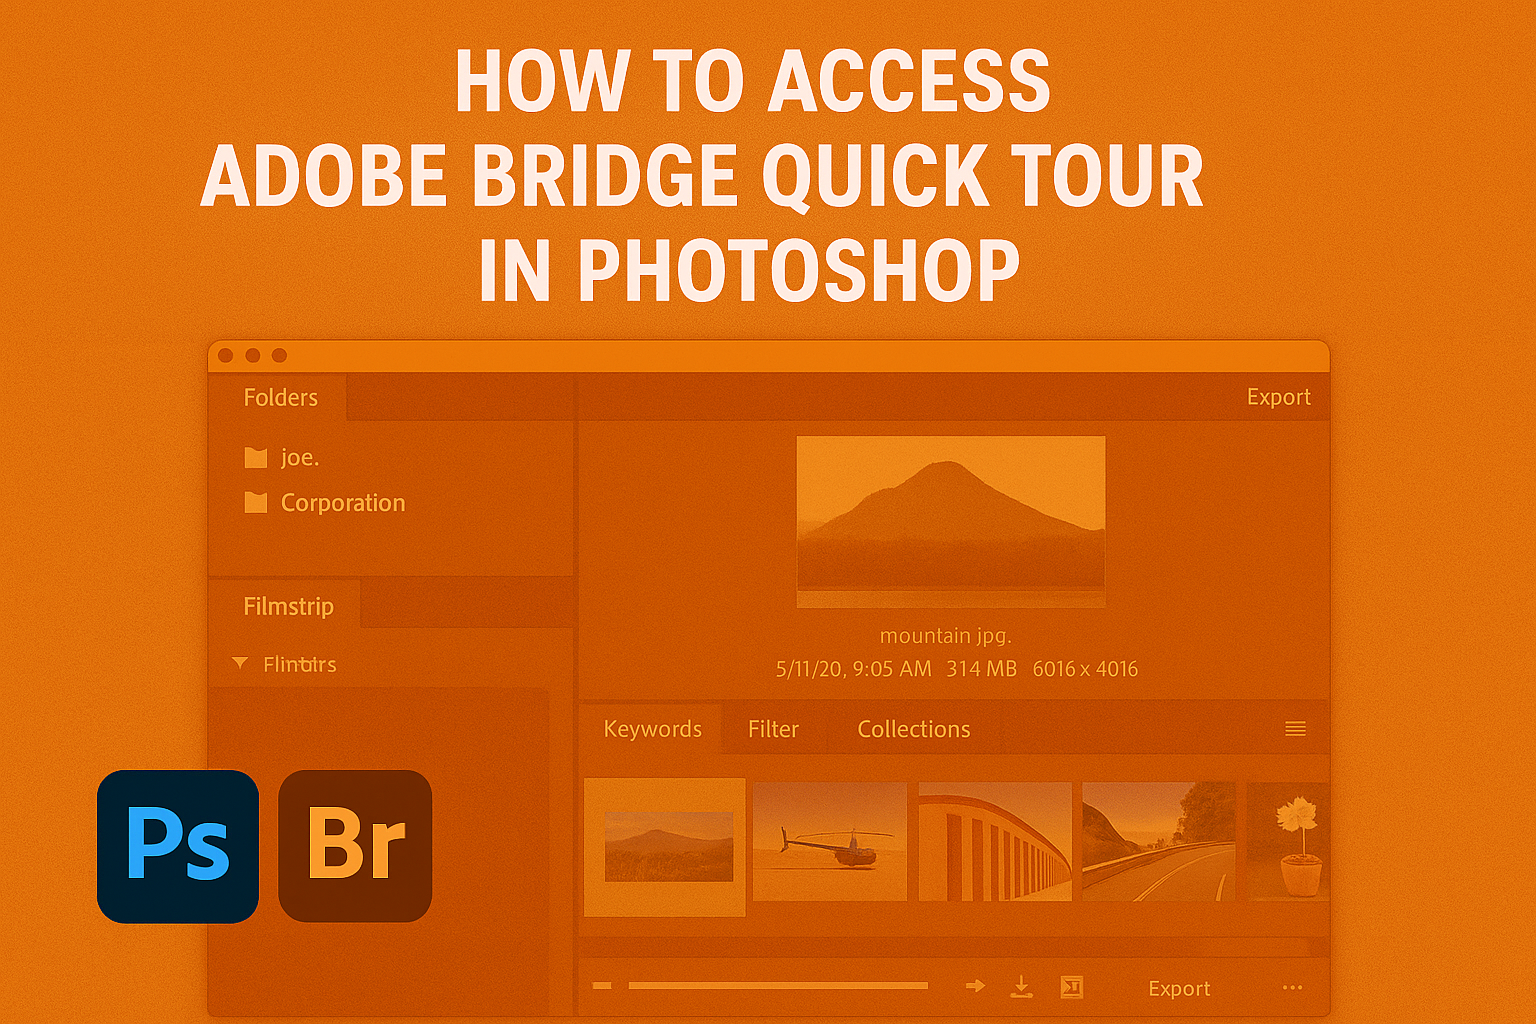
To start the Adobe Bridge Quick Tour, launch Photoshop and go to File > Browse in Bridge. This opens the software to help you navigate through your files.
Adobe Bridge allows users to preview, rate, and label images efficiently. This feature is valuable for photographers and designers who handle large volumes of images.
The quick tour provides a handy overview of how to move, copy, and even delete files, ensuring that everything is in perfect order before launching into detailed edits. This setup not only saves time but also keeps workspaces tidy and organized.
For those new to Adobe Bridge, taking the Quick Tour is an excellent way to get familiar with its features. Users can learn to download images from a camera or memory card directly to their computer with ease.
With options to preview and sort images, Adobe Bridge simplifies the process of preparing files before opening them in Photoshop. This enables a smoother workflow and helps users focus more on creativity and less on file management.
Getting Started with Adobe Bridge
Adobe Bridge is a powerful tool for organizing and managing creative assets. It’s seamlessly integrated with other Adobe apps, making it easy to navigate and access files.
This section will guide you through the basics and how to open Bridge directly from Photoshop.
Understanding Adobe Bridge
Adobe Bridge functions as a digital asset management app. Its primary purpose is to help users organize and preview various creative files.
Users can sort, filter, and label their assets, making workflow smoother. It’s compatible with multiple file types including images, videos, and documents, making it versatile for different creative projects.
The tool also supports batch processing. This feature is useful when applying repetitive actions to multiple files, saving users time.
Additionally, Bridge integrates well with other Adobe Creative Cloud applications, providing a unified experience for creators working across platforms.
For beginners, the Adobe Bridge User Guide is a helpful resource to learn more about its capabilities.
Launching Adobe Bridge from Photoshop
To start Adobe Bridge directly from Photoshop, open Photoshop first. In the main menu, click on File and then choose Browse in Bridge.
This action launches Bridge, allowing users to explore files linked to their current projects.
If Adobe Bridge is not installed, the system will prompt users to download it from the Creative Cloud. Once installed, Bridge becomes a valuable companion for managing assets directly from Photoshop.
Bridge also offers additional functions like file search and browsing for stock images, enhancing the Photoshop experience.
Launching from Photoshop allows users to seamlessly switch between both apps, improving workflow efficiency. For more practical tips, visit the guide on starting Adobe Bridge.
Navigating the Bridge Interface
Navigating the Adobe Bridge interface is vital for efficiently organizing and managing files. Users can learn how to use the workspace layout effectively and customize the interface to suit their needs.
Using the Workspace Layout
The workspace layout in Adobe Bridge includes several panels and tools to help manage content. On the left, the Favorites and Folders panels give quick access to frequently used locations.
The Content panel in the center displays thumbnails of the selected files, making it easy to browse and select items.
Metadata and Preview panels provide detailed file information and larger previews, respectively. Users can open these panels using the Window menu if they are not visible.
Understanding panel locations and how to toggle them on and off helps streamline the workflow.
For those interested in a quick demo, Adobe Bridge offers resources like the Adobe Bridge Quick Tour, which guides users through the essential aspects of navigating the program. Learning the layout makes Adobe Bridge a powerful tool for file management within the Creative Cloud suite.
Customizing the Interface
Customizing the Adobe Bridge interface allows users to tailor their workspace to fit specific tasks.
Through the Preferences dialog, users can adjust the appearance and functionality. This includes changing the theme between light and dark, adjusting the size of thumbnails, and fine-tuning color settings.
The ability to rearrange panels is another key feature. Users can drag and drop panels to create a layout that suits their workflow.
This customization means a more personalized, efficient workspace for file management, leading to increased productivity and ease of use.
In Adobe’s guide, details on customizing features can help users get the most out of Bridge. For more comprehensive guidance, users can explore detailed instructions on Adobe’s workspace management techniques. Customization makes the interface adaptable, ensuring comfort and efficiency while working on creative projects.
Using the Quick Tour Feature
Adobe Bridge offers users an easy way to familiarize themselves with its capabilities through the Quick Tour feature. This feature helps beginners get started by highlighting essential tools and functions.
Initiating the Quick Tour
To begin the Quick Tour in Adobe Bridge, users need to open the program within Photoshop. Once Bridge is open, the Quick Tour can usually be found in the Help menu.
This tour is designed to automatically guide users through the major sections of the interface.
As the tour begins, prompts will appear on the screen. These will provide brief explanations of different features.
Users should feel free to pause the tour if they need more time to explore a particular tool or area. The tour ensures a smooth introduction to the software by bringing attention to features like the Preview Panel and the Metadata Panel.
Exploring Key Features
While on the Quick Tour, users will be introduced to several important features within Adobe Bridge.
One such feature is the Preview Panel, which allows users to view detailed images easily. The tour also touches on the use of collections, which are handy for organizing similar files.
The Metadata Panel is another key area the tour highlights. It provides comprehensive information about each file, making it easier to sort and manage creative assets.
Additionally, file types and organizing options are covered, showing users how to keep their workflow efficient.
Navigating through the Quick Tour presents a great opportunity to get comfortable with the software. Users can understand the basics without feeling overwhelmed, gaining confidence in using Adobe Bridge for their projects.
Managing Assets with Adobe Bridge
Adobe Bridge is a versatile tool for organizing and managing creative assets, whether it’s photos, videos, or other media. It helps users easily browse, preview, and sort their files, making project navigation more efficient.
Browsing Files and Folders
Adobe Bridge allows users to effortlessly navigate through their computer’s folders and files. It provides a visual interface where users can see thumbnails of images and other media types. This approach eliminates the need to open every file individually to identify them.
Quick Access: Users can use the Favorites panel to keep frequently accessed folders at their fingertips. The Contents panel displays files from the selected folder, helping them manage their assets effectively.
With options to filter by file type or metadata, quickly finding specific files becomes a breeze. Additionally, Adobe Bridge’s integration with Creative Cloud Libraries helps users access shared assets directly.
Previewing and Reviewing Images
Bridge offers several ways to preview images. It includes a Preview panel that offers a larger view of selected files without opening them in separate software.
Users can review details such as resolution and color profile in the Metadata panel.
Content Review: The Review Mode allows users to compare multiple images side by side. They can easily rate images or reject unwanted ones, streamlining the process of finding the best shots.
Utilizing the full-screen preview mode can help users see images in better detail, aiding them in making informed decisions about which files to use or edit.
Organizing Collections
Creating and managing collections is an important feature in Adobe Bridge. Collections are user-defined groups of files that can include images from multiple folders. They provide a way to organize files without moving them from their original locations.
Custom Collections: Users can drag and drop files into collections tailored to specific projects or themes.
Adobe Bridge also allows for Smart Collections, which automatically update based on criteria set by the user. This dynamic organization helps in keeping files organized without manual sorting.
Moreover, keywords and labels provide additional layers of organization, making file searching more intuitive and efficient. Using these features, users can maintain a streamlined workflow for any creative project.
Adobe Bridge Integration
Adobe Bridge is a powerful tool that works seamlessly with various Adobe Creative Cloud applications. It offers features that enhance workflows, particularly when paired with Photoshop and other Creative Cloud apps, facilitating easy editing and asset management.
Editing in Photoshop from Bridge
Adobe Bridge allows users to easily open images directly into Photoshop. This integration supports efficient workflows by enabling users to manage files in Bridge and edit them in Photoshop without hassle.
Users can choose their desired images in Bridge, then select File > Open with Photoshop. This smooth transition from viewing and organizing in Bridge to editing in Photoshop saves time.
Bridge supports different file formats, including RAW files. This feature is particularly useful for photographers who need to make detailed adjustments in Photoshop.
The integration also allows batch processing, where multiple images can be opened and edited in Photoshop simultaneously, further streamlining the workflow.
Using Adobe Bridge with Other Creative Cloud Apps
Adobe Bridge is widely used with other Creative Cloud apps like Illustrator and InDesign. This integration simplifies asset management by allowing users to access and organize files for various projects from one central hub.
By arranging images, graphics, and other assets in Bridge, users can easily drag and drop them into other Adobe applications.
This ability to connect with other apps adds versatility to creative projects. Bridge also enables users to add metadata to files, making them easier to find and sort across different Adobe applications. This can be particularly helpful for professionals working on large-scale projects that involve multiple types of media and formats.
Efficiency Tips
Using Adobe Bridge effectively can greatly speed up the workflow in Photoshop. Two useful strategies are customizing keyboard shortcuts for faster navigation and using batch processing to handle multiple files at once.
Customizing Keyboard Shortcuts
Adobe Bridge allows users to create custom keyboard shortcuts to enhance productivity. This feature lets users personalize their workflow by assigning shortcuts to commonly used commands.
To set up shortcuts, navigate to the Edit menu and select Keyboard Shortcuts. From there, users can choose specific commands and assign their preferred keys, making frequent tasks much quicker.
Custom shortcuts reduce reliance on a mouse, which can save a lot of time, especially when dealing with repetitive tasks. Personalizing the shortcuts to fit the workflow can lead to more efficient use of Adobe Bridge, letting users focus more on creative work rather than navigating menus.
Batch Processing
Batch processing is a powerful feature in Adobe Bridge that helps manage large numbers of files simultaneously.
Users can apply the same action to a set of files, such as renaming, resizing, or converting them to a different format. This is done through the Tools menu by selecting Batch Rename or other desired batch actions.
By automating repetitive actions, batch processing saves a significant amount of time.
For instance, photographers can quickly organize images by event or date, ensuring a consistent naming convention across their entire library. With less time spent on manual tasks, users can focus more on editing and perfecting their images efficiently.