Creating slow-motion effects in videos can make scenes more captivating and add a dramatic touch. If someone is using Canva, they can easily adjust video speed right within the platform.
This feature is perfect for users looking to add flair without using complicated software.
To begin, users should select the video they want to modify. They can adjust the playback speed to capture every detail, whether it’s a moment of fast action or a gentle, sweeping movement.
Canva makes it simple by providing a speed slider to manage this task.
These tools allow for experimentation with different speeds to find what fits the video’s mood best.
As people grow comfortable with these adjustments, they unlock creative storytelling possibilities using just a simple tool like Canva.
With such capabilities, Canva ensures that anyone can bring their visionary ideas to life in a seamless and user-friendly way.
Getting Started with Canva
To start making slow motion effects in Canva, it’s essential to first understand how to create an account, familiarize yourself with the interface, and select an appropriate video template.
This foundation will help you navigate the platform smoothly and get the most out of its features.
Creating Your Canva Account
Before diving into video editing, users need to create a Canva account. Signing up is straightforward.
Visit the Canva homepage and click on the “Sign Up” button. You can choose to sign up using an email, Google, or Facebook account, offering flexibility based on your preference.
After signing up, Canva may prompt you to select the account type, such as individual or business. This helps in customizing your dashboard.
New users often benefit from exploring the basic tools available, which can be done through demo projects or quick tutorials that provide a brief insight into the platform’s capabilities.
Overview of Canva Interface
Once logged into Canva, first-time users are greeted with a clean and intuitive interface.
The left side of the screen typically houses the main navigation menu. Here, users can find options for creating designs, accessing saved projects, and browsing templates.
When starting a new project, the main area displays a blank canvas. Above the canvas, users can see a toolbar with options for adding text, images, and other elements to their design.
It’s crucial to familiarize oneself with these options, as they are the basis for creating impressive videos and other projects.
Choosing the Right Video Template
Canva offers a vast library of video templates, making it easy to start a new project.
To select a template, navigate to the “Templates” section on the left menu. Users can search through categories or use the search bar for specific styles or formats.
Choosing the right template depends on the project’s goals. Consider factors such as the video’s theme, length, and visual style.
Experimenting with different templates can spark creativity and help users understand what works best for their needs.
By selecting the right template, users set the stage for a successful video project.
Preparing Your Video Content
To create a slow-motion effect in Canva, it’s important to get your video content ready first. This involves uploading your video and using basic editing tools for adjustments before applying any effects.
Uploading Videos to Canva
First, users need to bring their video files into Canva. He or she can do this by logging into their account and navigating to the Uploads tab on the left sidebar.
Click the Upload button, and select the videos from the device or cloud storage.
It’s important to ensure the video file is compatible with Canva, typically common formats like MP4 are supported. Once uploaded, videos will appear in the media library, making them easy to drag into a project.
Keeping video file sizes minimal can also help. Large files might take longer to upload or cause lag during editing.
Optimizing video files before uploading ensures everything runs smoothly. Users can do this by trimming unnecessary parts or lowering the video resolution if needed.
Basic Video Editing Tools
Before diving into effects, adjust the video using Canva’s basic editing tools. Users can find these tools once the video is added to a project.
Trimming the video helps eliminate unwanted parts. By selecting the video clip, users can drag the handlebars to shorten the beginning or end.
Cropping is another useful tool. This allows users to focus on key parts of the video, ensuring that only the important elements remain.
Adjusting brightness, contrast, and saturation can enhance the visual appeal. These options can be found under the Adjust tab.
These basic tools are critical for setting up the video for more advanced effects like slow motion. Taking the time here ensures a better outcome later.
Adding Slow Motion Effects
Creating a slow-motion effect in Canva can transform your video, making it more engaging and dynamic. By using Canva’s intuitive tools, users can easily access and adjust video speed, then preview the result to ensure the effect meets their vision.
Accessing the Speed Tool
To start, open the Canva video editor and select the video you want to edit. On the editing dashboard, locate the toolbar. Here, users will find various tools, including the speed tool.
This tool is essential for creating slow-motion effects.
Once in the toolbar, clicking on the playback speed icon opens up options for adjusting the speed. Canva has designed the interface to be user-friendly, so even beginners can navigate it effortlessly.
Text options or slider bars might be present, depending on the version.
Users should ensure they have a clear video to work with. Adjustments can then be made without any issues.
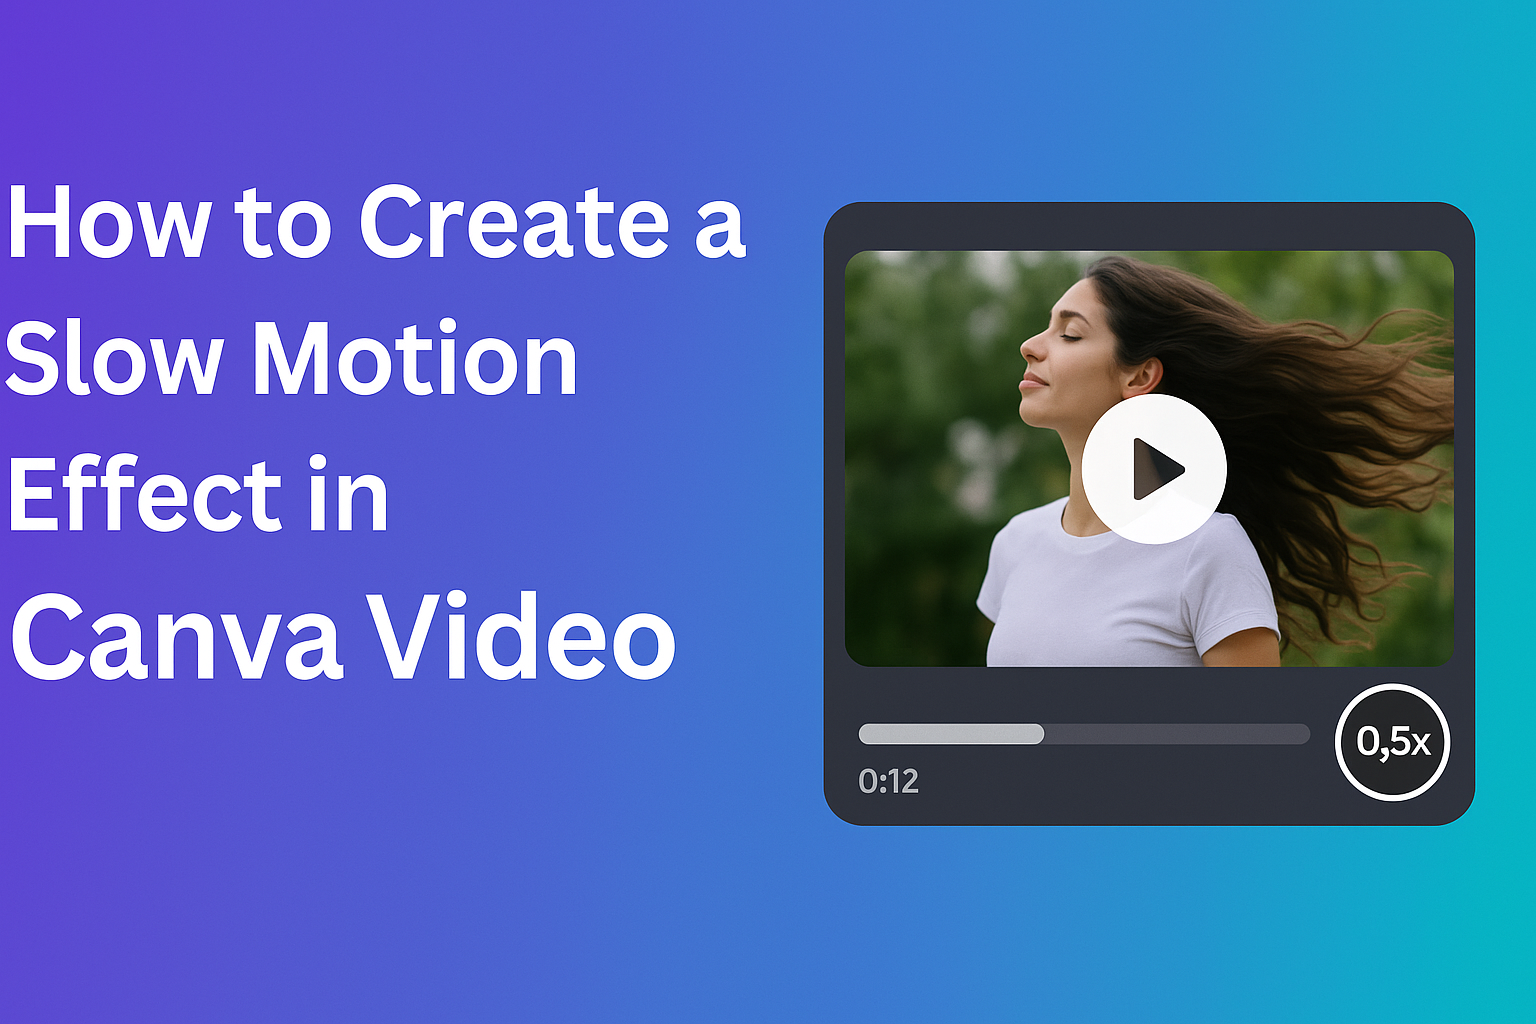
Adjusting Video Speed for Slow Motion
With the speed tool accessed, adjust the playback speed to create the slow-motion effect. Most videos work well at 0.75x or 0.5x speed.
To make the change, simply slide the bar or enter the desired speed value.
Keep in mind that slowing down too much can result in choppy video, so it’s best to experiment to find the sweet spot.
When adjusting, it’s important to listen to the audio as well, since slackening speed can alter the sound. This may require additional edits.
Previewing the Slow Motion Effect
Once adjustments are made, previewing is vital.
In the Canva editor, a preview button allows users to watch the modified video with the slow-motion effect.
By watching the video in this mode, users can assess the quality and make any necessary changes.
It’s crucial to check for smoothness in transitions and that no part of the video lags behind.
Taking time to preview ensures that the final product is polished and ready for sharing. If satisfied, the video can be saved or exported directly from Canva.
Enhancing Your Slow Motion Video
Enhancing your slow motion video involves adding text, incorporating music, and applying transitions and filters. These elements can help emphasize the mood and make the video more engaging for viewers.
Adding Text and Captions
Text and captions can add important context or highlight specific moments in your slow motion video. They can guide the viewer’s attention to crucial parts of the scene.
In Canva, users can select from various fonts and text styles to match the video’s theme.
Positioning is key; text should be placed where it doesn’t obstruct important visuals.
Bold and italic text can be used for emphasis, drawing attention to specific words or phrases. Captions can also include timestamps for dramatic moments.
Creative text elements enhance storytelling and ensure that key information stands out clearly.
Incorporating Music and Sound Effects
Music and sound effects play a critical role in shaping the mood of a slow motion video. Adding the right soundtrack can make the video more immersive and emotionally appealing.
In platforms like Canva, users can select from a library of pre-licensed music tracks.
It’s crucial to choose a song that complements the video’s pace and theme. Sound effects, such as whooshes or ambient sounds, can highlight transitions or enhance dramatic moments.
Volume levels can be adjusted to ensure that music and sound effects don’t overpower any spoken content or important audio cues.
Customizing audio further personalizes the viewing experience, creating a strong connection with the audience.
Using Transitions and Filters
Transitions and filters can add polish, making slow motion videos more visually appealing. They help in smooth scene changes and set the video’s tone.
Canva offers various transition styles, like fades or slides, that can make each part of the video flow seamlessly into the next.
Filters can alter colors and lighting to match the desired mood, whether it’s vibrant or moody.
Using transitions and filters carefully can elevate the storytelling perspective by emphasizing the intended theme and enhancing the overall visual quality.
It’s important to preview these effects to confirm that they complement the video rather than distract from it.
Exporting and Sharing
When creating a slow-motion video in Canva, exporting and sharing are crucial steps. This includes selecting the best settings for export, downloading the file, and finally, sharing your masterpiece on social media platforms.
Choosing the Right Export Settings
Selecting the right export settings in Canva ensures your video maintains its quality and is suitable for the platform you plan to use.
Users can find export options under the “Download” tab.
It’s helpful to choose a high resolution, like 1080p, for platforms that support HD content.
The format is another important aspect. For most uses, MP4 is a versatile and widely supported choice.
Canva allows users to adjust these settings easily. Think about where the video will be shown; certain platforms might have specific requirements.
Downloading Your Video
Once the export settings are chosen, downloading the video from Canva is straightforward.
Users need to click on the “Download” button, typically found in the top-right corner. From here, select the desired format, often MP4 for videos.
Users can then save the file to their computer.
It’s a good idea to double-check the downloaded file to ensure it has exported correctly.
Verifying the video before sharing it avoids potential issues. Keep the video organized by saving it in a specific folder, making it easier to locate and share later.
Sharing to Social Media Platforms
Sharing the video on social media platforms is one of the final steps. Each platform, like Instagram or Facebook, may have different specifications.
Users can upload directly from their computer or through Canva’s sharing features. For platforms like Instagram, users might want to ensure the video meets specific duration and size guidelines.
Facebook allows direct uploads or sharing through links. Double-checking these details guarantees the video will display perfectly.
Whichever platform is chosen, the beautifully crafted slow-motion video brings added flair to any social media feed.