Adding text to your designs on Canva Mobile is a breeze and can enhance your creative projects.
To add text, tap the “+” button on the bottom right corner, choose “Text,” and select from various styles like headings, subheadings, or body text. Canva Mobile offers a wide range of fonts and styles, making it easy to personalize your design.
Exploring different font combinations can bring your ideas to life.
Users can adjust the size, color, and position of their text to perfectly fit their design’s theme. Whether you’re creating a simple poster or a detailed social media post, these tools offer flexibility to adapt your text to any need.
By mastering the text features in Canva Mobile, anyone can design quickly and effectively. This lets users focus on their overall vision without getting bogged down in complicated processes. The app’s user-friendly interface makes it suitable for both beginners and seasoned designers.
Getting Started with Canva Mobile
Getting started with Canva Mobile is easy and straightforward.
Users first need to download the app and then set up an account or log in. This ensures access to all design tools available on mobile.
Downloading the Canva App
The Canva Mobile app can be downloaded for free. To get started, visit the app store on your device—Google Play Store for Android users and the App Store for iPhone users.
Search for “Canva” in the store’s search bar. Once found, tap on the Install or Get button. The app will begin to download and install on your device.
Check that there is enough space on your device for the app. Also, ensure a stable internet connection during the download. After installation, a Canva icon should appear on your home screen. Users can tap this icon to open the app and begin exploring its features.
Creating a New Canva Account or Logging In
Once the app is installed, users have the option to create a new account or log in using existing credentials.
New users should select the Sign Up option. They can choose to register using an email address or link through social media accounts like Google or Facebook. Follow the onscreen instructions to complete the registration process.
For those with an existing account, select Log In. Enter the email and password linked to the Canva account. If the user forgets the password, there is an option to reset it through the email provided.
Upon successful login, users can immediately access the comprehensive range of design templates and tools available on Canva Mobile.
Navigating the Canva App Interface
Navigating through the Canva app is simple once you understand its layout. The app features a home screen, a template gallery, and a section for accessing your designs. Each area is designed to enhance user experience.
Understanding the Home Screen
The home screen is the first thing you see when you open Canva. It includes quick access to recent projects and a search bar to find templates. Users can also explore design suggestions based on themes or categories.
The bottom menu provides access to various sections like Templates, Your Designs, and more. This layout is intuitive, helping both new and experienced users find what they need efficiently. Notifications and updates are also visible here, ensuring users never miss important changes.
Using the Template Gallery
The Template Gallery offers a wide range of design options. Users can browse categories like invitations, social media posts, and posters. Each category is packed with styles to suit different projects.
The use of filters and search functions makes finding the perfect template simple. By tapping on a template, users can start customizing it immediately. This gallery is a valuable resource for anyone seeking design inspiration or time-saving solutions on their creative projects.
Accessing Your Designs
In the “Your Designs” section, users can view and manage their past projects. This area is where all saved designs are stored, making it easy to continue unfinished work.
Users can also duplicate, edit, or share their projects with others. There are options to categorize designs for better organization. The simple interface ensures that users can keep track of their creative work without hassle. This section is crucial for maintaining a clean and organized workspace, enhancing productivity and creativity.
Creating a New Design
Creating a design in Canva Mobile involves choosing a suitable template and adjusting the design dimensions. These steps ensure your project meets your needs while allowing for customization with text and other elements.
Choosing the Right Template
Selecting a template is the first step in starting a design on Canva Mobile.
He can open the app and tap on the purple “+” button at the bottom of the screen to browse the available templates. There are options for social media posts, presentations, invitations, and more, which makes it easy to find a match.
Choosing the right template sets a strong foundation for adding custom elements like text and images.
Templates vary in complexity, so she should consider how much editing is needed. Simpler templates may be easier to modify, while more detailed ones might save time if they closely match the desired end result.
Canva’s mobile app provides various filters to help narrow down choices based on style and purpose. Browsing through the examples allows them to visualize how their content will look before committing to a template.
Adjusting Design Dimensions
Adjusting dimensions ensures the design fits specific needs.
On Canva Mobile, after selecting a template, he can often set custom dimensions if the default doesn’t match the project’s requirements. For example, to create a Facebook cover photo, exact measurements are available to ensure proper fit.
Modifying dimensions involves tapping the “Resize” option. This flexibility is useful for maintaining visual consistency across platforms. It guarantees the design appears polished whether viewed on a desktop or mobile device.
Ensuring accurate dimensions also prevents issues like text or images being cut off in the final version, allowing for a seamless and visually appealing result.
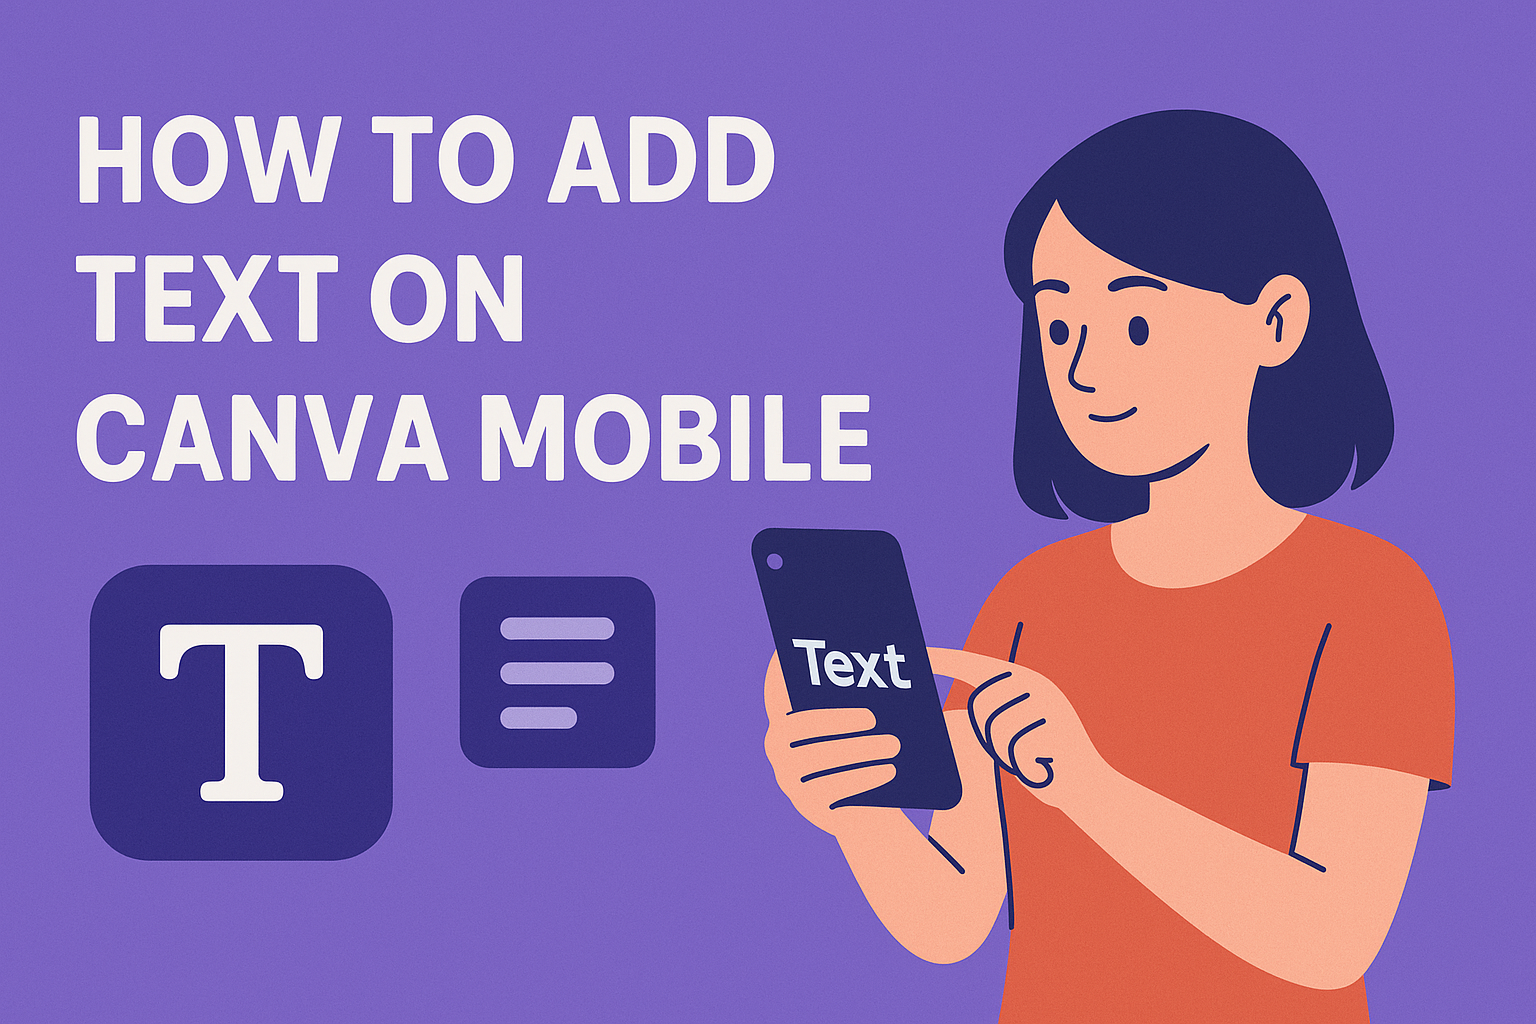
Adding Text to Your Design
Adding text to a design in Canva Mobile is simple and lets users personalize their projects quickly. There are just a few steps from selecting the text tool to customizing with different fonts and colors.
Selecting the Text Tool
To start adding text to a design in Canva Mobile, users should locate the text tool. After opening the design, tapping the “+” button at the bottom-right corner brings up several options.
Choosing the “Text” option allows the user to begin their work. This tool provides a range of text boxes, from headings to body text, suitable for different styles.
By offering choices between pre-formatted text boxes, users can decide on a consistency that suits their project. This selection is crucial for ensuring the text style aligns with the rest of the design.
Typing Your Message
Once the text tool is open, it’s time to type the message. Users can easily tap on the text box to begin typing.
It’s important to consider the message’s length and tone within the design’s context. A brief, clear message often works best for visuals. Users should focus on the main point they want to communicate with their audience.
Editing is straightforward; just tap the text box again to make changes. This flexibility lets users test different phrases until they find the perfect fit for their design.
Customizing Font and Size
Customizing fonts and sizes helps make the text stand out.
Users can explore Canva’s wide array of font options, from classic to modern styles that can enhance the design’s theme. To change the font, simply tap the current text box, and then select the font menu.
Adjusting the size is easy, too. Users can either drag the corners of the text box or input a specific font size. This customization ensures the text remains readable and visually appealing.
Remember that consistency in font and size can make a design look professional and cohesive.
Styling Text with Colors and Effects
Styling the text with colors and effects adds a unique flair.
Users can choose a color that complements the design by selecting a text box and tapping the color icon. Canva Mobile offers a wide palette, making it easy to match or contrast text with the design’s hues.
Beyond color, additional effects like shadows or outlines help text stand out further. These effects can be activated from the text menu and adjusted to achieve the desired look.
Experimenting with these elements allows users to create dynamic and engaging visuals without overpowering the rest of the design.
Manipulating Text Elements
When working with text in Canva mobile, you may want to move, resize, or rotate your text boxes. Additionally, layering text with other design elements can help create a visually appealing layout.
Moving Text Boxes
Moving text boxes in Canva is straightforward. Users can simply tap the text box they want to move, then drag it to the desired location on their design.
This is handy for adjusting layout and spacing. There’s no restriction on whether you move text horizontally, vertically, or diagonally—making the process quite flexible.
Having the ability to move text freely is essential for aligning text with other design elements or adjusting it for better visual balance. Remember, exact placement may vary depending on the device and screen size.
Resizing and Rotating Text
To resize text in Canva mobile, tap the text box to see small handles around it. Drag these handles to adjust the size.
Resizing can emphasize important text or help it fit within certain areas.
Rotating text is just as easy. Use the rotate icon at the bottom of the text box to turn the text around. Rotate text for a creative effect or to match the angle of other elements in the design.
Both resizing and rotating help add character and dimension to your work.
Layering With Other Design Elements
Layering text with images or backgrounds can add depth and interest to your design.
In Canva mobile, layering is managed by selecting the text box and using the ‘Position’ option. This lets you bring text forward or push it back behind other elements, such as images or shapes.
Layering is a great way to create focus in a design. You can use transparent backgrounds, overlay text on photos, or combine it with shapes.
Experiment with different layering techniques to see how they change the look and feel of your design. Be mindful of contrast and visibility when layering text over complex backgrounds.
Using Brand Fonts and Colors
Using brand fonts and colors in Canva helps create a consistent look across all designs. This involves accessing the Brand Kit, applying custom fonts, and utilizing specific color schemes.
Accessing Your Brand Kit
To start, one should access the Brand Kit from their Canva account. This feature allows users to organize and manage their brand’s visual elements like fonts and colors in one place.
On the Canva homepage, users can click on the Brand option from the side panel.
From there, navigate to the Brand Kit tab. If a user has multiple Brand Kits, they can select the one they wish to edit.
The Brand Kit serves as a central hub where all brand assets are stored and customized. This makes it easy to apply them across different projects with just a few clicks.
Applying Brand Fonts
Once the Brand Kit is accessed, applying brand fonts becomes straightforward.
Users can choose from a variety of fonts, or upload their own custom fonts. In the Brand Kit, under the Brand fonts section, click on Upload a font to add a new font if the desired one is not available.
It’s important for users to select specific fonts for different text types, like headings and body text. Canva allows only one default font per category, so choosing wisely is crucial.
Using consistent fonts ensures that all written content aligns with the brand’s identity, making designs easily recognizable to an audience.
Using Brand Colors
Brand colors are equally important in maintaining design consistency.
Inside the Brand Kit, users can upload their specific color palette, which usually consists of primary, secondary, and accent colors. Populate the color palette by clicking on Add new.
Selecting the right colors is essential. These colors convey the brand message and evoke certain emotions in the audience.
With the colors set in the Brand Kit, users can implement them quickly across any design on Canva. This simplifies the design process by ensuring that every project adheres to the brand’s visual standards.
Using the Canva Brand Kit feature makes it easy to manage brand-specific details effectively, even on mobile devices.
Adding Effects to Text
Adding effects to text in Canva Mobile can help make your designs more appealing. Two popular techniques are adding shadows and outlines, and applying curved and other special effects.
Using Shadows and Outlines
Shadows and outlines can give your text depth.
To start, select the text you want to enhance. Then, tap on Effects from the toolbar.
Choose from several shadow styles, such as drop shadow or glow.
Adjust the intensity and color for the best look.
For outlines, see options to create a border around your text.
You can modify the thickness and color of the outline to suit your design.
These features allow users to mix and match styles to fit various needs. They make text stand out and can convey different moods or themes.
For more help, check out the Canva text effects guide.
Applying Curved Text and Other Effects
Curved text adds a dynamic and fun look to any project.
After selecting your text, tap on Effects and choose the curvature option.
Adjust the curve’s angle to fit your layout.
This feature is perfect for circular designs or to add emphasis.
Besides curvature, Canva offers other effects like hollow text or background colors to enhance words.
Users can explore different styles by layering these effects, which help in creating unique designs.
Playing with these tools lets users highlight important points and create focus.
For more details, visit Canva’s help center on formatting text.
Saving and Sharing Your Design
Once you’ve perfected your design on Canva Mobile, it’s time to save and share your work. Learn how to export your design in different formats and easily share it across various social media platforms.
Exporting Your Finished Design
When you’re ready to save your design, tap the download arrow at the top of the screen.
You’ll see several options for file formats, like PNG, JPG, and PDF.
PNG is great for high-quality images, while JPG is useful for smaller file sizes.
For document printing, choose PDF.
If your design includes animations, consider exporting as an MP4 video or GIF.
Once you’ve decided on the format, select the desired quality settings.
Higher quality will look better but might result in a larger file size.
After you’ve set your preferences, hit the Download button to save your design to your device.
Sharing to Social Media
To share directly to social media, tap the share icon. You can instantly post to platforms like Facebook, Instagram, or Twitter.
Make sure you’re logged into the desired accounts for easy access.
Each platform might require different image formats or sizes. It’s helpful that Canva Mobile automatically adjusts these for you when sharing.
If prompted, allow Canva to access your photo gallery or social media apps for seamless sharing.
Before you post, consider adding captions or hashtags to engage your audience. By doing this, you can reach more people and increase the visibility of your design.