Creating a comic strip might seem complicated, but Canva makes it simple and fun.
To start, users can choose a template, add panels, and insert images and text. This allows even beginners to design their own stories without needing professional skills.
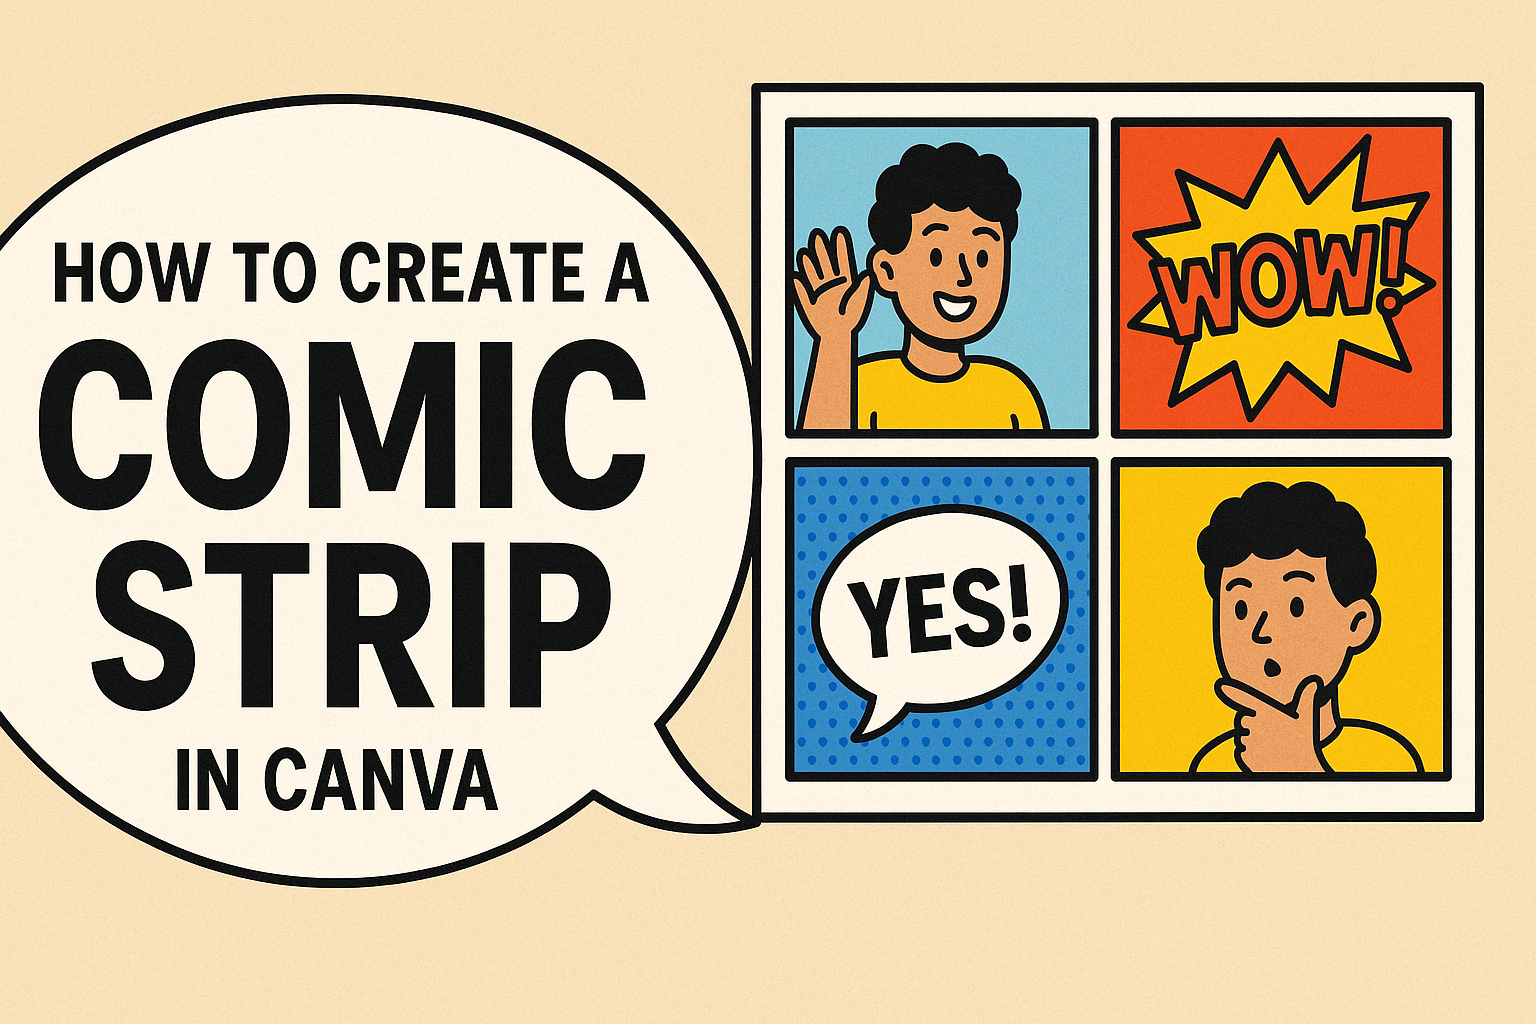
With Canva, customizing the comic strip is part of the creative adventure.
Users can select different fonts, colors, and images to match the mood of their story. This flexibility helps bring unique ideas to life and make the comic appealing.
For those eager to share their creations, Canva provides options to save, share, or print the comic strips.
Whether making a comic for fun or sharing a personal story, Canva’s user-friendly features support the entire process. Learn more about using Canva for comics with the guide on how to create a comic strip in Canva.
Getting Started with Canva
Starting with Canva is simple and accessible, even for beginners.
This section will cover how to set up a Canva account, navigate its interface, and choose the right template for comic strip creation.
Creating a Canva Account
To begin using Canva, an account is necessary. Users can create an account through email, Google, or Facebook.
Visit the Canva website and click on the sign-up button. Fill in the necessary details and confirm the registration through a verification email.
It’s free to create an account, with the option to upgrade for more features.
After logging in, users can explore Canva’s dashboard and the variety of tools available for design projects.
Whether using it for personal projects or educational purposes, Canva provides an easy entry point for everyone.
Overview of Canva Interface
Once logged in, users are greeted with a clean and intuitive interface. The dashboard displays recent projects, templates, and design elements.
The left-side panel is key for selecting different types of content like photos, text, and backgrounds.
The top bar provides options for resizing and project management.
Canva uses a drag-and-drop functionality, making it user-friendly for both beginners and experienced designers.
Users can switch between tools easily and customize designs effortlessly. Understanding these basic features allows users to focus more on creativity than on technicalities.
Selecting the Right Template for Comics
Choosing the right template is crucial for comic strip creation.
Canva offers various pre-made templates that are perfect for comics, whether someone is aiming for a classic strip or a personalized storyboard.
To find these, type “comic strip” in the search bar on the homepage. Explore the options and select a template that matches the project’s vision.
Templates can be altered with different panels, colors, and text styles, allowing users to craft a unique look. With Canva’s flexible tools, users can adapt any template to suit their storytelling needs effectively.
Planning Your Comic Strip
Creating a comic strip involves thoughtful planning.
Two crucial steps are deciding on a storyline and sketching the layout.
Developing Your Storyline
To start, they should think of an engaging storyline. Good stories often include a clear beginning, middle, and end. The characters involved should have distinct personalities and goals. Identifying a theme or message can unify the various story elements.
Creating a basic outline helps organize ideas. They might use bullet points to jot down key events. This outline provides a roadmap for the creative process.
When they have a clear story idea, writing simple dialogue or scene notes can guide their comic strip’s narrative flow.
For those needing inspiration, real-life events or favorite books and movies might spark ideas. Experimenting with different genres like comedy, adventure, or mystery can also be useful.
Sketching the Layout
Before they jump into designing, making a rough sketch of the layout is helpful.
Planning the placement of frames and panels is essential. This helps with the flow and pacing of the comic strip.
Using a simple grid can determine how elements fit together. Each panel should focus on a main action or dialogue. They should leave space for speech bubbles and captions. This planning can make the digital creation process smoother.
Experimenting with different panel shapes and sizes adds visual interest. Visualizing the comic in black and white first might reveal whether the layout is effective. This initial sketch becomes a guide for designing the final comic strip in Canva.
Designing Characters and Scenes
When designing a comic strip in Canva, creating unique characters and setting dynamic scenes is essential. This involves developing characters with distinct looks and personalities, choosing the right background, and selecting props that enhance each panel.
Creating Characters
Characters are the heart of any comic strip. With Canva, users can choose from a wide range of templates to start with or create characters from scratch.
Shapes and lines can be combined to form different body types, faces, and expressions. By using drag-and-drop tools, each character can be customized easily.
Using Canva’s color palette allows for dyeing hair and outfits in every hue imaginable, adding individuality to each character.
Important details such as clothing styles or accessories can be added to enhance the personality of the characters.
Including text boxes lets users add speech bubbles and captions, which help to convey what the character is feeling or thinking.
Setting the Background
The background sets the mood and context of the scenes. Canva offers various background templates ranging from neutral settings to vibrant landscapes.
Layers are useful to place characters, trees, and buildings at different depths, creating a sense of dimension.
Users can also upload their own images if they seek a more personalized touch.
The key is to ensure the background complements the characters without distracting from the main action. This requires balancing colors and details to maintain focus on the characters and plot.
Adding Props and Items
Props and items are small details that add richness to comic strips. Canva provides a vast collection of clip art and graphics that can be dragged into the scene.
From everyday objects like cups and books to fantastical items like swords and crowns, these elements enhance the narrative.
When selecting props, it is important that they are relevant to the story. Proper placement is crucial as props should appear natural in the scene.
Using resizing and rotating tools ensures that items fit within the space correctly.
By adding these details, each scene becomes more engaging and helps tell the story more effectively.
Crafting the Dialogue
Creating dialogue in a comic strip involves writing clear and engaging speech bubbles and selecting the right fonts and text styles. These elements are key to making the conversation easy to follow and enhancing the story.
Writing Speech Bubbles
Speech bubbles are essential for conveying characters’ words in a comic strip.
Using clear and simple language helps readers understand the characters’ thoughts and emotions. The placement of speech bubbles is important too, as it guides the flow of dialogue and directs readers’ attention.
Each bubble should only contain a small amount of text. Long sentences can be split into multiple bubbles for better readability.
Thinking about the character’s tone and personality can help ensure that the dialogue feels genuine and appropriate for the scene.
When placing speech bubbles, he or she should be intentional about which character speaks first. The arrangement should lead the reader’s eye naturally from one bubble to the next, making sure the sequence flows logically.
Choosing Fonts and Text Styles
Choosing the right fonts and text styles adds personality to a comic strip.
A basic font is usually used for general dialogue, but different fonts can show a change in emotion or emphasis. Larger fonts or bold styling help highlight important words or expressions.
In Canva, there are many font options available. Exploring these options can help find a style that fits the mood of the comic.
It’s important not to overuse decorative fonts, as they can make the text hard to read.
Careful use of colors can also differentiate characters or show a change in mood. Mixing different text styles, like bold or italic, brings variety and keeps the dialogue visually appealing.
Customizing Visual Elements
Customizing visual elements in Canva allows users to express their unique style in a comic strip. This involves tweaking colors, filters, effects, and textures to make each comic panel stand out.
Adjusting Colors and Filters
Colors can change the entire mood of a comic strip. In Canva, adjusting colors is easy.
Users can select each element of the comic and change its color by clicking on the color box next to the toolbar.
It’s important to choose colors that complement each other and enhance the story.
Filters offer another layer of customization.
By selecting an element or a whole scene, users can apply different filters to give the comic a specific look. Filters can make the comic appear vintage, modern, or even add a dramatic tone.
Applying Effects and Textures
Effects and textures add depth to comic strips.
Applying effects like shadows or glows to characters and objects can create a more dynamic and engaging look. Canva provides a variety of effects that can easily be applied through the effects menu.
Textures add a unique feel to the comic.
By using texture overlays, users can make backgrounds or certain elements look hand-drawn or textured. This can be done by selecting the texture option and applying it to the desired scene or object.
Assembling the Comic Strip
Creating a comic strip involves several key steps to make the final product engaging and visually appealing. Two crucial aspects are aligning the panels and frames, and finalizing the transitions between these panels seamlessly.
Aligning Panels and Frames
When putting a comic strip together, alignment is very important. It ensures that each panel flows properly into the next.
Panels should ideally be of equal size or strategically varied to emphasize certain moments in the story. Consistent spacing between panels helps maintain a neat and organized look.
Using tools like grids or guides can assist in keeping everything aligned. These features are available on platforms like Canva’s comic strip maker.
Aligning text and speech bubbles inside each frame is also essential. Keep them clear and avoid overcrowding to ensure that the reader’s eyes move smoothly across the strip.
Finalizing Panel Transitions
Transitions between panels are vital for a captivating storyline.
Each panel should naturally lead to the next, helping convey the story’s flow without confusion.
Try to use visual and narrative cues to signal changes in time or setting.
Experiment with close-ups and wide shots to vary the reader’s perspective and create interest. This can emphasize emotions or actions in certain panels.
Make sure the transition style matches the overall tone of the story. For help with ideas, check out tutorials like this Canva comic strip tutorial on YouTube, which gives practical tips on creating smooth transitions.
Sharing Your Creation
Once you’ve finished your comic strip in Canva, sharing it with friends or a wider audience is the next exciting step. This can be done through various downloading options or on social media platforms.
Downloading and Exporting Options
Canva provides several ways to download your comic strip.
Users can save their creations in different formats like PDF, PNG, or JPEG. Each format serves different purposes.
PDFs are great for printing, while PNG and JPEG are more suitable for online sharing.
To download, click the “Download” button in the top right corner. Choose your desired format. Consider using a high-resolution export for the best quality.
Pro Tip: Canva allows users to save their designs directly to cloud services like Google Drive and Dropbox, making it easy to access your work from anywhere.
Tips for Sharing on Social Media
Social media is a powerful tool for showcasing your comic strip. Opt for platforms that best suit your audience.
Instagram and Pinterest are visual-driven spaces that work well for comic strips.
When sharing on these platforms, use relevant hashtags to reach a broader audience. Engaging with others who share an interest in comics can increase visibility and interaction with your post.
Consider this: Instagram Stories feature is great for a sneak peek or teaser of your comic. Meanwhile, Pinterest users might appreciate a complete strip or a series of panels.
By understanding the unique features of each platform, users can maximize their reach and effectively share their creative work.