Splitting an image in Canva can transform a simple picture into a stunning design. This technique is popular among creators for crafting eye-catching social media posts and unique art pieces.
By using Canva’s grid, crop, and frame tools, anyone can easily divide a photo into separate parts, adding depth and creativity to their designs.
Canva offers a user-friendly way to achieve this effect without needing advanced graphic design skills.
Many users love how simple it is to use grids or frames to break an image into different sections. This flexibility allows for endless design possibilities, whether for an Instagram post or a personal project.
For those looking to create something special, the ability to split images offers a chance to experiment and innovate. The mix of practical tools and intuitive interface makes Canva a favorite choice for both beginners and experienced designers looking to elevate their visuals.
Getting Started with Canva
To begin using Canva, it’s important to understand how to create an account and navigate the interface. These foundational steps help users start designing with ease.
Creating an Account
Creating an account on Canva is simple and takes only a few minutes. Users can sign up using an email address or connect through a Google, Facebook, or Apple account. This flexibility makes it easy for anyone to join.
After signing up, users will need to verify their email address. Once verified, they can set up their profile by choosing their preferred language and area of interest.
Canva offers a variety of design categories, such as personal, business, education, and more. Choosing the right category helps tailor the experience to suit the user’s needs, providing templates and features that match their interests.
Navigating the Canva Interface
The Canva interface is user-friendly and designed to help users find everything they need quickly.
At the top, there is a toolbar with options for creating a new design, accessing templates, and exploring Canva’s features.
On the left side, users will see a panel that offers access to all their projects, templates, photos, and more. This panel is essential for organizing and managing design elements.
The central workspace is where users do their editing and designing. Drag and drop tools make this area interactive and intuitive.
Near the bottom, there’s a help section with tutorials and tips. This ensures that even new users can quickly learn how to create beautiful designs.
Overall, the Canva interface supports creativity without being overwhelming.
Fundamentals of Image Editing
Image editing is crucial for creating visuals that are clear and engaging. It involves understanding how images are composed and ensuring the right image choice for your project. Mastering these fundamentals can enhance the effectiveness of your design projects.
Understanding Image Composition
The way an image is composed can greatly affect its impact. Composition involves arranging visual elements like lines, shapes, and colors within the image.
Rule of Thirds is a popular technique where an image is divided into nine equal parts with two horizontal and two vertical lines. Placing key elements along these lines or intersections can create balance and interest.
Balance and contrast are also key in composition. Balanced compositions feel stable and orderly, while contrast highlights differences between light and dark areas or colors. This helps draw attention to important parts of the image.
Choosing the Right Image
Selecting the appropriate image is as important as editing itself. A well-chosen image aligns with the message of the project and appeals to the target audience.
Factors to consider include the subject matter, image quality, and relevance to your theme.
Resolution is critical; images should be sharp and clear to look professional. Avoid using low-quality images that can appear pixelated.
Mood and tone should match the project’s message. For a calming effect, choose images with cool colors and smooth textures.
Using royalty-free images or creating your own can ensure that you have the legal right to use the images in your materials. Selecting the right images sets the foundation for successful designs.
Preparing Your Image for Splitting
Before dividing an image into different sections in Canva, it’s important to know how to upload and make basic adjustments. This ensures optimal quality and compatibility for your project.
Image Upload Process
To start, users should click the “Upload” button on Canva’s homepage. This feature allows uploading from various sources, like a computer or mobile device. For cloud storage users, Canva supports options such as Google Drive or Dropbox.
After selecting an image, wait for the upload to complete. A progress bar will indicate when the image is fully ready.
Once uploaded, the image appears in the “Uploads” section of the side panel. Dragging and dropping the image onto the canvas makes it available for editing.
Ensure the image format is compatible with Canva. JPEG, PNG, and GIF are among the popular supported formats.
File size can affect upload speed, so optimizing images beforehand can help improve efficiency. If an image doesn’t meet these requirements, consider using an image converter tool before uploading.
Basic Image Adjustments
Once the image is uploaded, it’s a good idea to make necessary adjustments.
Begin by selecting the image on the canvas. Canva offers easy tools for cropping, rotating, and resizing. Cropping ensures the focus of your image is preserved when portions are split.
Adjust the image’s brightness, contrast, and saturation to enhance visual appeal. Using sliders in Canva’s editing panel, these elements can be fine-tuned effortlessly.
Another useful feature is the filter option. Applying filters can change the whole tone of the image, provided it aligns with the project’s theme.
Keep in mind, adjustments should balance style and clarity, ensuring your image stays high-quality when divided.
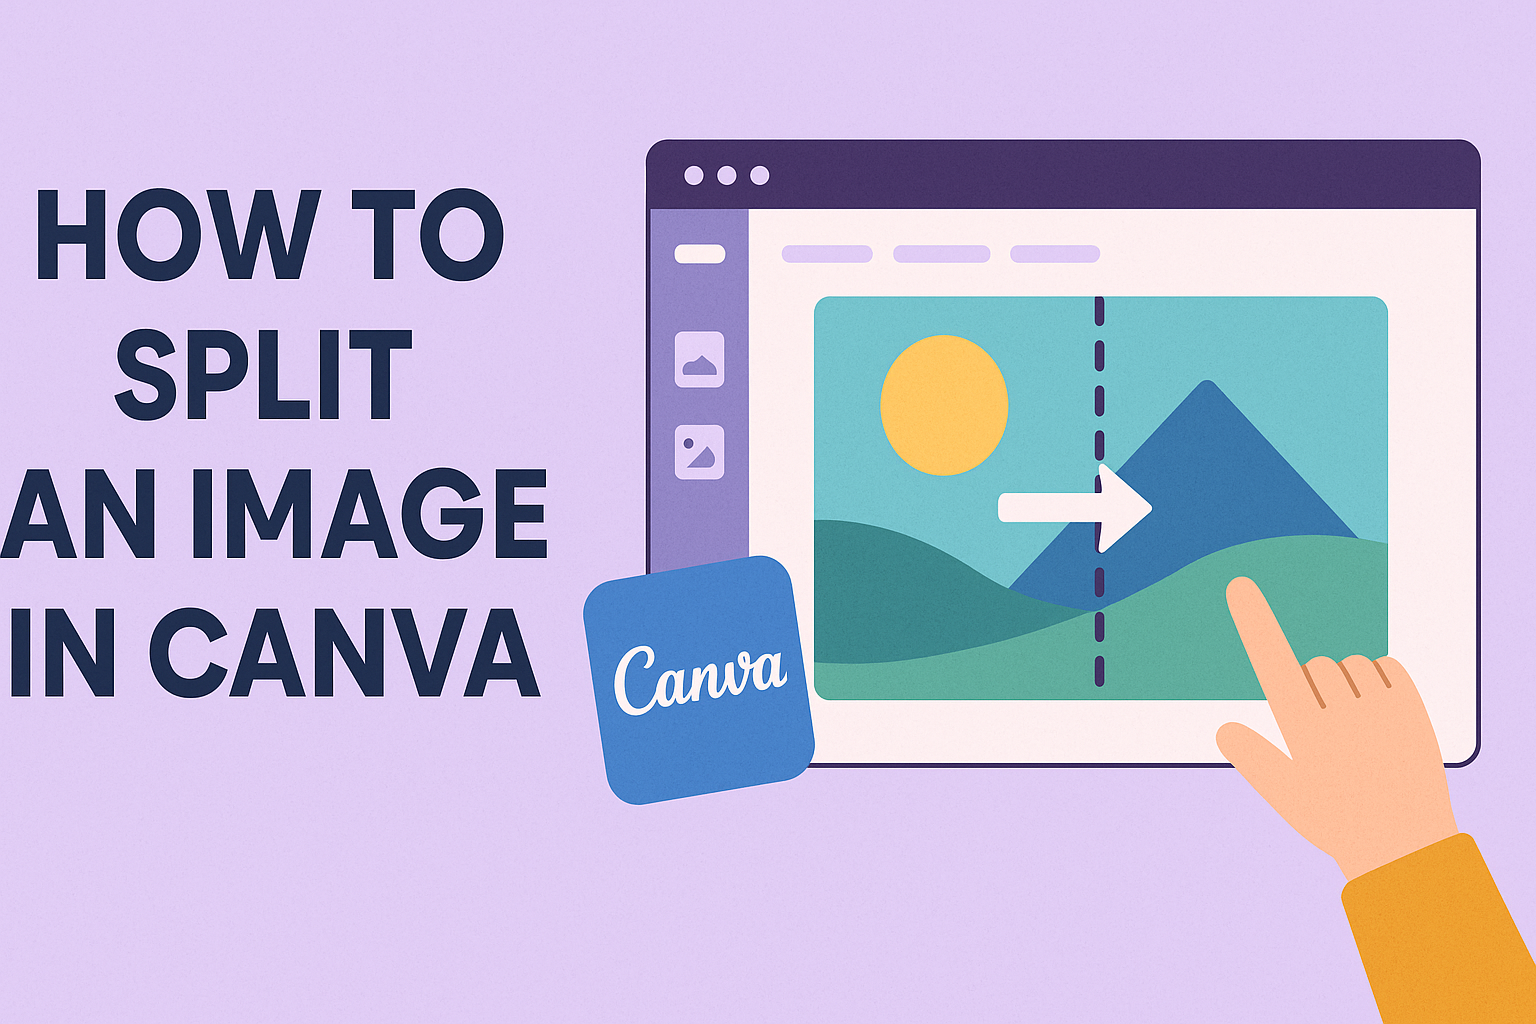
Splitting the Image
Splitting an image in Canva can create visually appealing designs and help organize content more effectively. The process involves using grids and frames to split images and then adjusting the segments to achieve the desired look.
Using Grids and Frames
To split an image with grids, you start by choosing a layout from Canva’s grid options. Grids are found under the “Elements” tab.
Once a grid is selected, it can be dragged onto the canvas. By doing this, you can create multiple sections within your design area. Each section of the grid acts as a placeholder for separate image parts.
Frames work similarly and can be used to define specific shapes for image sections. Frames are also found under the “Elements” tab.
When you drag a frame onto your canvas, you can adjust its size and position. This helps in creating unique layouts, allowing the image to be split into different shapes and sizes.
Adjusting Image Segments
After the grid or frame is in place, you can start adjusting the image segments.
First, upload the image you want to split, then drag it into one of the grid slots or frames. Canva allows you to reposition the image within each slot, so you can easily focus on the area you want.
Once images are in place, refining the alignment, spacing, and size of each segment is important.
Click on each segment to tweak the size using the handles on the edges. Checking the alignment ensures the entire image looks cohesive and visually balanced.
Adjusting the spacing within the grid or frames ensures that the segments blend seamlessly together.
Advanced Splitting Techniques
For those familiar with Canva, advanced splitting techniques can enhance creativity and storytelling in projects. Exploring layering, grouping, and constructing visual narratives allows for more dynamic and engaging designs.
Layering and Grouping
Layering and grouping are essential for advanced image manipulation. In Canva, users can stack multiple images to create depth and interest.
To do this, select the images you want to layer. Adjust their positions by bringing some images forward and sending others backward. This can be achieved by right-clicking an image and selecting Bring Forward or Send Backward.
Grouping can also streamline workflow. By selecting multiple elements and clicking Group, users can move and resize them together. This is especially useful for keeping a design’s components aligned when splitting an image across several frames.
A creative use of layering and grouping might combine photos and text, resulting in a cohesive design that maintains focus on the split imagery.
Creating a Visual Narrative
Creating a visual narrative involves using image splitting to tell a story. Each section or frame of a split image can represent a different chapter or moment in time.
Begin by choosing images that share a theme or subject. Use Canva’s cropping and resizing tools to adjust each section to fit within your frames.
Users can also incorporate text or symbols to add context or highlight key moments. By telling a story through split images, designers can engage viewers more deeply.
Canva’s grids and frames aid in positioning elements correctly, ensuring each frame contributes meaningfully to the overall narrative.
Exporting Your Design
Once you have split your image in Canva and are happy with the results, the final step is to export your design. Exporting involves choosing the right file format and quality before saving and downloading your artwork.
File Formats and Quality
Canva offers multiple file formats for exporting designs. Users can save their designs as PNGs, JPEGs, PDFs, or even GIFs. Each format has its own benefits. For example, PNGs are great for images with transparent backgrounds, while JPEGs are ideal for photos because of their smaller file size.
Quality settings also affect the final output.
Choose high resolution for print projects to ensure clarity, and medium or low resolution if you need a smaller file size for web use or faster uploads.
Saving and Downloading
After selecting the format and quality, Canva makes saving easy. Click the Download button at the top right of the screen. A prompt will appear, allowing you to choose download settings. For multiple-page designs, select the pages you want to download.
Make sure to name your files clearly and organize them in folders for easy access later.
Some users prefer saving directly to cloud storage services like Google Drive or Dropbox for backup. This makes sharing seamless and keeps your designs safe.
Sharing Your Split Image
Sharing your split images can enhance digital marketing efforts and engagement. Social media boosts visibility, while embedding on websites provides easy access to more detailed visuals.
Social Media Tips
Social media is a powerful tool for showcasing split images.
He or she should start by choosing the right platform that best fits the audience, like Instagram for visual content or Pinterest for design inspiration. Adding relevant hashtags can help reach a wider audience and improve visibility.
Users should also engage with followers through comments and shares.
Another tip is to post at times when the audience is most active. This can increase the likelihood of views and interactions.
Using Canva’s built-in sharing features makes it easy to post directly from the design interface. It’s also worth considering using Instagram Stories or Reels to highlight dynamic aspects of the split image design.
Embedding on Websites
Embedding split images on websites can help create engaging content.
Users should ensure image dimensions fit well within the site layout.
Responsive design is important so the image displays properly on both desktop and mobile devices.
Using image titles and alt text improves accessibility and search engine optimization.
Integrating images into blog posts or as part of a photo gallery can captivate visitors.
Using Canva’s tutorial on embedding can provide more guidance.
Adding a caption or short description under the image enhances comprehension and context.
By following these steps, he or she can effectively incorporate split images into any website.