Creating standout channel art for a YouTube channel is essential for grabbing attention and establishing a brand’s identity. With DesignWizard, users can craft visually appealing channel art that reflects their brand. Using DesignWizard’s extensive library of templates and customization options makes the process both quick and easy, ensuring a professional look in minutes.
The platform offers a variety of templates from which users can choose. After selecting a template, users can personalize it by adding images, text, and color schemes that match their brand. The range of options allows for unique customization, helping the channel stand out to viewers.
A well-designed YouTube channel art not only attracts viewers but also helps convey the channel’s theme or message effectively. By using tools like DesignWizard, creators can make their channel art memorable and engaging, drawing in more traffic and gaining subscribers.
Understanding YouTube Channel Art
Creating YouTube channel art requires understanding both its significance and technical requirements. This section covers why channel art matters and outlines the size and format needed for optimal results.
The Importance of Channel Art
Channel art is like a store’s front window, giving viewers their first impression. It represents the channel’s brand and makes it appealing. Good channel art helps engage visitors and encourages them to explore more.
A well-designed banner grabs attention and makes the channel memorable. Colors, fonts, and images should align with the branding. This visual identity sets the tone for the content and establishes a connection with the audience. Consistency across various platforms can further reinforce this identity.
Dimensions and Specifications
To get channel art to look its best, using the right dimensions is crucial. YouTube’s recommended size for channel art is 2560 x 1440 pixels. This size ensures it displays well on different devices, like phones and TVs.
When designing, keep important text and logos within the “safe area,” which is 1546 x 423 pixels. This ensures that key elements aren’t cut off on smaller screens. Saving images in the .jpg or .png format, with a file size under 6MB, helps maintain quality without slowing down page loads.
Setting Up Your YouTube Channel
Before jumping into designing amazing channel art, it’s important to set up your YouTube channel. This involves creating a Google Account and launching your new channel.
Creating a Google Account
To start your YouTube adventure, a Google Account is essential. This account not only lets you access YouTube but also provides various tools and services. Creating one is straightforward.
Visit the Google Account creation page to begin. Fill in the required fields like your name, desired email address, and password. Make sure to choose a secure password to protect your account.
Once completed, Google may ask for a verification method, such as a phone number. Enter it to confirm your identity. After verification, your Google Account is ready to use.
This account will serve as the hub for all your YouTube activities. It’s vital to remember your login details, as they give you access to the exciting world of YouTube content creation.
Starting a YouTube Channel
With your Google Account ready, the next step is to start your YouTube channel. Begin by signing in to YouTube using your Google Account credentials.
Once signed in, click on your profile picture at the top right corner. Select “Your Channel” to navigate to the setup page. Here, you can create a personal or brand account.
For a branded experience, select “Use a business or other name.” This allows you to add a unique touch to your channel. Follow the prompts to name your channel, keeping your brand and audience in mind.
After naming your channel, you’ll want to customize it. Add a profile picture and description that reflect your brand’s identity. This will help viewers get to know you and your content better.
Planning Your Channel’s Branding
Creating a branded YouTube channel starts with thoughtful planning. Key elements to consider include defining the brand’s identity, choosing a cohesive color scheme, and selecting appropriate fonts.
Defining Your Brand
Understanding your brand’s essence is crucial in shaping its identity. Start by asking what message or experience you want to convey. Identify what makes the brand unique and what values it stands for. Consider the target audience and their interests, as this helps in aligning content with viewers’ expectations.
Think about what sets the channel apart from others. Is it the content style, the personality, or a specific niche? Whatever it is, use that to craft a distinct brand voice and image.
Examples:
- A tech review channel might emphasize innovation and precision.
- A travel vlog might focus on adventure and exploration.
Picking a Color Scheme
Colors can evoke emotions and create a lasting impression. Selecting the right color scheme is not just about aesthetics; it helps in establishing recognition and mood. Start by exploring color psychology to find hues that reflect the brand’s personality.
Consider the following tips:
- Choose a primary color that represents the brand.
- Complement with one or two secondary colors.
Using tools like color palettes can help in visualizing how colors work together. Consistent use of colors across all channel elements, such as banners and thumbnails, reinforces the brand identity.
Choosing Your Fonts
Fonts play a significant role in communicating the brand’s tone and style. The right font can convey professionalism, creativity, or playfulness. Start by considering the legibility and how it aligns with the brand’s image.
Guidelines:
- Select one primary font for titles.
- Use a secondary font for body text.
Ensure that the chosen fonts are easy to read across different devices. Combining fonts can add visual interest, but avoid overusing styles, as this may confuse the viewer. Familiarize yourself with typography tools to see how different fonts pair together visually. This consistency helps maintain a cohesive look and feel for the channel.
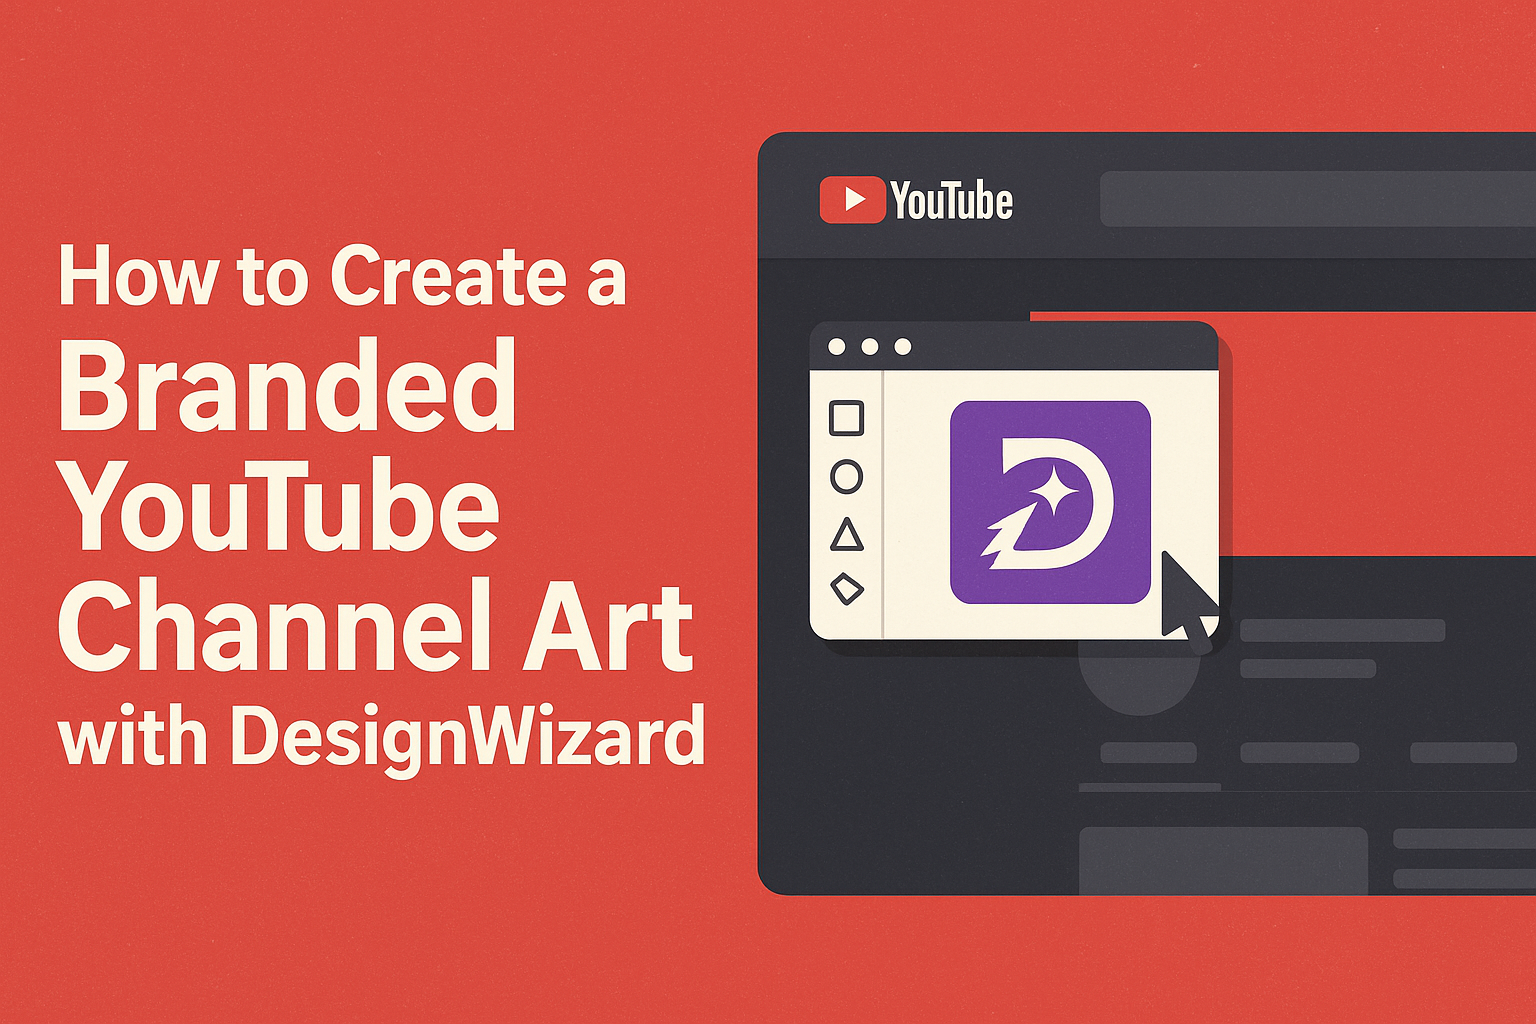
Using DesignWizard to Create Channel Art
DesignWizard offers a straightforward way to create impressive YouTube channel art. With easy navigation, a wide range of templates, and customization options, users can craft designs that showcase their brand.
Navigating DesignWizard
To get started, one should visit DesignWizard’s website. The interface is intuitive with a clear menu. Features are labeled for ease of use, making it simple to find what you need. There’s a search bar at the top for quick access to templates.
Options for creating YouTube channel art are available, along with various tools to enhance your design. Users can explore a library of pre-made templates or start a new design from scratch. This helps in finding the right design approach efficiently.
Selecting a Template
DesignWizard provides a vast collection of templates suitable for YouTube channel art. Over 17,000 templates are available, covering various styles and themes. This variety allows users to find something that fits their brand identity.
Users can browse through these options, using filters to narrow down choices by theme or color. Selecting a template is easy and sets the stage for personal branding. Once you find a suitable template, simply click to start customizing it.
Customizing Designs
After selecting a template, customization is key. DesignWizard lets users change colors, fonts, and images. With over 100 fonts and 1.2 million images, the possibilities are vast. Users can create a brand-unique design by adjusting these elements.
Text can be modified to include brand messages, and images can be replaced or adjusted. Design tools are user-friendly and allow for a personalized touch. Every element can be changed to match a specific brand aesthetic.
Uploading Custom Elements
For further personalization, users may upload their own images and logos. This feature ensures that brand-specific elements are included in the channel art. To do so, simply use the upload option in the toolbar and select images from your device.
Uploading is quick and integrates well into the design. Once uploaded, these elements can be resized, moved, or edited within the template. This ensures consistency with existing brand visuals and adds a unique touch to the final design.
Best Practices for Channel Art
Creating effective YouTube channel art requires attention to detail. Focus on a clear layout, smart use of space, and readability across devices. This will ensure your channel art captures viewers’ attention.
Visual Hierarchy and Layout
Using visual hierarchy in channel art helps guide the viewer’s eye to the crucial elements. Larger, bold text for the channel name or tagline can highlight key information.
Incorporating a logical layout ensures that important details stand out. For instance, placing the logo at the top ensures it’s one of the first things viewers see. Use a consistent color scheme that echoes the brand’s identity, providing a cohesive look. Balanced proportions, with images and text aligned appropriately, create an engaging and professional look.
Using Negative Space
Negative space, or empty space, helps make channel art more readable and visually appealing. It allows key elements like text and images to breathe without appearing cluttered.
Strategically spacing out different elements can help create a cleaner and more professional appearance. It also helps emphasize important visuals or messages. By reducing clutter, negative space directs focus to vital areas, such as your logo or main slogan, ensuring these components remain prominent and impactful.
Ensuring Legibility on All Devices
Channel art displays differently on phones, tablets, and computers. Ensuring legibility across all devices is vital. Text and images that are central and within the safe zone will remain visible.
Choose fonts that are simple and easy to read, even on smaller screens. Avoid overly intricate designs that could obscure text or visuals when resized. Check the channel art on multiple screens to ensure that important information is not cut off. Using high-contrast color schemes enhances readability, ensuring the viewer can easily see your brand message.
Finalizing and Uploading Your Artwork
Once you have designed your branded YouTube channel art using DesignWizard, it’s important to ensure it looks perfect before making it live. This involves previewing your design, uploading it to your channel, and adjusting if needed.
Previewing Your Channel Art
Before uploading, previewing the channel art helps ensure it appears correctly on various devices. DesignWizard allows you to see how your design displays on desktops, tablets, and smartphones.
This step is important because YouTube’s channel art looks different on each screen due to size variations. Check for any crucial elements, like your logo or text, placed outside the “safe area,” which may not appear correctly on smaller screens.
It’s also helpful to ask others to take a look. They might see things you missed.
Uploading to YouTube
To upload your art, navigate to your YouTube account. Click on your channel avatar, and choose “My Channel.” Then, select the “Customize Channel” button. Here, you can update your channel art.
Click the “Add channel art” button. A new window will open where you can upload your design.
Make sure your file adheres to YouTube’s requirements. The ideal banner size is 2560 x 1440 pixels, and the file size should not exceed 6MB.
Once uploaded, check how it looks. Confirm that all essential elements are visible.
Making Adjustments
After uploading, it’s common to find small details that need tweaking. If things look off, don’t worry—most design tools, including DesignWizard, allow easy edits.
Adjust the position of images and text if they don’t appear as expected. Ensure that nothing significant is cut off on mobile or desktop views.
After changes, re-upload the revised design to ensure everything fits perfectly across devices.
Continue refining until you are satisfied with the appearance.