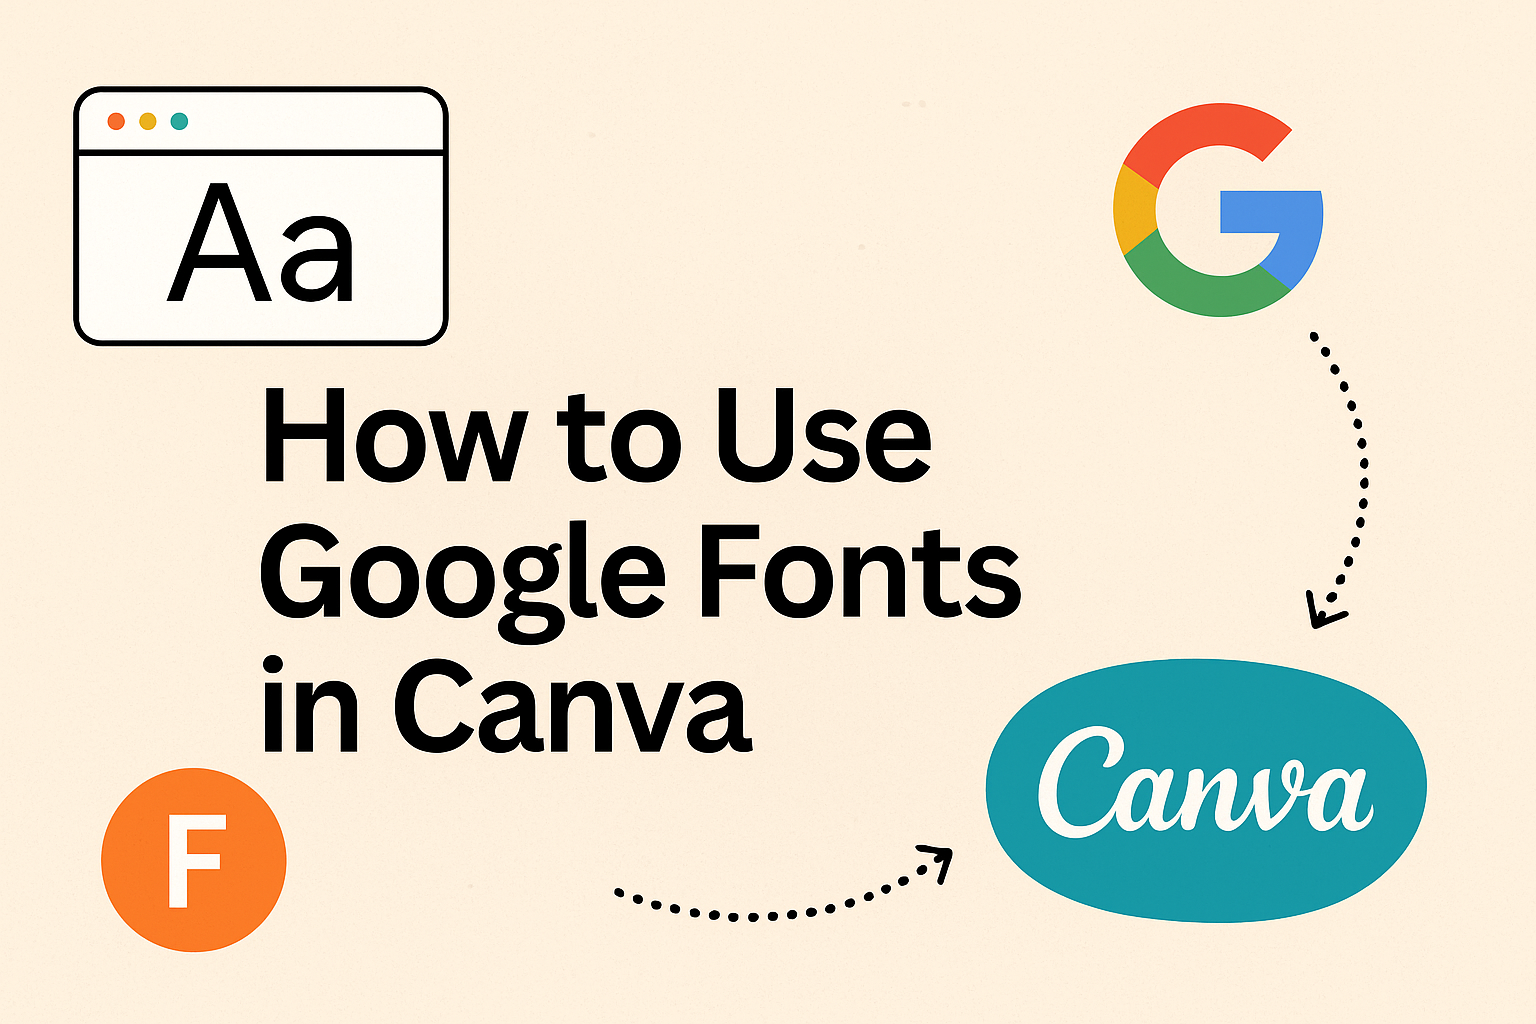
Many people want more font options in Canva but don’t know how to get them. Google Fonts offers thousands of free styles that can be added to Canva for more creative control. You can use Google Fonts in Canva by downloading them from the Google Fonts website and uploading them to your Brand Kit.
This simple process makes it easy to match designs with a brand’s style or create fresh looks for projects. With the right setup, anyone can move beyond Canva’s default library and unlock a wider range of typography.
The steps are quick, but knowing how Canva Free and Pro differ, how to prepare font files, and how to pair fonts well can save time and improve design results.
Understanding Google Fonts and Canva
Google Fonts gives people access to a large library of typefaces that are easy to use and free to download. Canva provides built-in font tools that let users customize text styles for their projects. Together, they allow simple ways to create designs that match branding needs or personal style.
What Are Google Fonts
Google Fonts is a free online library with over 1,000 font families. It includes serif, sans-serif, display, handwriting, and monospace styles. Each font is open source, so anyone can download and use them without licensing fees.
Designers often choose Google Fonts because they are optimized for both print and web. The fonts load quickly on websites and look clear on screens, making them popular for digital projects.
The library also offers multiple weights and styles, such as thin, bold, italic, or condensed. This variety gives users flexibility in creating consistent typography across different platforms.
Overview of Canva Font Features
Canva includes a wide range of fonts in its built-in library, many of which come directly from Google Fonts. Users can search fonts by name, browse categories, or see suggested pairings.
It allows customization of text through size, spacing, alignment, and effects like shadows or outlines. These tools help users fine-tune how their text looks in social media posts, presentations, or print materials.
For Canva Pro users, there is an option to upload custom fonts, including those downloaded from Google Fonts. This makes it possible to use typefaces that are not already included in Canva’s default library.
Benefits of Using Google Fonts in Canva
Using Google Fonts in Canva helps maintain consistent branding across multiple projects. A business can use the same font in its website, presentations, and marketing materials for a unified look.
Google Fonts also expands creative options beyond Canva’s default set. If a designer wants a specific font style, they can download it from Google Fonts and upload it into Canva.
Since Google Fonts are free and widely supported, they remove barriers to professional typography. This makes it easier for individuals and small teams to create polished designs without extra costs.
For a step-by-step guide on adding fonts, check out how to use Google Fonts in Canva.
Preparing Google Fonts for Canva
Before adding Google Fonts into Canva, users need to locate the right font, download it in the correct format, and make sure it is licensed for their intended use. Paying attention to these steps prevents upload issues and ensures the font can be used legally and effectively in designs.
Finding and Downloading Google Fonts
Google Fonts provides a large library of free typefaces. Users can browse by categories such as serif, sans-serif, display, or handwriting. They can also filter by language support or font properties like weight and style.
When someone finds a font they like, they can click on it to preview text samples. The preview tool helps check readability and style before downloading.
To download, they should click the “Download family” button. This saves the font as a ZIP file containing all font weights and styles. After unzipping, the files are ready for use in Canva.
For a step-by-step guide, users can review instructions on how to use Google Fonts in Canva.
Supported Font File Formats
Canva only accepts certain file types when uploading fonts. The most common formats are .OTF (OpenType Font) and .TTF (TrueType Font). These are widely supported across design platforms and ensure the font displays correctly.
Some downloads from Google Fonts may include .WOFF files, which are web-optimized fonts. Canva does not support WOFF, so users should focus on OTF or TTF files.
If the ZIP folder includes multiple formats, it is best to upload the OTF version first. OTF fonts often include more advanced features, like ligatures and alternate characters.
Licensing Considerations
Most Google Fonts are released under the Open Font License (OFL), which allows free use for both personal and commercial projects. This means designers can safely use the fonts in Canva without paying extra fees.
Even though Google Fonts are free, users should still confirm the license terms for each font. Some fonts hosted outside Google Fonts may have different restrictions.
It’s also important to note that uploading fonts to Canva requires a Canva Pro, Teams, or Education account. Free accounts cannot upload custom fonts, even if the license allows usage.
For more details on preparing fonts for import, users can check this quick guide to importing fonts into Canva.
Uploading Google Fonts to Canva
Users can add fonts from Google Fonts into Canva by downloading the font files and then uploading them into their account. This process requires a Canva Pro, Teams, or Education plan since free accounts do not support custom font uploads.
Accessing Canva’s Font Upload Feature
To upload a font, the user must first log in to their Canva account. Once inside, they need to go to the Brand Hub (sometimes called Brand Kit) from the left-hand menu.
Inside the Brand Kit, a section labeled Brand Fonts appears. This is where Canva allows users to manage their font library.
A button labeled Upload a font is clearly visible. Clicking this button opens a file browser where users can select the downloaded Google Font files.
Supported font formats include .OTF, .TTF, and .WOFF. If the user has a ZIP file from Google Fonts, it must be unzipped before uploading.
Step-by-Step Upload Instructions
- Visit Google Fonts and search for a font.
- Click Download family to save the ZIP file.
- Extract the ZIP file to access the font files.
- In Canva, open the Brand Kit and click Upload a font.
- Select the font file (OTF or TTF is recommended).
- Confirm the upload when Canva prompts about licensing.
Once uploaded, the font appears under Uploaded fonts in the Brand Kit. From there, it can be applied to any text element in designs.
If multiple styles exist (like Bold or Italic), each file must be uploaded separately. This ensures full flexibility when editing text.
Troubleshooting Font Upload Issues
Sometimes a font may fail to upload or not display correctly. The most common reason is using an unsupported file format. Ensuring the file is .TTF or .OTF usually fixes this.
If the font uploads but does not appear in the font list, refreshing the page often helps. Clearing the browser cache can also resolve display problems.
Users should also check their Canva plan. Free accounts cannot upload fonts, so upgrading to Pro or Teams may be required.
If the font still does not work, re-downloading from Google Fonts and trying again often solves the issue. Some rare fonts may not be fully compatible with Canva’s text engine.
Using Uploaded Google Fonts in Your Designs
Once a Google Font is uploaded to Canva, it becomes part of the Brand Kit and can be applied across different projects. This allows users to create consistent typography, adjust styles to match their brand, and save combinations for quick use later.
Applying Google Fonts to Text Elements
After uploading a Google Font, the font appears in the text dropdown menu inside Canva. Users can select it the same way they would choose a default font.
To apply it, they highlight the text box, open the font menu, and click the uploaded font. This makes it easy to use the same typeface for headings, subheadings, and body text.
For example, a user might upload Roboto or Lato from Google Fonts and apply them directly to a presentation or social media post. The font will display correctly across devices once it is saved in the design.
If multiple fonts are uploaded, they can be mixed within the same design. This gives more flexibility compared to Canva’s built-in library and ensures the typography matches brand standards.
Customizing Font Styles
Once a Google Font is applied, Canva allows adjustments to style and appearance. Users can make changes such as:
- Size: Increase or decrease font size for emphasis.
- Weight: Choose between light, regular, bold, or extra bold (depending on the font).
- Color: Apply brand colors or custom hex codes.
- Spacing: Adjust letter spacing and line height for better readability.
These options help maintain visual hierarchy. For example, a bold version of the font might be used for titles, while lighter weights are used for body text.
Users can also apply effects like shadows, outlines, or curves. While not every font supports all effects, most Google Fonts work well with Canva’s editing tools.
Saving and Reusing Font Combinations
To avoid reapplying fonts every time, users can save font pairings in the Brand Kit. This feature is available in Canva Pro and ensures quick access to preferred styles.
For instance, a design team might set Montserrat Bold for headings and Open Sans Regular for paragraphs. Once saved, these combinations appear automatically in the text options.
This makes it easy to keep designs uniform across different projects. Instead of manually selecting fonts for each new design, users can apply the saved combination in one click.
By organizing fonts in the Brand Kit, teams save time and maintain consistent branding without extra effort.
Google Fonts in Canva Free vs. Pro
Canva gives people access to a wide range of fonts, but the ability to upload Google Fonts depends on the type of account. Free users can only choose from Canva’s built-in library, while Pro users can upload custom fonts, including those from Google Fonts, for more control over branding.
Font Upload Limitations for Free Users
Free Canva accounts do not allow font uploads. This means users must rely only on the fonts included in Canva’s default library. While the library is fairly large, it may not always include the exact Google Font someone wants.
For example, if a brand uses a specific Google Font for its website, free users cannot add that same font into Canva. This can create inconsistency between online and design materials.
Free users who want more options can search Canva’s library by name, but if the font is not available, they must choose a close alternative. Some guides suggest workarounds, but Canva officially requires a Pro subscription to upload fonts.
This limitation is one of the main differences between free and paid plans, especially for users who need brand consistency across platforms.
Additional Features in Canva Pro
With Canva Pro, users can upload Google Fonts directly into their Brand Kit. Supported file types include TTF, OTF, and WOFF, which cover most Google Fonts. Once uploaded, the fonts appear alongside Canva’s built-in options and can be applied across all projects.
Pro users also gain access to unlimited Brand Kits, making it easier to manage multiple businesses or clients. Each kit can store its own fonts, logos, and color palettes.
Beyond fonts, Canva Pro offers premium templates, advanced design tools, and expanded storage. For step-by-step instructions on uploading Google Fonts, see this guide on adding fonts to Canva.
Tips for Choosing and Pairing Google Fonts in Canva
Good font choices make designs easier to read and more visually appealing. Using the right combinations helps balance style with clarity, so text looks polished without distracting from the message.
Selecting Fonts for Readability
When selecting fonts, readability should come first. Fonts like Montserrat, Roboto, and Lora are popular on Google Fonts because they stay clear at different sizes. Designers often use sans-serif fonts for headings and serif fonts for longer text since they remain legible on both screens and print.
Font weight also affects readability. A bold heading paired with regular body text helps readers scan quickly. Too many decorative fonts can make text hard to process, especially in small sizes.
Spacing matters as well. Adjusting line height and letter spacing in Canva can improve clarity. For example, increasing line spacing in body text reduces eye strain and makes reading smoother.
Combining Fonts for Visual Impact
Pairing fonts adds personality to a design. A common approach is to combine a bold display font for titles with a simple sans-serif for body text. Canva even offers font pairing suggestions that make matching styles easier.
A good rule is to limit designs to two or three fonts. For example, Playfair Display works well with Open Sans because one feels elegant while the other stays neutral.
Designers can also use contrast for impact. Combining thick and thin fonts or mixing uppercase titles with lowercase body text creates visual hierarchy.