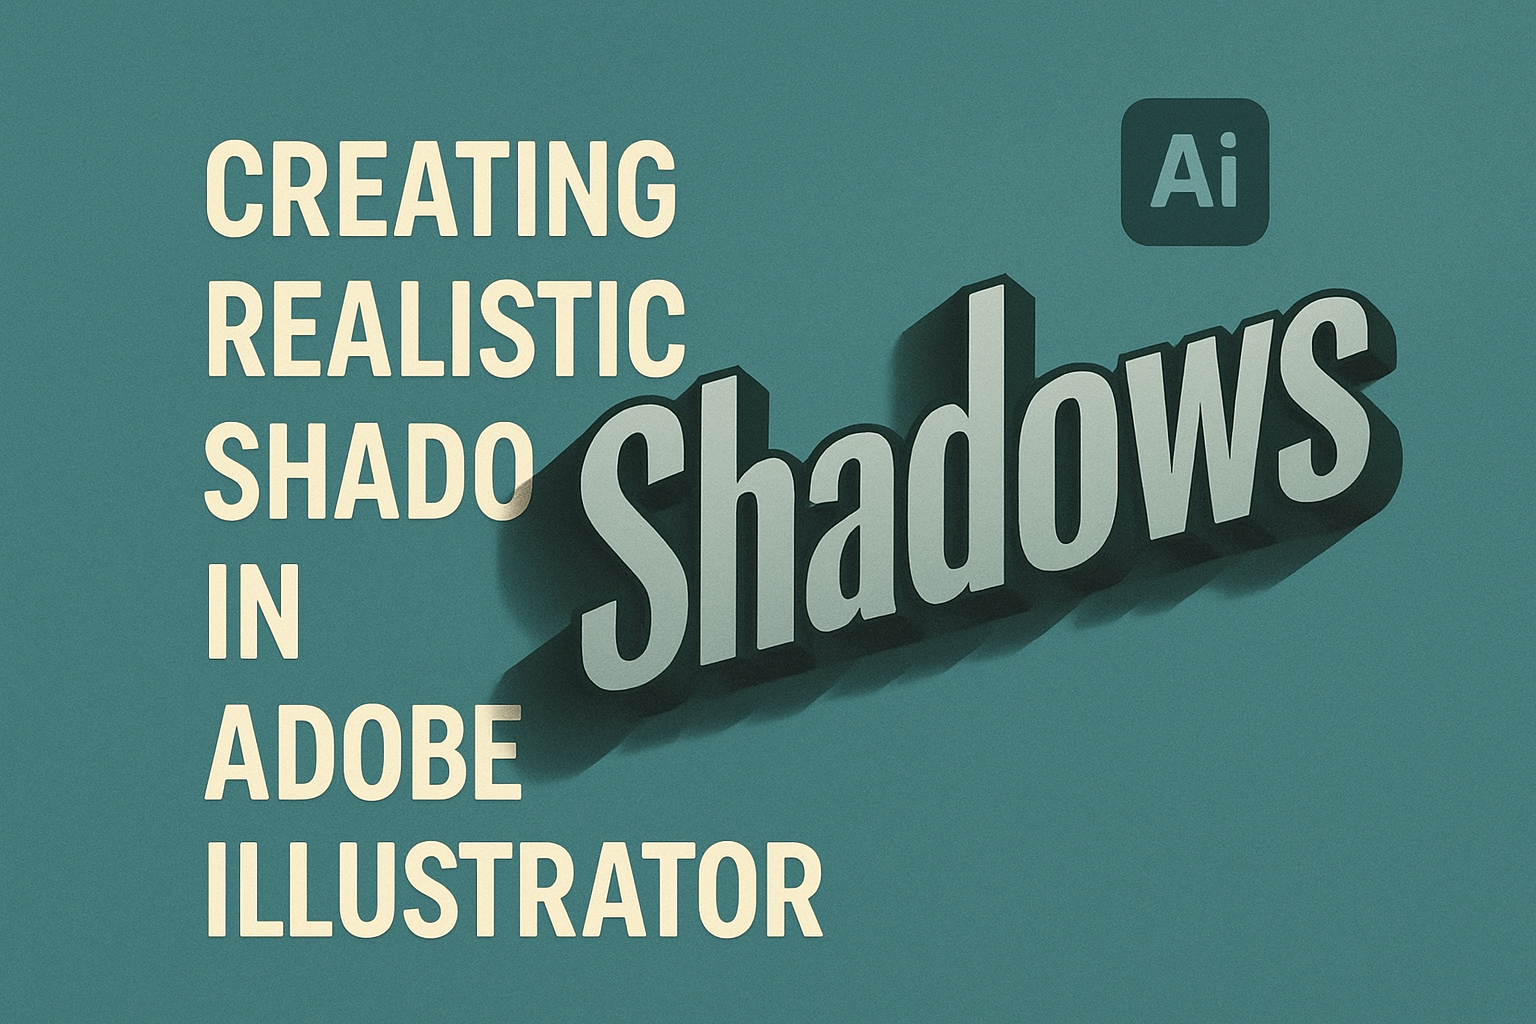
Creating realistic shadows in Adobe Illustrator can bring a new level of depth and professionalism to your designs. This post explores simple methods to achieve stunning shadow effects, catering to both beginners and advanced designers.
Incorporating shadows effectively involves understanding different styles, like drop shadows and inner glows. Shadows can be created through various methods such as using the Distort & Transform tool or applying an inner glow. These techniques help in manipulating light and dark areas to create depth.
Readers will discover several useful tricks to enhance their images by adding shadows to vector, PNG, and 3D designs. Learning these techniques can inspire creativity, helping designers to bring their visions to life with subtle detail and elegance.
Understanding Shadows in Illustration
Shadows play a crucial role in making illustrations appear more realistic. They help to create a sense of depth and texture, turning flat designs into visually engaging artworks. Utilizing shadows effectively in Adobe Illustrator can greatly enhance the overall impact of a design.
Shadows can be of different types, such as drop shadows, inner shadows, and cast shadows. Each type of shadow has a unique effect on the appearance of an illustration. For example, drop shadows give the illusion that an object is raised above its background.
In practice, creating realistic shadows in Illustrator often involves using the drop shadow feature found under the “Effects” menu. Adjusting parameters like offset, blur, opacity, and angle can drastically change how the shadow appears, allowing illustrators to achieve the desired effect.
To craft perfect shadows, illustrators consider light sources in the scene. Understanding where the light is coming from helps in determining the direction and length of the shadows. This makes the shadow look more natural.
For added depth, designers might also incorporate techniques like feathering or applying inner and outer glows. These methods can be seen in action in various Adobe Illustrator tutorials, which provide step-by-step guidance on crafting dynamic shadows in illustrations.
Getting Started with Adobe Illustrator
Adobe Illustrator is a powerful tool for creating vector graphics. It’s perfect for beginners who want to explore digital design.
First, users need to download and install Adobe Illustrator from the official Adobe website. Make sure to choose the right version for the operating system. A free trial might be available for those wishing to test the software.
Once installed, opening Illustrator presents several options. Users can start a new project or open an existing file. The interface features panels like the Tools panel, which is essential for drawing and editing.
To begin designing, users can select the Rectangle Tool or any other shape tool from the right panel. Drawing shapes is as simple as clicking and dragging on the artboard. Shapes can be resized, rotated, and customized.
For those exploring shadow creation, the Effects menu is a good start. Here, users can apply basic effects like drop shadows. There’s a helpful guide on creating shadows in Adobe Illustrator that covers several methods.
Learning shortcuts can greatly enhance efficiency. For instance, pressing Ctrl+Z (Cmd+Z on Mac) undoes an action. As users become familiar with these, designing becomes quicker and smoother.
Lastly, saving work frequently is crucial. Choose File > Save As and select the desired file format. Options include AI for editable files or PDF for sharing.
This setup provides a foundation for exploring and mastering Adobe Illustrator.
Basic Tools for Shadow Creation
Crafting realistic shadows in Adobe Illustrator requires a few essential tools. Each tool offers unique capabilities that can enhance the depth and appearance of your designs. By understanding these tools, one can achieve a higher level of detail and precision in shadow creation.
Pen Tool
The Pen Tool in Illustrator is a versatile tool that allows users to draw paths and shapes with precision. It’s particularly useful for creating custom shadow shapes that match the edges and contours of an object.
To start, select the Pen Tool from the toolbar. Click points on the canvas to create a path around the object’s edge where you want the shadow. Adjust these points by clicking and dragging the anchor points to curve the lines as needed.
For a more complex shadow, add additional points along the path by clicking the line. Convert smooth points to corners using the Convert Anchor Point tool, which provides control over each segment of the shadow. Once the shape of the shadow is defined, fill it with a darker shade to represent the shadow.
Gradient Tool
The Gradient Tool is essential for adding depth to shadows, making them look more realistic. It allows the transition from a deeper shade to a lighter one, imitating the natural fade of shadows.
Using the Gradient Tool, apply a gradient fill to the shadow shape. This fill can transition from a dark color at one end to lighter at the other. Adjust the direction of the gradient to align with the light source in the design. Click and drag the Gradient Tool over the shadow to define this flow.
Modify the color stops in the gradient bar to refine the transition between colors. Fine-tuning these stops helps create a smooth blend, enhancing the shadow’s realistic effect. Experiment with opacity and fill levels to find the right balance.
Blend Tool
The Blend Tool is excellent for creating smooth transitions between different shapes and colors. This tool can be particularly useful for shadows that need to blend seamlessly into different parts of a design.
To use the Blend Tool, select two objects or paths that you want to blend. These could be shapes on opposite ends of a shadow. With both objects selected, click on the Blend Tool and then the first object followed by the second. Illustrator will create a series of steps between the two patterns.
Adjust the number of blending steps to achieve a smoother transition. You can do this by selecting Object > Blend > Blend Options. Change the spacing to “Specified Steps” and increase or decrease the number. This method helps integrate shadows smoothly into your designs, allowing for gradual changes in darkness and lightness.
Creating a Drop Shadow
Creating drop shadows in Adobe Illustrator can add depth and dimension to any design. This section guides you through using built-in effects, manually creating shadows, and adjusting colors and opacity.
Using the Drop Shadow Effect
The drop shadow effect is a user-friendly feature in Adobe Illustrator. To use it, first select the object or group that needs a shadow. Navigate to Effect > Stylize > Drop Shadow.
A dialog box will appear. Here, options such as the shadow’s angle, distance, and blur can be customized to meet the design’s needs. Users should ensure the Preview box is checked for real-time adjustments. This feature helps visualize changes as they adjust different settings for the shadow effect. For further assistance, the steps in this Adobe guide are helpful.
Manual Drop Shadow Creation
For a more customized approach, manual shadow creation is an option. This involves duplicating the original object and using it for the shadow layer.
First, copy the object and paste it behind the original. Then, change the fill color to black or gray, and adjust the position to simulate a shadow. Use the Transparency panel to set the shadow object to Multiply. Finally, blur the shadow using Effect > Blur > Gaussian Blur to achieve a soft edge. This method allows for precise shadow control and can be seen in this tutorial.
Adjusting Shadow Color and Opacity
Adjusting the shadow’s color and opacity can significantly impact how realistic the shadow appears. Shadows don’t always have to be black; they can be different hues to match the environment or lighting.
To change the color, select the shadow and use the color picker to match the shadow with the scene. For opacity, modify it through the Transparency panel. Lower opacity levels can make the shadow appear more natural and subtle. Exploring different colors and transparency levels can enhance how integrated the drop shadow looks within the design, as explained in this comprehensive guide.
Crafting Cast Shadows
Creating realistic cast shadows in Adobe Illustrator involves understanding light sources, accurately drawing shadows, and managing perspective and distortion. These skills help enhance the depth and realism of illustrations.
Understanding Light Source
Before drawing cast shadows, recognizing the light source is important. The direction and intensity of light affect the shadow’s shape, size, and position.
Artists should first identify whether the light is direct, such as sunlight, or diffuse, like a cloudy sky. Direct light casts sharper, longer shadows, while diffuse light results in softer, shorter shadows. Knowing these differences helps map out how shadows will fall in relation to objects. This understanding forms the foundation for crafting shadows that look authentic and cohesive within a design.
Drawing Cast Shadows
Once the light source is established, drawing cast shadows becomes a methodical process. Start by visualizing the line where the shadow begins from the object. This line should be aligned with the light source.
Use simple shapes to outline the shadow’s basics. In Adobe Illustrator, tools like the Line Segment Tool or the Pen Tool can help. Precision in these lines ensures the shadow matches the object’s outline. Adjusting the shadow’s opacity and feathering its edges can also lend to a more realistic look.
Shadow Perspective and Distortion
Understanding how perspective influences cast shadows is crucial. As objects recede in space, their shadows distort accordingly. This change is more pronounced when the light source is low, like during early morning or late afternoon.
To simulate this, use tools such as the Free Transform Tool in Illustrator. This allows the artist to stretch and skew the shadow, mimicking how objects and their shadows become longer and thinner as they angle away from the viewer. Engaging with tools like the Warp Tool can adjust the curvature and flow of shadows, adding to a more natural appearance. This technique enhances the realism of shadows, adding depth and interest to visuals.
Working with Inner Shadows
Creating inner shadows in Adobe Illustrator adds depth and realism to designs. This can be accomplished using built-in effects or manual techniques to achieve desired shadow effects.
Inner Shadow Effect
To create an inner shadow, users often use the Inner Glow effect in Illustrator. Although primarily for glowing effects, adjusting the settings can mimic a shadow.
First, select the object and navigate to Effect > Stylize > Inner Glow. Change the color to black for a shadow appearance. Adjust opacity and blur settings to control the intensity and diffusion of the shadow. Ensure the blend mode is set to Normal instead of the default Screen to better simulate a shadow effect.
This method offers a quick way to apply consistent shadows across multiple objects and layers. For more details on using the inner shadow effect, check the techniques mentioned in this tutorial.
Manual Inner Shadow Techniques
If looking for more control over inner shadows, a manual approach might be ideal. This involves duplicating the object, changing the color to a darker shade, and then using the Clipping Mask to create shadow effects within the object.
Begin by duplicating the object and using a darker fill. Align this duplicate beneath the original shape. Next, apply Object > Clipping Mask > Make. This confines the darker copy to the boundaries of the original shape, creating an inner shadow effect.
Using manual methods allows for more customization, such as irregular shadows that follow the shape’s contours more naturally. For a comprehensive guide on custom shadows, one can visit resources like those outlined in this Adobe page.
Layering and Blending Shadows
Creating realistic shadows in Adobe Illustrator involves layering techniques and selecting the right blending modes. These methods can help add depth to your illustrations by mimicking how light interacts with different surfaces.
Layering Techniques
In Illustrator, layering shadows properly can enhance the three-dimensional appearance of your artwork. Start by creating multiple layers of shadows to mimic varying light levels.
Using layers, designers can manipulate the opacity and position to match the light source. Shadows are often more transparent as they move away from the object. Adjusting the transparency for each shadow layer can achieve this effect. Grouping layers can also help maintain organization, enabling easier edits.
Blending Modes for Realism
To make shadows look more realistic, blending modes are crucial. These modes control how colors interact between layers, allowing shadows to look more natural. The Multiply mode is popular for creating depth, as it darkens the colors beneath the shadow layer.
The Overlay mode can add contrast and saturation, making certain types of shadows appear vibrant. Adjust opacity in tandem with blending modes to ensure the shadow doesn’t overpower the original design.
Shadow Interaction with Different Surfaces
When shadows fall on different surfaces, they change in form and intensity. Hard surfaces like metal will show clear, sharp-edged shadows, while soft surfaces like fabric create blurred, softer shadows.
To simulate these effects, one can adjust the softness through feathering—a feature available in Illustrator. This technique can mimic how a shadow interacts with textures and contours of different materials.
Advanced Shadow Effects
Creating realistic shadows in Adobe Illustrator involves using advanced techniques to add depth and dimension to your designs. These methods include manipulating 3D effects, softening edges with feathering, and crafting complex shadows with the mesh tool.
3D-Like Shadows with the 3D Effect
Using Illustrator’s 3D effect can make shadows appear more realistic by giving them a three-dimensional appearance. The user begins by selecting the object they want to transform. Then, they navigate to the Effect menu and choose 3D & Materials. Here, they can select between options like Extrude & Bevel. Adjustments to rotation, perspective, and depth are available to refine the effect.
These changes can make the shadows cast from the objects appear more realistic, especially when lit from different angles. To enhance the shadow even further, users can experiment with positioning the light sources in the 3D panel. The interaction between light and shape creates shadows that can mimic real-world scenarios. This technique is particularly useful for logos or detailed illustrations.
Softening Edges with Feathering
Feathering can soften the edges of a shadow, making it look more natural. Users start by selecting the shadow or the object and then choose Effect > Stylize > Feather. This opens a dialog box where they can set the radius for the feather effect. A larger radius results in a softer, more gradual fade.
This technique is helpful when aiming for a subtle and blended look rather than harsh lines. Feathering is especially effective for shadows that transition smoothly into backgrounds. Making adjustments to the feather amount allows designers to control precisely how soft or sharp the shadow’s edge appears.
Feathering proves beneficial for creating shadows on various elements, like text or vector shapes. These softened edges add a touch of realism that can enhance the overall visual impact of the design.
Using the Mesh Tool for Complex Shadows
For intricate shadow work, the mesh tool offers unmatched precision. The process begins by selecting the object and using the Mesh Tool from the Toolbar. By clicking on the object, a grid of mesh points is created. Users can manipulate these points and change their color to mimic light and shadow variations.
This technique allows for creating detailed shadows with subtle gradients. By adjusting the mesh points, designers can achieve smooth transitions between light and dark areas. The mesh tool is perfect for adding depth to complex shapes or objects.
Tips for Efficient Workflow
To create realistic shadows in Adobe Illustrator efficiently, it’s important to organize your workspace. Arrange panels such as Layers, Color, and Pathfinder for quick access. This saves time and minimizes interruptions during the design process.
Using shortcuts can greatly increase speed. For instance, mastering the CMD/CTRL + C for copying, and CMD/CTRL + V for pasting, helps move objects quickly. Knowing basic shortcuts for zooming and undoing actions can also make work smoother.
Setting up a color palette ahead of time is beneficial. By saving shadow colors in the Swatches panel, an artist can maintain consistency across different projects. This preparation also allows for quick adjustments without starting from scratch.
Grouping objects that share similar shadows or effects can be helpful. By doing this, one can apply changes to multiple elements at once. This method is both time-saving and ensures uniformity in design.
Employing effects like the drop shadow through the Effects menu can add depth with just a few clicks. These effects are adjustable, meaning you can modify settings as needed. Check out Adobe’s guide on drop shadows and glows for more on these effects.
Remember to frequently preview work by zooming out and checking the overall composition. It’s a simple step, but it helps catch mistakes early and ensures the shadows blend well with the design.
Best Practices for Realistic Shadows
Creating realistic shadows in Adobe Illustrator requires attention to detail. The balance between shadow darkness and opacity plays a crucial role. Adjust opacity to avoid overly dark or artificial-looking shadows. This helps achieve a more natural appearance, making the design visually appealing.
Experimenting with shadow settings like blur, offset, and spread can significantly change the outcome. Subtle changes in these settings can mimic real-world lighting effects. Playing with these parameters allows designers to fine-tune shadows to fit their artwork’s needs.
Combining drop shadows with other effects adds depth and interest to the design. For instance, using glows and feathering along with drop shadows can enhance the overall composition. This approach is perfect for logos, illustrations, or any graphic design needing a touch of realism.
Here’s a quick checklist for designers:
- Adjust shadow opacity for a natural look
- Experiment with blur and spread for realistic effects
- Combine shadows with other effects for depth
When working with shadows, attention to color is key. Shadows don’t have to be black; they can take on hues from surrounding colors. This technique adds to the illusion of light interaction within the design.
Designers can learn more about these techniques by checking out tutorials like Hyper-Realistic Shadows That Trick The Eye or guides emphasizing the balance between darkness and opacity.
Taking time to practice these methods can elevate a designer’s skill in Adobe Illustrator, resulting in impressive and realistic visual effects.