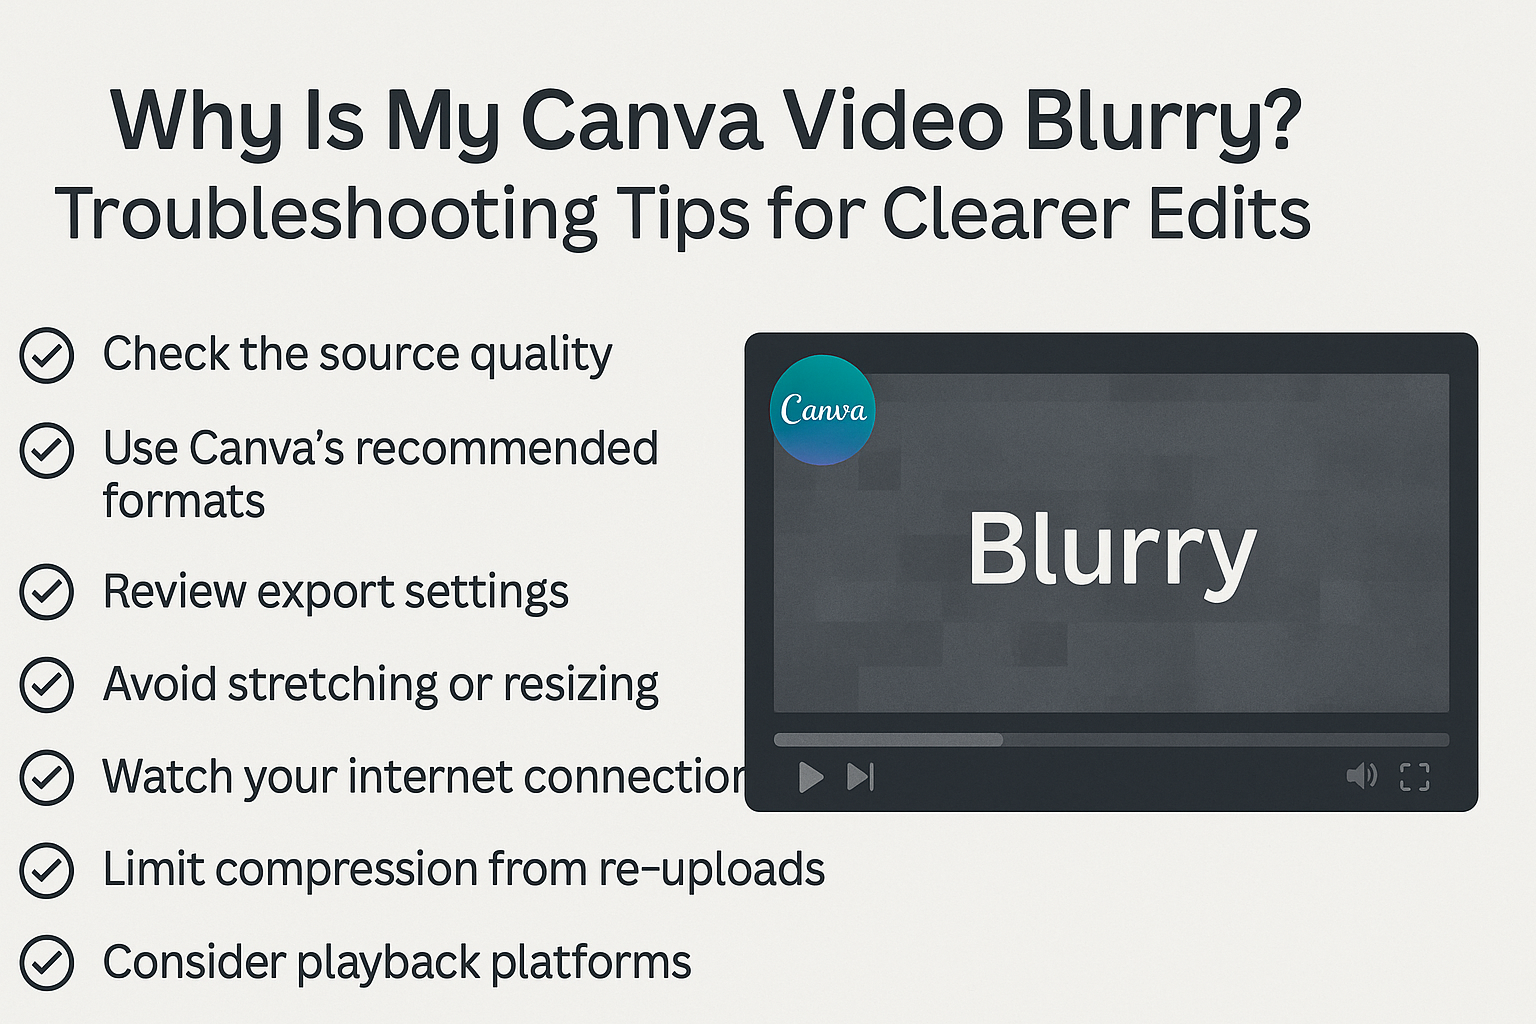
Creating videos on Canva is fun, but a blurry video can be frustrating. The main reasons for blurriness often include compression issues, internet connection problems, or the need for adjustments in video settings.
Understanding these factors can help anyone improve their video quality quickly.
Many people may not realize that a slow internet connection can affect video clarity. If their internet is unreliable, it can cause videos to look pixelated, which is an easy fix with a stable connection.
Moreover, proper settings and effects can enhance sharpness, making videos look more professional.
By exploring simple solutions, anyone can transform their blurry videos into clear, engaging content. This article will go over practical steps to address common issues and improve video quality in Canva.
Understanding Video Resolution
Video resolution is key to ensuring quality and clarity. Understanding the factors that affect it can help identify why a video might appear blurry. Here are some important aspects to consider.
The Basics of Video Quality
Video quality is primarily determined by resolution, which defines how many pixels make up a video image. Higher resolution means more pixels, leading to clearer and sharper images.
Common resolutions include:
- 720p (HD): 1280 x 720 pixels
- 1080p (Full HD): 1920 x 1080 pixels
- 4K (Ultra HD): 3840 x 2160 pixels
Each increase in resolution improves the video clarity but requires more storage space and processing power. A low resolution may cause videos to look blurry or pixelated, making it essential to choose the right one for the intended platform or audience.
Common Reasons for Blurry Videos
Several factors can cause videos to look blurry. A primary reason is insufficient resolution; using low-res videos can lead to a lack of detail.
Moreover, excessive compression often reduces video quality. Compression is necessary to decrease file size, but too much can harm clarity.
Improper resizing is another issue. If the video doesn’t match the canvas size in Canva, it may stretch and lose sharpness. Lastly, poor internet connection during streaming can lead to lower playback quality, causing the video to appear blurry.
Canva’s Video Capabilities
Canva offers several features to help users enhance video quality. When uploading videos, ensuring they are at least 1080p will help maintain clarity.
Canva also includes an “Enhance” tool that automatically improves video quality.
Users can adjust the size of their videos to fit the canvas correctly without distorting the image. Regularly checking compression settings is crucial; using a lower compression rate will help preserve visual quality.
By understanding these capabilities, anyone can create better videos and avoid blurriness.
Improving Video Clarity in Canva
To enhance video clarity in Canva, it is essential to focus on the right elements. Selecting the correct template, optimizing images, and adjusting video settings can significantly improve the overall quality.
Selecting the Right Template
Choosing a suitable template is crucial for video clarity. Canva offers various templates tailored for specific types of videos.
Users should look for templates that suit their content style, such as educational, artistic, or promotional themes.
Using high-resolution templates can make a difference too. These templates often have designs optimized for clarity. This means users will not have to worry about blurry elements from the start.
It is best to preview templates before selecting them to ensure they meet graphic quality expectations.
Optimizing Your Images and Elements
Images and graphics play a significant role in video quality. To get the best results, users should upload high-resolution images.
Low-quality images can lead to blurriness, so it is important to pick crisp and clear visuals.
When using images, proper sizing is essential. Canva allows resizing, but if images are stretched too much, they can become pixelated.
Placing images in the correct aspect ratio will maintain clarity. Users should also consider using elements like shapes and icons from Canva’s library, as these are typically designed for optimal quality.
Adjusting the Video Settings
Fine-tuning video settings can greatly enhance clarity. First, users can check the resolution settings before exporting the video.
Exporting in a higher resolution, such as 1080p or 4K, allows for clearer visuals.
Next, users can adjust the compression settings. Too much compression can result in loss of quality.
It is advisable to use a lower compression level to maintain detail without excessively increasing the file size. Applying a sharpening effect can also help improve the overall sharpness of the video, making it look cleaner and more professional.
Exporting Your Video
When exporting a video from Canva, selecting the right options is crucial for maintaining quality. Understanding file formats and compression settings can help ensure that the final product appears sharp and professional.
Choosing the Correct Export Options
When ready to export a video, users should click on the “Download” button. They can then choose the video format.
For most purposes, MP4 is recommended as it provides a good balance of quality and file size.
Users should also set the video quality to High or Print if available. These options help reduce the chance of blurriness due to compression.
Be mindful of the export settings to preserve the intended appearance of the video. Careful attention here can make a significant difference in the final output.
Understanding File Formats and Compression
File formats play a significant role in video quality.
The most common format used is MP4, which supports high quality while keeping the file size manageable.
Compression is necessary to ensure quick downloads but can cause blurriness if not done properly.
Users should avoid excessive compression when possible.
To reduce blurriness, it may be beneficial to select a lower compression rate or an alternative compression method.
Checking the quality of uploaded images also helps since low-resolution images can lead to an overall blurry video appearance.

