Creating visually appealing presentations is key to engaging an audience.
Many people struggle with maintaining a consistent look throughout their slides. PowerPoint’s Slide Master feature allows users to design a cohesive presentation efficiently by applying global changes that affect all slides at once.
With Slide Master, anyone can customize fonts, colors, and layouts, ensuring that every slide aligns with the chosen theme. This tool simplifies the design process and saves time, making it easier to focus on delivering content.
By using the Slide Master, presenters can achieve a polished and professional appearance without having to edit each slide individually.
For those looking to enhance their slide design, mastering this feature is essential. As presentations are often the key to communication in meetings and lectures, having a consistent design can make a significant difference in how information is received. Utilizing the Slide Master can transform a basic presentation into a visually appealing experience that captivates and informs the audience.
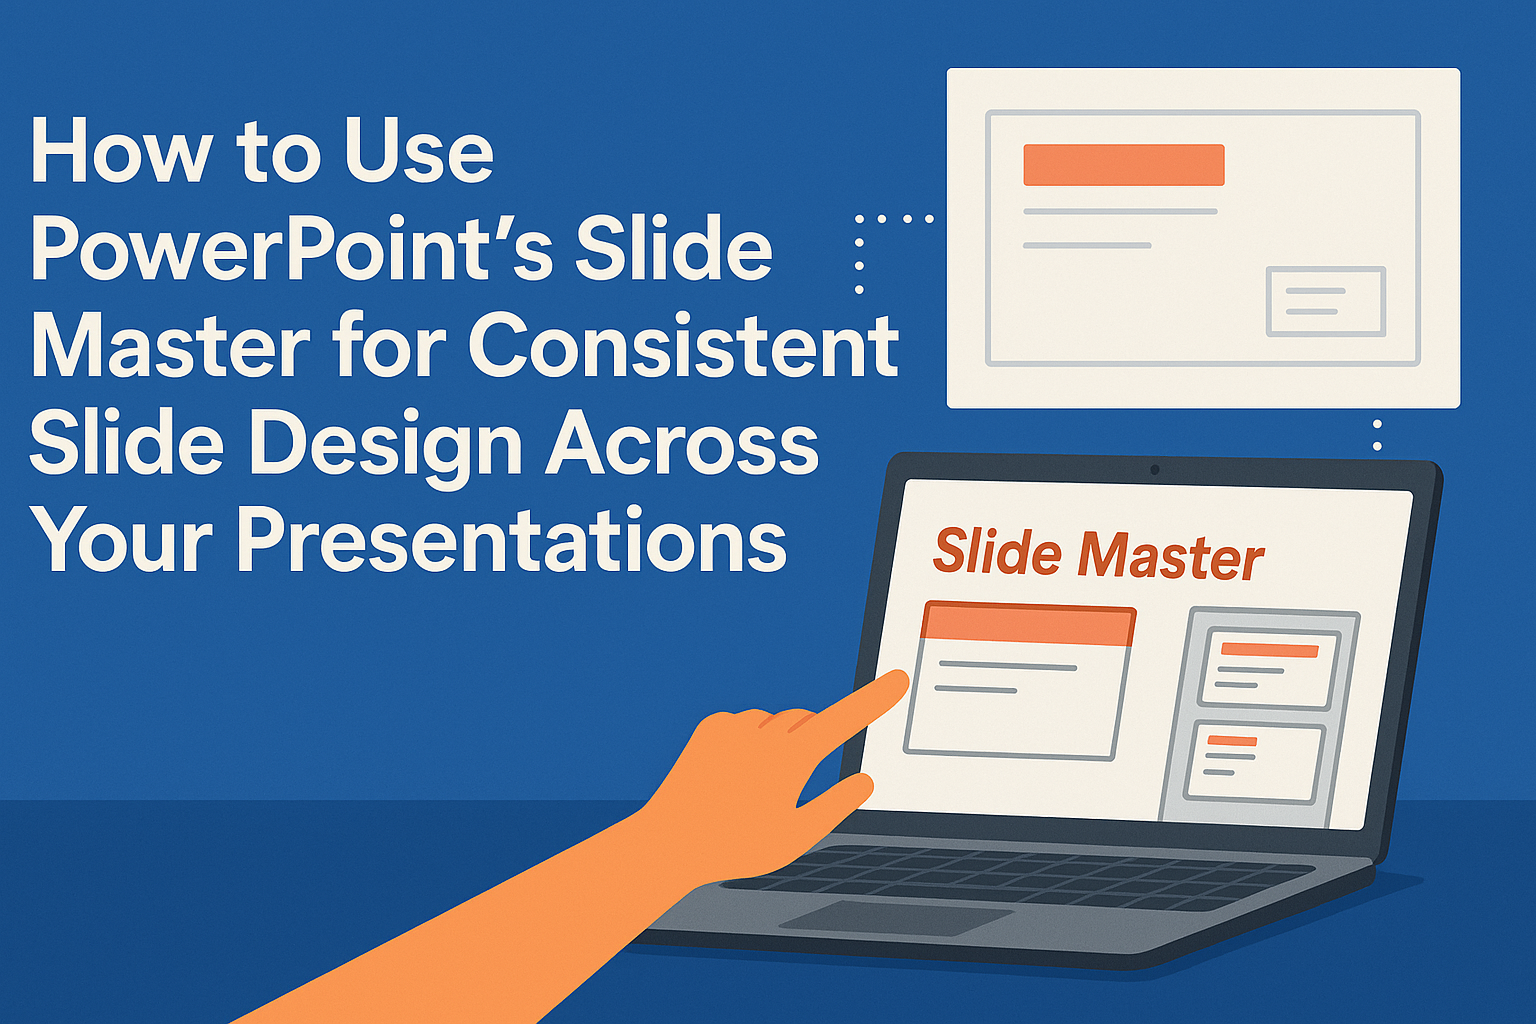
Understanding Slide Master
The Slide Master in PowerPoint helps users create a consistent design for their presentations. It serves as a central part of the presentation design process, allowing for streamlined editing and uniformity across all slides.
Benefits of Using Slide Master
Using the Slide Master feature offers numerous advantages. It allows a user to make design changes that apply to the entire presentation at once. This saves time, especially for larger presentations.
For instance, if a user wants to change the background color or font style, they can do it through the Slide Master. All changes will update across all slides automatically.
Additionally, it ensures consistency. The same layout, font, and color scheme will appear throughout the presentation. This gives the presentation a polished, professional look that audience members appreciate.
Components of Slide Master
The Slide Master consists of several key components. The main part is the Master Slide, which is the top slide in the thumbnail pane. It controls the overall look of all slides.
Below the Master Slide, layout masters are present. These layout masters define various slide arrangements, like title slides and content slides. Users can customize these layouts to match their specific needs.
Users can also add elements like logos or footers in the Master Slide. These elements will show up on all slides, enhancing brand identity. The Slide Master allows for effective management of design elements with ease.
Accessing Slide Master View
To create a consistent design in a PowerPoint presentation, accessing the Slide Master View is essential. This feature allows users to make changes that reflect across all slides, ensuring uniformity in design and layout.
Opening Slide Master View
To open Slide Master View, the user should start by launching PowerPoint and selecting the desired presentation.
Next, they should navigate to the View tab in the ribbon at the top. From there, clicking on Slide Master opens the Slide Master View.
In this view, a new pane appears on the left, showcasing a list of all slide masters and layouts available. The main slide master, usually at the top, controls the overall look of the presentation. By selecting this master, users can easily customize fonts, colors, and backgrounds to fit their branding.
Navigating Through Different Masters and Layouts
Once in Slide Master View, it’s key to understand how to navigate through the different masters and layouts.
In the left pane, users will see multiple thumbnails, each representing either a master slide or a layout. The main master slide is the first thumbnail.
Clicking on any layout thumbnail allows users to modify specific slide formats. For example, they can change title styles or adjust bullet points for particular layouts without altering the entire presentation.
This flexibility helps in designing slides that are visually cohesive while also catering to specific needs for different types of content. Adjustments made here will ensure that any new slide added will automatically conform to the selected design.
Customizing Master Slides
Customizing master slides allows for a unified look across a presentation. This includes editing themes, configuring fonts and colors, and inserting key elements that enhance the design.
Editing Themes and Backgrounds
To change the overall theme of a presentation, accessing the Slide Master view is essential. Users can do this by selecting the View tab and then Slide Master.
Once in the Slide Master view, customizing the background is simple. They can right-click on the master slide background and select Format Background. This allows for options like solid fills, gradients, or pictures.
When updating themes, it’s important to apply these customizations across all layouts for consistency. This makes the presentation visually appealing while ensuring that each slide feels connected.
Configuring Fonts and Colors
Selecting the right fonts and colors is vital for readability and impact.
In the Slide Master view, users can change the fonts by clicking on the Fonts dropdown in the Edit Master group.
Choosing a font that is easy to read and matches the theme is crucial. Using built-in combinations can save time.
Color schemes can also be adjusted by clicking on the Colors option in the Edit Master tools. This helps in setting a consistent tone for headings, text, and backgrounds. Pairing colors that contrast well will make the content stand out.
Inserting Master Slide Elements
Master slides allow for the addition of elements such as logos, footers, and page numbers. These elements will appear on every slide, promoting a professional look.
To insert an element, first navigate to the Slide Master view. From there, users can select the desired master slide and click on Insert Placeholder. This can include text, images, or shapes.
For logos, users can drag and drop them onto the master slide. Positioning them correctly is important to maintain a clean design. Once set, these will automatically show up across all related slides, streamlining the process of creating a presentation.
Creating and Modifying Layouts
Creating and modifying layouts in PowerPoint’s Slide Master helps ensure a consistent look across all slides. This feature allows users to add new layouts, customize existing ones, and manage placeholders effectively.
Adding New Layouts
To create a new layout in Slide Master, the user should go to the Slide Master view. From there, they can select the “Insert Layout” option.
This new layout can include different elements like title boxes, text areas, or image placeholders.
Once the layout is created, it can be customized with backgrounds, colors, and fonts unique to the presentation theme. Users should remember to name the layout for easy identification later. Adding layouts is essential for accommodating different types of content, like charts or images, while maintaining a cohesive design.
Customizing Existing Layouts
Customizing existing layouts is an important step for achieving the desired presentation style.
Selecting the layout from the Slide Master view allows the user to change key elements. They can modify the font style, size, and color in the “Fonts” section.
Users can also adjust background styles or add effects to make the slides more visually appealing. Furthermore, they can easily remove or add elements like text boxes or images. Customization enhances the presentation’s impact and ensures that important information stands out.
Managing Placeholders
Placeholders are useful for adding consistency across slides. In the Slide Master view, users can add different types of placeholders like text boxes, images, or charts. To add a placeholder, they simply click “Insert Placeholder” and choose the type.
Managing placeholders involves adjusting their size and position on the layout. Users can also set optional footers, such as slide numbers or dates, for uniformity. Properly arranged placeholders allow for a seamless design, making slide content look professional and polished.
Applying Consistency Across Slides
Achieving a consistent design in PowerPoint helps create a polished and professional presentation. By focusing on setting a uniform style and ensuring placeholder consistency, the user can maintain clarity and visual appeal throughout their slides.
Setting a Uniform Style
To set a uniform style, the user can utilize the Slide Master feature. This allows for global changes that apply to all slides.
Start by selecting the Slide Master view from the View tab.
In this view, styles like fonts, colors, and backgrounds can be modified and will automatically reflect on all slides. For example, one could choose a specific font type for headers and body text, ensuring every slide looks cohesive.
Tip: Consider using a color palette that matches the presentation’s theme. This helps in creating a visually appealing look while also reflecting the brand or topic.
Ensuring Placeholder Consistency
Consistency in placeholders is vital for readability. Placeholders for titles, text, images, or charts should be formatted uniformly across all slides.
When editing the Slide Master, users can adjust the size and position of each placeholder. This ensures that titles are always in the same location and have the same font size.
Action Item: Set specific rules for text alignment and bullet points. Using the same bullet style and text alignment across slides helps the audience focus on the message rather than adjusting to different formats.
Saving and Reusing Slide Masters
Keeping customized Slide Masters handy allows one to create consistent presentations quickly. This section outlines how to save personalized Slide Masters and import them into new presentations.
Saving Customized Slide Masters for Future Use
To save a customized Slide Master, the user should first open their PowerPoint presentation.
Next, they need to click on the “View” tab and select “Slide Master.”
After making any desired changes to the Slide Master, such as adjusting layouts or colors, they can save it as a template.
To do this, the user goes to the “File” menu, clicks on “Save As,” and chooses the file type as “PowerPoint Template (*.potx).”
They should give their template a suitable name that reflects its design. This process ensures that the Slide Master can be easily accessed for future use.
Importing Slide Masters into a New Presentation
Importing a saved Slide Master into a new presentation is a simple process.
The user starts by opening a new or existing PowerPoint file. Then, under the “View” tab, they select “Slide Master” and click on “Insert Slide Master” from the options.
Next, they locate the saved template file on their computer. Once selected, the customized Slide Master will be added to the new presentation. This allows the user to maintain design consistency without starting from scratch.
Best Practices
Using PowerPoint’s Slide Master effectively can enhance the consistency and clarity of presentations. Keeping designs simple, maintaining proper alignment, and using layouts correctly are crucial for creating slides that engage the audience.
Keeping Slide Designs Simple
Simplicity is key in any slide design. A clean and straightforward slide allows the audience to focus on the message instead of being distracted by unnecessary details. Use minimal text to make key points clear.
- Limit the number of colors to a harmonious palette.
- Avoid clutter by using white space effectively.
Using bullet points instead of long paragraphs helps in conveying information quickly. Each slide should deliver one idea clearly. This approach will keep the audience engaged and ensure the message is understood.
Maintaining Alignment and Spacing
Proper alignment and spacing guide the viewer’s eye through the content. Ensuring that elements are aligned creates a professional look.
- Use gridlines and guidelines within the Slide Master to achieve uniformity.
- Maintain equal spacing between text and images for a tidy presentation.
Consistent alignment across all slides helps viewers know where to look first. This method draws attention to the most important information, making it easier for the audience to follow along.
Using Layouts Effectively
Utilizing layouts wisely enhances the flow of a presentation.
The Slide Master offers various predefined layouts that can save time while ensuring consistency.
- Choose layouts that suit the type of content being presented.
- Customize layouts to fit specific themes or styles for better coherence.
When using visuals, such as charts or images, select a layout that complements the data.
This practice will highlight important points and keep the slides visually appealing.
By choosing the right layout, presenters can create a more polished and organized presentation.