Krita offers a powerful set of tools for artists looking to enhance their digital paintings with professional touches. A key feature is the ability to use layer effects that can transform a simple image into something remarkable.
By mastering layer effects in Krita, artists can elevate their artwork with creative styles and unique visual elements.
The process of using these effects is straightforward, making them accessible to both beginners and experienced users. Krita provides options such as adding shadow, glow, and more, which can be easily applied to any layer. These features are designed to help artists achieve the depth and texture they desire in their work.
With these effects, artists can experiment with creativity, finding new ways to enhance their digital art. Layer styles in Krita ensure each piece has its own distinctive flair, making ordinary artwork stand out. By exploring these tools, artists are sure to discover endless possibilities for their artistic projects.
Getting to Know Krita
Krita is a versatile digital painting program loved by artists for its powerful features and user-friendly design. It offers a customizable interface, a wide array of artistic tools, and robust functions to achieve professional-quality artworks.
Overview of the Interface
Krita’s interface is intuitive, making it easy for users to find their way around. It includes a central canvas area, toolbars on the side, and a menu on the top for easy access to tools and settings.
The Layers Docker and Brush Presets are easily accessible, allowing quick adjustments and selections. Users can customize toolbars, dockers, and windows, providing a tailored workspace suited for various projects. The layout ensures that all tools are within easy reach, enhancing productivity.
Customizing Your Workspace
Krita allows artists to customize their workspace to fit their needs. It offers dockers and tool panels that can be arranged to preference. Dockers such as Tool Options, Brush Presets, and Layer Management can be repositioned.
Users can create and save multiple workspace setups for different projects or tasks. This flexibility allows users to streamline their workflow, focusing more on creativity rather than navigation.
Styles can be adjusted, providing options for color themes and icon sizes, helping improve visibility and reducing strain during long hours of work.
Key Features and Tools
Krita boasts features like Brush Engines, which enable unique, customizable brushes for various painting styles. The Resource Manager helps manage brushes, gradients, and patterns. Advanced layer features, including masks and blending modes, provide depth to artworks.
The software supports input from drawing tablets, offering pressure sensitivity and tilt recognition. These features cater to the detailed needs of professional artists. Krita is also great for animation, offering a timeline for easy frame management.
Understanding Layers in Krita
Layers in Krita play a crucial role in creating professional digital artwork. They allow artists to stack images, apply effects, and organize elements efficiently. This section explores the basic functions of layers, how to organize them for better workflow, and the properties that enhance creativity.
The Basics of Layers
In Krita, layers function like transparent sheets stacked on top of one another. Each layer can contain different elements like drawings or photos. Users can edit each layer independently without affecting others. Different types of layers serve varied purposes. For example, vector layers are used for vector elements, while paint layers hold raster elements. Mastering these basics helps in controlling the artwork composition and making efficient edits.
Organizing Layers for Efficiency
Efficient layer organization is essential for managing complex projects in Krita. Grouping layers is a key feature that helps keep related elements together. Artists can collapse groups to save space, making it easier to navigate. Renaming layers with descriptive names like “Background Trees” or “Main Character” improves clarity. Using color labels is another way to categorize layers, which can speed up workflow during detailed editing sessions.
Layer Properties Explained
Each layer in Krita has specific properties that can be adjusted to achieve the desired look. Opacity is a crucial property, controlling how transparent a layer appears. Blend modes change the way layers interact with one another, resulting in various visual effects. Layer styles add extra effects like shadows or glows, which can be toggled on or off. Mastering these properties can significantly enhance the creative process by allowing artists to experiment with different styles and effects.
Mastering Layer Effects
Layer effects in Krita can transform a basic illustration into a captivating piece. By experimenting with different styles and modes, artists can add depth, texture, and shadow to their work. Customizing these effects helps create a more polished and professional-looking result.
Applying Layer Styles
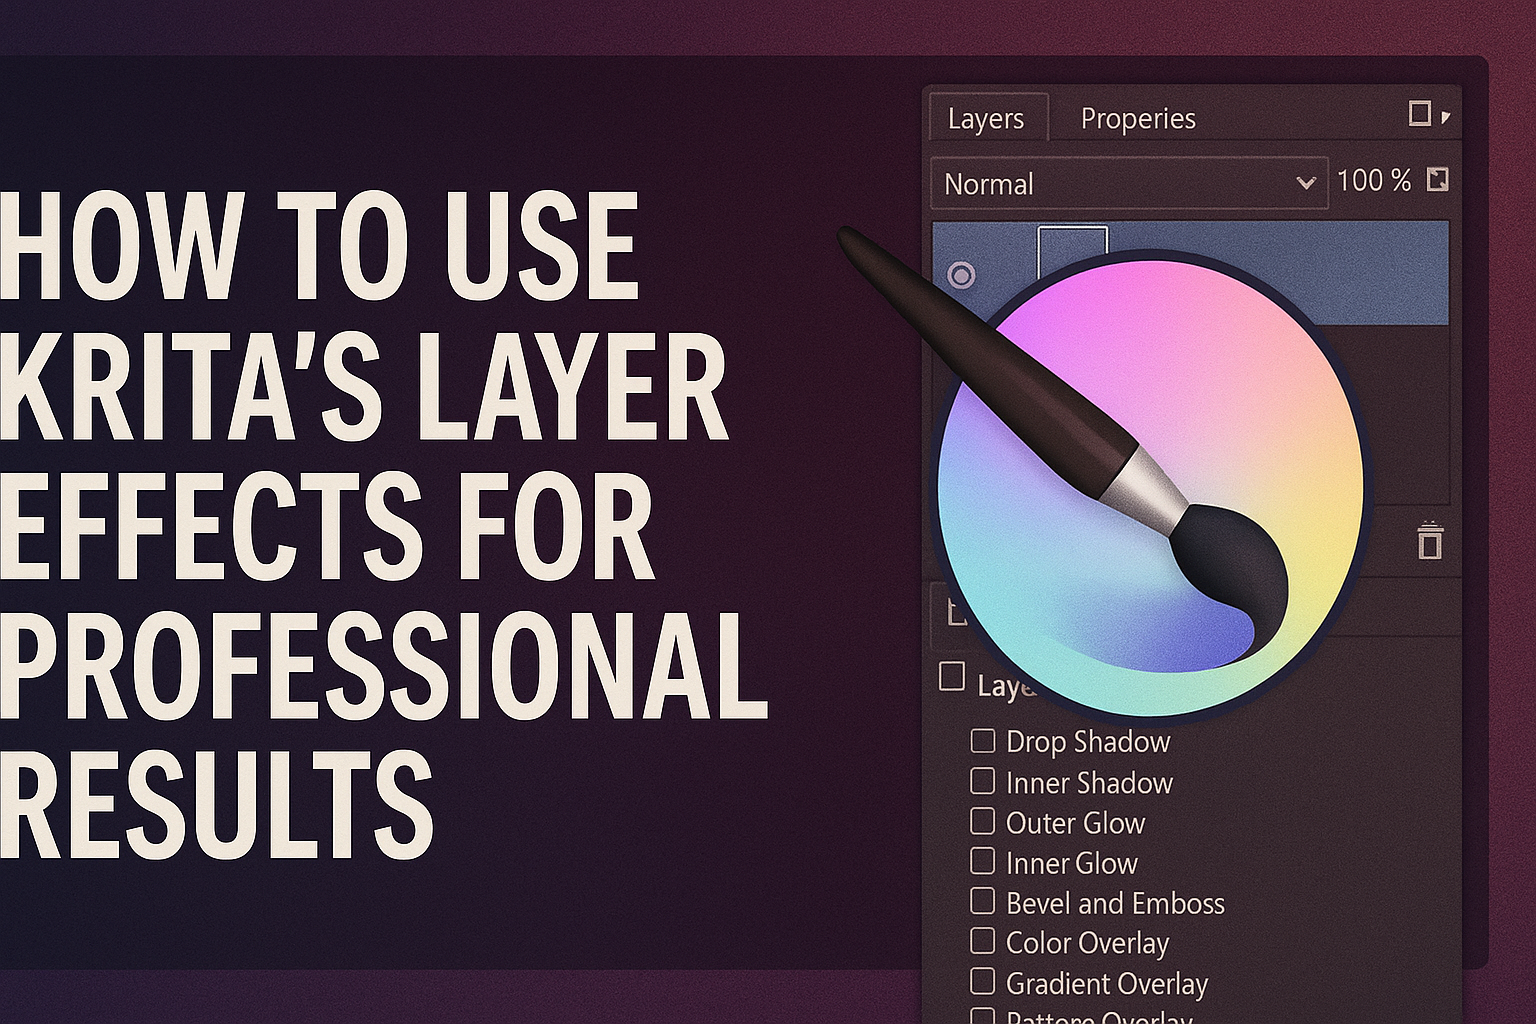
Layer styles in Krita let artists add special features to their work, such as glows and overlays. To apply them, users can access the Layer Styles panel. Here, they find options like Bevel and Emboss, which add 3D-like textures.
Using these styles, artists can emphasize certain parts of an image or create a specific mood. Adjusting the settings allows for a personalized touch, ensuring each artwork stands out. By playing with the scale and intensity of these effects, artists can achieve precise control over the final look. Layer styles also support creativity by enabling artists to experiment with unique combinations.
Using Blending Modes
Blending modes change how colors interact between layers, making them essential for creating rich visuals. Krita offers a variety of modes like Multiply, Screen, and Overlay. Each has a unique function. For instance, Multiply darkens images by blending the colors of two layers.
Artists use blending modes to mix textures, create highlights, or adjust shadows without permanently changing their base layers. Experimenting with these settings can lead to unexpected and delightful results. Understanding which mode suits the artwork’s needs is key. Learning through trial and error helps artists develop their unique style and discover new possibilities for their creations.
Adding Drop Shadows and Other Effects
Drop shadows add depth, helping elements stand out on the canvas. In Krita, applying a drop shadow involves adjusting the shadow’s distance, angle, and opacity. This effect gives a sense of realism by simulating light direction and object placement.
Beyond drop shadows, users can explore other effects like inner glow and gradient overlay. Customizing these effects ensures a tailored design that aligns with an artist’s vision. Adjustments are made through the Layer Effects panel, allowing for fine-tuning. By experimenting with different settings, artists can achieve stunning results that enhance the overall impact of their artwork.
Advanced Techniques Using Layers
Mastering advanced techniques with layers in Krita can elevate any digital artwork. By effectively using masks, combining layers, and applying adjustments, artists can achieve stunning and professional results.
Masking Fundamentals
Masks in Krita are a powerful tool for enhancing layer functionality. They are essential for nondestructive editing. Transparency masks help in hiding parts of a layer without deleting them, allowing artists to experiment with different ideas freely. By right-clicking a layer and choosing Add Transparency Mask, users can start exploring this method.
Another great option is the Filter Mask, which allows the application of filters only on specific parts of a layer. This way, effects can be fine-tuned without making permanent changes. Artists create a more seamless and well-integrated look by using these tools.
Combining Layers Creatively
Combining layers is an artistic approach to adding depth and dynamics to a piece. One technique is to use blending modes, which can change how layers interact with each other. For example, the Multiply blending mode can darken colors by mixing them, perfect for creating shadows.
Organizing layers into groups can also streamline the workflow and keep the project tidy. By nesting layers within these groups, artists can apply changes or move a bunch of layers at once. This method enhances efficiency, making it easier to manage complex projects.
Adjustment Layers and Filters
Adjustment layers in Krita allow artists to make color and tone corrections efficiently. They apply effects across multiple layers without altering the original content. Some commonly used adjustments include brightness/contrast and hue/saturation tweaks, offering flexibility in editing.
Filters can be combined with adjustment layers for more intricate effects. Artists can use features like Gaussian blur to soften an image or sharpen certain details selectively integrated with the overall design. Understanding how adjustment layers and filters work together is crucial for maintaining a polished and refined final product.
Workflow Tips for Professional Results
When working with Krita, mastering specific techniques can elevate digital painting to a professional level. Techniques like non-destructive editing, layer grouping, and automating effect chains are key components.
Non-Destructive Editing Strategies
Non-destructive editing allows artists to make changes without altering the original image. In Krita, this can be achieved by using masks and adjustment layers. For example, adding a mask enables editing parts of a layer without permanent changes. Various masks like Transparency Mask are essential tools.
Creating duplicate layers before working on them prevents accidental loss of original content. Using layers for effects like brightness and contrast further enhances flexibility. This method encourages experimenting without risk.
Utilizing Layer Groups
Layer groups help organize and streamline your project. By grouping related layers, artists can manage complex compositions more easily. In Krita, groups can be created by selecting multiple layers and choosing the group option.
Within these groups, adjustments can be applied collectively. This is useful for tasks like applying consistent effects or transformations across multiple layers. Grouping also aids in maintaining a tidy workspace, allowing for faster workflow and easier navigation.
Effect Chains and Automation
Effect chains in Krita allow users to stack multiple effects and filters on a single layer. Creating these chains optimizes the workflow by reducing the steps needed for repetitive tasks. Artists can set up chains for tasks like sharpening images or adjusting colors.
Automation can be further enhanced using scripts or macros. These tools perform repeated actions automatically, saving time on frequently executed tasks. By automating routine tasks, artists can focus more on creativity and less on manual adjustments.
Saving and Exporting Your Artwork
When working on digital art, saving and exporting your project correctly is crucial to ensure high-quality results. Understanding different file formats, how to export layers separately, and best practices for saving work can make a significant difference in preserving your artwork’s quality and versatility.
File Formats and Their Uses
Choosing the right file format is essential when saving your work in Krita. KRA is Krita’s native format and is best for keeping layers and project information intact. For sharing or printing, the PNG format is popular due to its lossless compression, maintaining high-quality visuals.
Another option is JPEG, which is more compressed, reducing file size but possibly compromising detail. For multi-layered documents that retain layers outside of Krita, PSD can be used, compatible with Photoshop. Knowing the differences helps in selecting the best format for various needs. Understanding these differences ensures your artwork maintains its integrity and opens correctly in other software.
Exporting Layers Separately
Exporting layers separately can be useful for animators and designers who need individual images for each layer. While Krita doesn’t have a direct export option, saving work in TIFF format allows layers to be extracted. By using tools like ImageMagick, layers can then be converted into separate PNG files, as described in this guide.
The process is handy for preparing assets for game development or animations where individual layer manipulation is vital. This method allows you to keep your layers intact and ready for additional work, providing flexibility in various creative workflows.
Best Practices for Saving Work
To avoid losing hours of work, incorporating best practices for saving is important. Regularly use incremental saving to keep different versions of your project, allowing you to revert to previous states if necessary. This can be done manually by adding version numbers to filenames.
Setting up autosave in Krita ensures that your work is backed up at set intervals, reducing the risk of losing progress. Additionally, saving to cloud services provides remote backup and access to files from any location, offering an extra layer of security and convenience. These habits help protect your efforts and streamline project management.