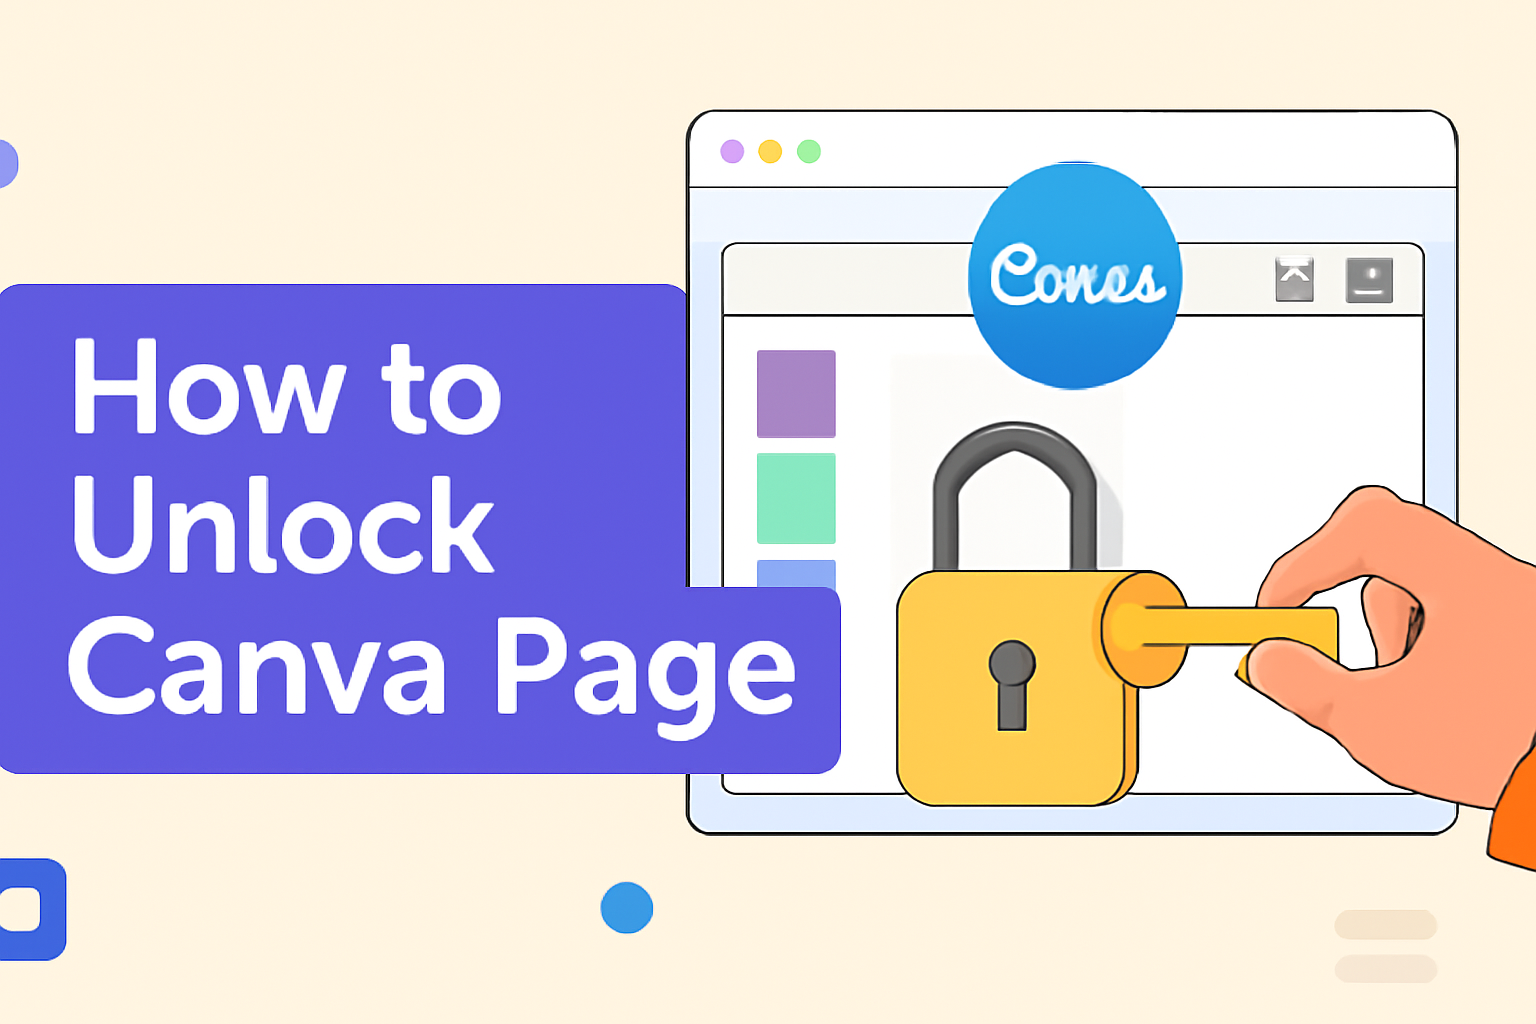
Unlocking a page in Canva is a straightforward task that can save users from a lot of hassle.
Canva is a powerful design tool that allows people to create stunning visuals with ease.
When working on a project, knowing how to unlock elements quickly can keep creativity flowing.
For those wanting to know how to unlock a page in Canva, the key steps involve selecting the locked item and simply clicking on the unlock option.
Whether using Canva on a desktop or a mobile device, the process is similar, making it accessible to everyone.
By unlocking a page or elements, users can edit and design with more flexibility.
Understanding how to efficiently manage locked and unlocked components can enhance the design experience.
This knowledge empowers users to customize their projects more freely and avoid unintentional changes.
For more detailed instructions, users can refer to guides like the one on The Branded Bucks that explain how to unlock text, elements, and pages in Canva.
Understanding Canva Page Locking
Locking pages in Canva can help keep elements in place and avoid unwanted changes. This feature ensures that designs remain consistent and prevents accidental edits.
Reasons for Page Locking
Pages can be locked for several reasons, mainly to protect elements from accidental edits.
When creating a complex design, it’s easy to mistakenly move or alter parts of the design. Locking provides a safeguard, ensuring that critical components stay in place.
Collaborators working on a shared project might lock pages to maintain design integrity, preventing unintentional changes by team members.
Another reason is to maintain version control. This helps avoid confusion, especially in projects with multiple revisions.
Additionally, locking is useful during client reviews. Clients can view the design without risking inadvertent edits.
Benefits of Locking a Page
Locking a page in Canva offers several benefits.
It keeps important design elements intact. This is helpful when working on detailed projects, as it ensures nothing is accidentally moved or altered.
Locking increases efficiency, particularly in collaborative environments. Team members can focus on their design tasks without fear of disrupting others’ work. This results in a smoother workflow and better communication.
Design stability is another benefit. By preventing accidental changes, designers can maintain consistency across multiple platforms.
This is crucial for brand recognition and professionalism. Furthermore, clients appreciate receiving designs that are finalized and won’t be unintentionally modified.
These benefits highlight how page locking can be especially practical in professional design settings.
Getting Started with Unlocking
Unlocking pages in Canva can be essential if you want to modify or edit your designs freely. To get started, it’s important to understand what you need and how to identify locked pages.
Requirements for Unlocking
Before unlocking a Canva page, certain requirements need to be met.
First, ensure you have proper access to the Canva account that contains the design.
Users must have editing rights to modify locked pages. This might require a Canva Pro or Teams subscription, depending on the design’s settings.
Users should be familiar with the Canva interface. Knowing where the tools are will help in navigating the design smoothly.
Additionally, make sure you have an updated version of Canva, especially if using the mobile app, to avoid any bugs that can hinder page unlocking.
Locating the Locked Page
Finding a locked page in your Canva design is simple once you know what to look for.
Locked pages typically have a small lock icon visible on the page, indicating editing restrictions.
Start by opening your design project in the Canva workspace.
Look at the page index or scroll through the pages in your project. The page with the lock icon is the one you can’t edit yet.
Clicking on this icon or page will usually allow options to unlock it, such as a button or menu command like “Unlock.”
This step is crucial to begin editing and accessing all the design features available.
Step-by-Step Unlocking Process
Unlocking a page in Canva is a straightforward task that can be accomplished in just a few steps. This process involves selecting the right page and using Canva’s intuitive unlock feature. Understanding these steps will help users manage their designs more effectively.
Selecting the Page to Unlock
To start, the user needs to locate the specific design project that contains the locked page.
After logging into their Canva account, they should browse their projects list or use the search bar for quicker access.
Once they find the project, they need to open it and view the list of pages or the design spread.
Selecting the locked page is easy. The user should look for a page thumbnail that appears different from others, often indicated by a small lock icon.
Clicking on this thumbnail highlights the page, preparing it for the next step in the process.
If multiple pages are locked, each will need to be addressed individually.
Using the Unlock Feature
After selecting the desired page, the user will need to use Canva’s unlock feature to make edits possible.
There is an option symbolized by a “More” or three-dot icon usually found near the page or element features.
Clicking this icon reveals a dropdown menu which includes various choices.
The user needs to select “Unlock Page” or a similar option from this menu.
In some instances, particularly with Canva Pro users, additional options such as unlocking only the position are available.
Following this procedure should unlock the page, allowing further edits and design changes.
Troubleshooting Common Issues
In Canva, unlocking a page may sometimes present challenges. Below are practical tips for resolving problems like error messages.
Handling Error Messages
When users encounter error messages while trying to unlock a page, it’s important to stay calm and assess the situation.
First, check the internet connection since a weak or unstable connection can cause issues. Refreshing the Canva page can often resolve minor glitches.
If problems persist, ensure that the user has the necessary permissions to make changes.
Sometimes, being logged in with the wrong account or not having the correct access rights can cause errors. Logging out and back into the correct account might solve the issue.
If further help is needed, visiting Canva’s help center is a good step.
Tips and Best Practices
Unlocking a page in Canva gives you room to edit your designs freely. It’s essential to maintain the design’s structure and know when you might need to lock them again for protection and order.
Maintaining Page Integrity
When working on a design in Canva, keeping the page’s integrity intact is crucial.
This means ensuring that your unlocked elements stay aligned and consistent throughout the design. He or she should regularly check the dimensions and spacing between elements.
Using grids and rulers is another practice that helps maintain order. They provide visual guides to ensure everything lines up neatly.
This approach can be especially helpful when dealing with multiple text boxes or images.
Grouping similar elements can also aid in maintaining a coherent look. It allows easy movement and alignment, keeping the page neat and organized.
Using labels and notes for frequently used design components might provide even more clarity. They serve as reminders of predefined styles or templates, ensuring consistency.
When to Lock Pages Again
After editing, you should consider locking the pages again to prevent unintentional changes. Locking is beneficial if several people are working on the same design.
This prevents accidental modifications and protects key design aspects.
He or she should assess the priority elements that need protection. Important branding or complex structure elements may need to be locked. This ensures they remain unchanged.
Regularly reviewing the design for any necessary changes is wise.
They should decide if the design needs some parts locked for future edits or collaboration.
Setting reminders or notes for yourself about what stays unlocked for future edits is also a good practice.
These notes can guide others who might work on the design later.