Sharpening images can elevate the quality of any project, and Canva makes it easy for anyone to enhance their visuals.
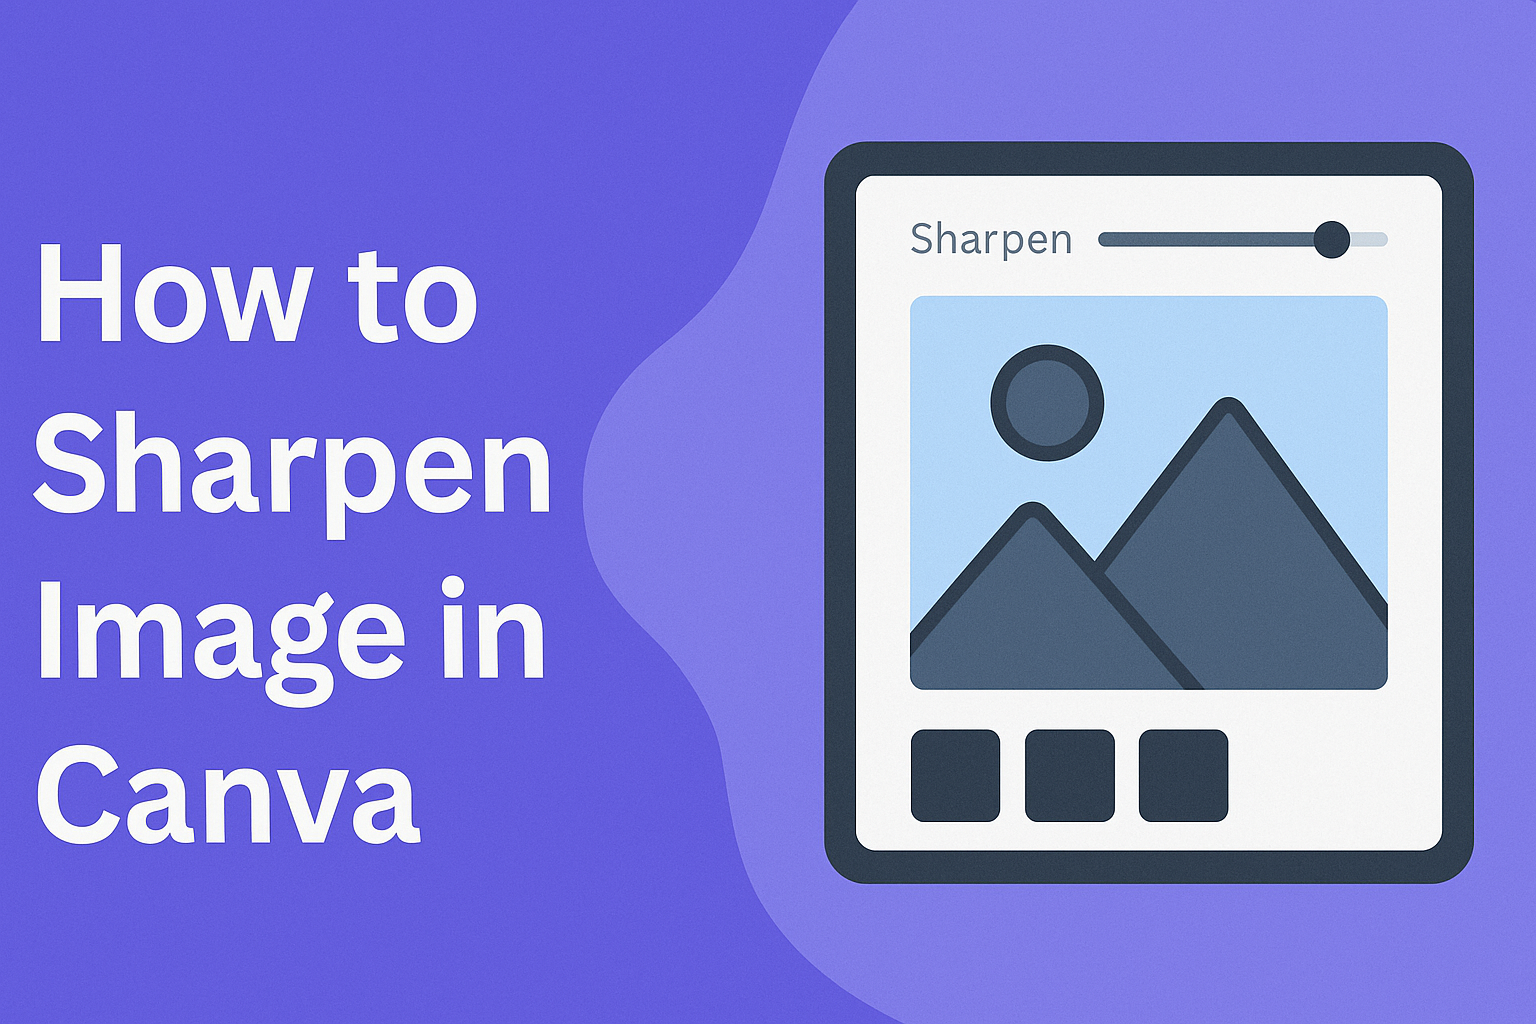
To sharpen an image in Canva, users can simply select the image, click on “Edit photo,” and adjust the sharpness slider under the “Adjust” tab.
This straightforward process helps turn blurry or dull images into crisp, clear photos that stand out.
Many people may not realize just how much a little sharpening can improve their designs.
Whether for social media posts, presentations, or personal projects, having polished images can make a big difference.
Knowing how to effectively sharpen images in Canva empowers users to create stunning visual content with confidence.
Learning the ins and outs of image sharpening can be a game changer for anyone looking to boost their creative projects.
With easy-to-follow steps and helpful tools, Canva allows users to achieve professional-looking results in no time.
Understanding Image Sharpness in Canva
Image sharpness is crucial for effective design. It influences how a visual communicates its message. In Canva, sharpening an image involves understanding its resolution and the benefits of clarity in design.
Basics of Image Resolution
Image resolution refers to the amount of detail an image holds. It is measured in pixels, with higher resolutions providing more detail.
Key Points about Resolution:
- Pixels: More pixels mean better detail. For example, a 300 DPI (dots per inch) image is clearer than one at 72 DPI.
- Crop and Resize: Resizing an image can affect its resolution. Enlarging a low-resolution image can result in blur.
- File Formats: Different formats like JPEG or PNG can impact the sharpness. PNG is often preferred for clearer images.
Choosing the right resolution is vital when creating designs in Canva. It ensures that images remain crisp, especially when printed or viewed on different devices.
Importance of Sharp Images in Design
Sharp images grab attention and convey professionalism. They enhance the overall quality of visual content, making it more appealing to viewers.
Reasons to Focus on Sharpness:
- Attractiveness: Clear images are visually appealing, encouraging viewers to engage.
- Brand Image: Sharp visuals reflect a brand’s professionalism. Blurry images can suggest carelessness.
- Communication: Clarity helps convey the intended message effectively. It ensures that important details are easily visible.
Using Canva’s tools to sharpen images can significantly improve the aesthetic quality of designs. This enhancement makes a big difference in how messages are received by the audience.
How to Sharpen Your Image in Canva
Sharpening an image in Canva can greatly enhance its clarity and detail. This process involves using specific tools designed to improve image quality effectively.
Using Canva’s Built-In Sharpness Tool
To sharpen an image, users can utilize Canva’s built-in sharpness tool.
First, they need to open their project and select the image they want to adjust.
Once selected, clicking on the “Edit Image” button will reveal various editing options.
From there, they should locate the sharpness adjustment feature, which is often easy to find.
Users can enhance clarity by increasing the sharpness level, making details more pronounced.
It’s beneficial to experiment with this tool to see immediate effects on the image.
Adjusting Sharpness Slider for Desired Clarity
Canva provides a simple slider for adjusting sharpness. Users should look for this slider after selecting the sharpness tool.
Sliding it to the right increases sharpness, while sliding it to the left softens the image.
A good tip is to make small adjustments and observe the changes closely.
This allows for fine-tuning until the desired clarity is achieved.
It is essential to avoid over-sharpening, as this can create unnatural edges in the image.
Best Practices for Sharpening Images
For the best results when sharpening images, users should keep a few best practices in mind.
First, it’s helpful to start with a high-quality image. Low-resolution images might not benefit significantly from sharpening.
Next, adjusting sharpness should be one of the final editing steps, after other adjustments like exposure and contrast. This helps ensure the image looks balanced.
Lastly, after sharpening, users should view the image at different sizes. This helps confirm it looks good not only on the editing screen but also in its final use.
Advanced Tips for Image Sharpness
Improving image sharpness involves careful adjustments. It’s essential to consider the balance between sharpness and noise while also being mindful of the effects filters can have on the final image.
Balancing Sharpness and Noise
When enhancing sharpness, one key challenge is avoiding excessive noise. Sharpening an image can sometimes make unwanted grain or blur more visible.
To manage this, it’s helpful to apply sharpness gradually. Here are some tips:
- Use a lower sharpness setting initially.
- Zoom in to see how changes affect details.
- After sharpening, assess if noise has increased. If so, consider applying a slight blur to reduce it.
Most photo editing tools allow users to adjust sharpness and noise levels independently. A fine balance will yield clean, sharp images without unsightly artifacts.
Understanding the Impact of Filters on Sharpness
Filters can dramatically change an image. Some enhance sharpness, while others might blur details.
When using filters, it’s important to know:
- Choose the right filter for the effect desired.
- Test filters in small increments to see their influence on sharpness.
For example, a contrast filter may make an image appear sharper but can also magnify noise. Therefore, adjustments may be necessary after applying a filter to maintain clarity while achieving the desired look.
Maintaining Image Quality
When sharpening images, it’s essential to preserve the overall quality. This can prevent unwanted visual issues that may arise during editing. Here are some important considerations to maintain the best image quality.
Reducing Artifacting During Sharpening
Artifacting happens when sharpening causes unwanted pixelation or distortions. To reduce these issues, a careful approach is needed.
It is best to start with a high-resolution image to ensure there are enough pixels for editing without losing quality.
Using the Image Sharpener in Canva can help control how much sharpening is applied.
Applying a subtle sharpening level is crucial. A lower setting often results in a clearer image without harsh edges.
It is also helpful to zoom in when sharpening, as the effects can look different at various sizes. This ensures the final product looks smooth and professional.
Optimizing Images for Different Platforms
Different platforms have specific requirements that affect image display.
For example, social media sites often compress images, which can lead to quality loss.
To ensure an image looks great everywhere, it can be helpful to know the optimal dimensions for each platform.
In Canva, users can adjust the size and resolution before uploading.
This helps maintain sharpness on platforms like Instagram and Facebook.
Using the right file format is important too; JPEGs work well for photos, while PNGs are better for images with text or logos.
By knowing these details, one can keep images looking sharp across all uses.