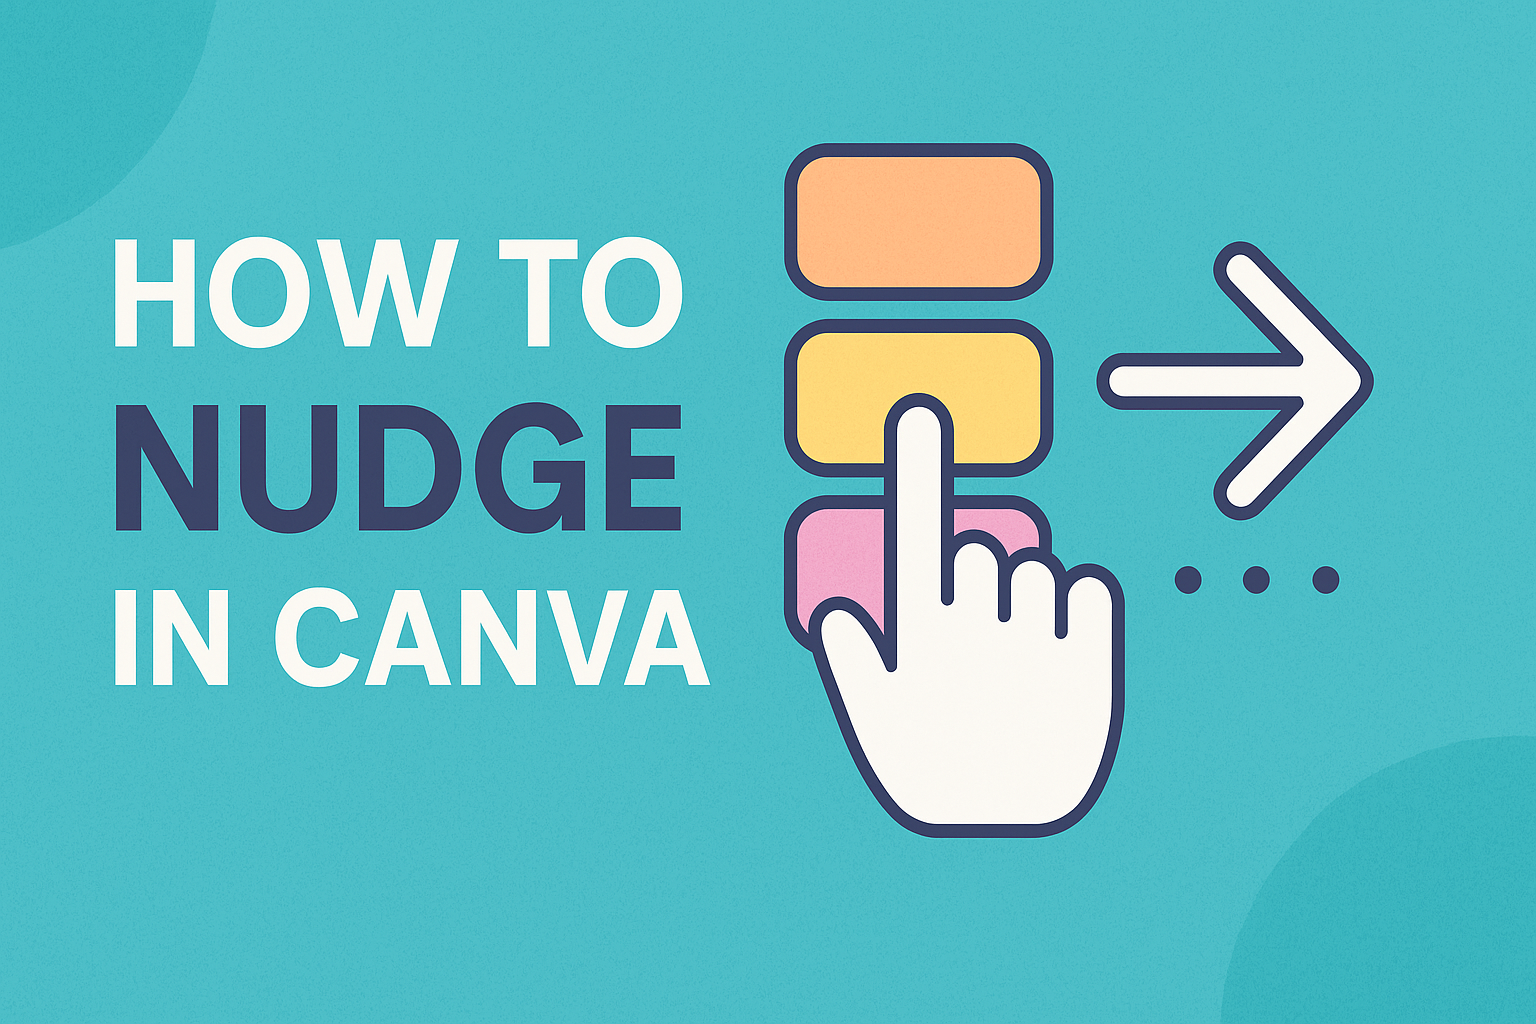
Design projects in Canva often come down to small details, and those details can make or break the final look. Nudging in Canva lets someone move elements with pixel-level precision using simple keyboard shortcuts. This quick adjustment tool makes it easy to align text, images, and shapes without dragging them around awkwardly.
With nudging, a design can shift one pixel at a time or jump by ten pixels for faster movement. This control helps keep layouts balanced, clean, and professional. Whether adjusting a headline, centering a logo, or fine-tuning spacing, nudging saves time and reduces frustration.
Understanding Nudging in Canva
Nudging in Canva helps users move design elements with better accuracy. It makes aligning graphics, text, and shapes easier without dragging them by hand. Small adjustments improve balance and spacing, which creates cleaner layouts.
What Is Nudging in Canva
Nudging is a feature that lets users move elements in very small steps. Instead of dragging an item with a mouse, they can press the arrow keys on the keyboard to shift it. Each tap moves the element by 1 pixel.
For larger adjustments, holding the Shift key while pressing an arrow moves the element by 10 pixels. This gives users control over both fine and quick movements.
Nudging works well when precision matters, such as lining up icons or adjusting text spacing. It avoids the problem of over-shooting an element’s position with a mouse drag.
By using nudging, users can make designs look more polished without needing advanced design skills. It is simple but effective for anyone working in Canva.
Why Use the Nudge Feature
Designers often need to align objects so they look professional. Nudging helps them make exact adjustments that are hard to achieve with a mouse. For example, text boxes can be lined up evenly with images or shapes.
Using nudging also saves time. Instead of guessing placement by dragging, users can rely on pixel-based movement for accuracy. This is especially helpful when creating graphics for social media, where alignment is important.
Nudging also works well with Canva’s smart guides. As elements move, guides appear to show alignment with other objects. Combined with nudging, this makes spacing consistent across the design.
It is also useful for repetitive adjustments. If a user wants to move several objects by the same distance, nudging ensures they all shift evenly.
Supported Elements for Nudging
Most objects in Canva can be nudged, including text boxes, images, shapes, and icons. Users can select a single element or multiple elements at once. When nudged together, they move in unison, keeping their spacing intact.
Grouped elements can also be adjusted with nudging. This allows entire sections of a design to shift without breaking alignment.
However, locked elements cannot be nudged until they are unlocked. Users should check the lock icon in the toolbar if an object does not move.
Nudging is available in both the desktop and mobile versions of Canva. On mobile, users can use small on-screen controls instead of arrow keys to achieve the same effect.
This flexibility means nudging works across different types of graphics, from presentations to posters. It ensures that no matter the project, elements can be positioned with precision.
How to Nudge Elements in Canva
Nudging in Canva helps users move text, shapes, or graphics with pixel-level accuracy. It allows them to adjust placement without dragging items around, making alignment and spacing much easier to control.
Using Arrow Keys for Precise Movement
The simplest way to nudge in Canva is by selecting an element and pressing the arrow keys. Each tap moves the item by 1 pixel in the chosen direction. This method is especially useful when aligning text boxes, images, or icons that need to sit evenly on the canvas.
Users can fine-tune spacing between graphics without relying on the mouse. This avoids uneven gaps and makes designs look cleaner. When working on posters or social media templates, even small adjustments can make a big difference in balance.
If an element does not move, it may be locked. Unlocking it in the toolbar ensures the arrow keys work as expected. This prevents frustration and keeps the editing process smooth.
Keyboard Shortcuts for Faster Nudging
For larger movements, Canva supports shortcuts that save time. Holding Shift + Arrow Key moves an element by 10 pixels instead of just one. This is handy when repositioning items across a layout quickly.
Designers often use this shortcut when shifting graphics into rough placement before making smaller adjustments. It reduces repetitive key presses and helps speed up the workflow.
Other useful shortcuts include Ctrl + Z (Windows) or Command + Z (Mac) to undo a move, and Ctrl + Shift + Z or Command + Shift + Z to redo. These shortcuts make it easy to test different positions without losing progress.
For more details on these shortcuts, users can check guides like this one on nudging in Canva.
Nudging Multiple Elements at Once
Sometimes designers need to move several items together. Canva allows grouping, which lets users nudge multiple elements at the same time. To do this, they can select each item while holding Shift, then press Ctrl + G (Windows) or Command + G (Mac) to group them.
Once grouped, arrow keys or Shift + Arrow keys move the entire set. This ensures consistent spacing and alignment across related elements like text and icons.
If needed, users can ungroup items later with Ctrl + Shift + G or Command + Shift + G. This flexibility makes it easier to adjust graphics individually after moving them as a unit.
When working with complex layouts, grouping and nudging together can save a lot of time and maintain design consistency.
Troubleshooting Nudging Issues
Sometimes elements in Canva don’t respond as expected when nudging. Common problems include locked items, grouped objects, or elements that seem stuck in place. With a few quick checks, users can usually fix these issues and get back to adjusting their designs smoothly.
Unlocking and Ungrouping Elements
If an element won’t move, it may be locked. A locked item shows a small lock icon in the toolbar. To unlock it, they can click the element, then select the lock icon again to release it. Once unlocked, nudging with the arrow keys should work normally.
Another common issue is grouped elements. When objects are grouped, they move together instead of individually. To adjust just one item, the user should select the group, then click Ungroup in the top toolbar. This allows each object to be nudged on its own.
When working with multiple layers, unlocking and ungrouping can also help avoid moving the wrong object. Using the Layers panel makes it easier to select the exact element before nudging. These steps fix most alignment problems caused by locked or grouped items.
Fixing Elements That Won’t Move
Sometimes elements refuse to nudge even when they are unlocked. This can happen if the user only has view access to a shared design. In that case, they need edit access before making changes. Checking permissions is a quick way to rule this out.
Another cause is when Canva experiences a technical glitch. Refreshing the page, clearing the browser cache, or logging out and back in often solves this. If the problem continues, users can check the Canva help center for updates or troubleshooting tips.
If an element still won’t move, it may be anchored to a page edge or snap-to-grid setting. Turning off snapping in the toolbar can give more control. Testing nudging with both arrow keys and Shift + arrow keys (for 10-pixel moves) also helps confirm if the feature is working.
Nudging on Canva Website
Users can move elements with pixel-level accuracy in the Canva website editor. Keyboard shortcuts and small adjustments help align graphics, text, and shapes without dragging items around manually.
Nudging in Canva Website Editor
On the Canva website, nudging works by selecting an element and pressing the arrow keys. Each key press moves the object by 1 pixel. This makes it easy to align items without guessing their placement.
For larger moves, holding Shift + Arrow key shifts the object by 10 pixels. This shortcut saves time when repositioning elements across larger spaces.
If multiple items need to move together, users can select and group elements before nudging. Grouping ensures everything stays aligned while shifting.
Locked items cannot be nudged until unlocked. Checking the small lock icon in the top-right of an element helps avoid confusion. The Canva Help Center also explains how to move elements around designs, which includes nudging with both keyboard and mouse.
Differences Between Desktop and Web Versions
The Canva website editor and the desktop app share the same nudging shortcuts, but performance may vary. On the web, nudging depends on browser responsiveness, while the desktop app often feels smoother when handling large designs.
The keyboard shortcuts remain identical:
- Arrow keys → 1 pixel
- Shift + Arrow keys → 10 pixels
In the web version, users may notice slight delays when nudging multiple grouped elements, especially on slower internet connections. The desktop version avoids this because it runs locally.
Mobile users on the Canva website cannot use keyboard nudging. Instead, they rely on dragging or the nudge button in the mobile interface, which shifts objects by small increments.
These differences mean that while both versions support nudging, the desktop app often provides a faster and more consistent experience for detailed adjustments.
Adding Nudge Buttons and Apps
Designers can add interactive features like nudge buttons to a Canva website to guide visitors’ attention and improve engagement. These tools can be embedded with simple code, connected through third-party apps, and customized to match the look of existing graphics.
Embedding a Nudge Button Widget
A user can embed a Nudge Button widget directly into a Canva website using an embed code. On platforms like Common Ninja, the widget is created and then saved. After saving, the system provides an embed code that can be copied.
In Canva, the user opens the site editor and adds an HTML/Code widget or module. The copied code is pasted into this field and saved. Once published, the button appears live on the site.
If the HTML widget is hard to find, the code can also be placed in a text editor that supports HTML. Another option is to add it directly into the Canva website’s HTML code. These methods give flexibility depending on how the site is set up.
Using Third-Party Nudge Apps
Third-party apps like POWR provide ready-made nudge features for Canva websites. These apps allow users to design a nudge tool that matches their site’s colors and style. Once set up, the app can be added to different areas of the page such as the header, sidebar, or footer.
These apps are useful for people who want more than a basic button. They often include options like pop-ups, hover effects, and targeted messages. This helps highlight calls to action without requiring advanced coding skills.
Installation usually involves creating the widget in the app’s dashboard, copying the code, and pasting it into Canva’s editor. This process is similar to embedding but often comes with extra design controls.
Customizing Nudge Buttons
Customization makes the button blend with the overall graphics on a Canva website. Users can change colors, fonts, shapes, and text to match their brand style. For example, a rounded button with bold text might stand out more on a busy page.
Some widgets also allow animation effects like fade-in or bounce. These effects should be used lightly so they draw attention without distracting from the main design.
A table can help define customization choices:
| Feature | Options Available |
|---|---|
| Color | Brand palette, gradients |
| Shape | Rectangle, rounded, circle |
| Text | Font style, size, bold/italic |
| Effects | Hover, animation, shadow |
Tips and Tricks for Effective Nudging
Nudging in Canva helps adjust graphics, text, and shapes with accuracy. Small movements allow elements to stay balanced, aligned, and visually consistent across the design.
Aligning and Spacing Elements
Users often need to line up text boxes, icons, or images so they look neat. Nudging with arrow keys makes this easier by moving items one pixel at a time. Holding Shift + Arrow moves an object by 10 pixels, which is useful for larger spacing adjustments.
To keep layouts clean, designers can select multiple items and nudge them together. This ensures equal spacing between grouped objects.
Quick tip:
- Use Smart Guides in Canva. These pink lines appear as elements move and help align objects automatically.
When combined with nudging, Smart Guides create balanced, professional layouts without guesswork.
Using Grid and Tidy Up Features
Grids act as invisible guides that help structure a design. By turning on Canva’s grid view, users can nudge text or graphics into place more consistently. This reduces uneven spacing and makes designs easier to read.
The Tidy Up feature is another helpful tool. After selecting multiple elements, clicking Tidy Up arranges them evenly with equal spacing. From there, users can fine-tune positions with nudging for pixel-perfect control.
Example workflow:
- Place three icons on the canvas.
- Select all icons.
- Click Tidy Up to distribute them evenly.
- Use arrow keys to nudge the group into exact alignment.
Maximizing Design Precision
For the most exact placement, Canva allows users to adjust an element’s X and Y coordinates in the toolbar. This works well when nudging alone cannot achieve the required accuracy.
Designers who work with brand templates or presentations often rely on this method. It ensures every graphic or text box sits in the same position across multiple slides.
On mobile, Canva also includes a small nudge button that moves items by 1 pixel. This feature helps when finger dragging is too imprecise.