Moving a text box in Canva on mobile is a straightforward task that can enhance any design.
To reposition a text box, simply press and drag it to the desired location on your canvas. This simple action allows users to customize their designs quickly and easily.
For those working with multiple text boxes, selecting them is just as easy.
Holding down the Shift key enables users to select several boxes at once, streamlining the moving process. This feature is especially handy for creating a polished and engaging layout.
Canva’s mobile interface is user-friendly, making it accessible for beginners and experienced designers alike.
With a few taps, anyone can achieve a professional look for their projects. This blog post will guide users through the steps to move text boxes and provide tips for better design.
Getting Started with Canva
Canva is a powerful tool for designing that anyone can use. Getting started is quick and easy, regardless of skill level.
First, users need to download the Canva app, then they can open a new or existing design to begin creating.
Downloading the Canva App
To begin, the user should download the Canva app from their device’s app store. It is available on both iOS and Android platforms.
-
For iOS Users:
- Open the App Store.
- Search for “Canva.”
- Tap the “Get” button to download.
-
For Android Users:
- Open the Google Play Store.
- Search for “Canva.”
- Click “Install” to download the app.
Once the app is downloaded, they can easily sign up or log in with an email, Google, or Facebook account. After logging in, they’ll see the user-friendly interface, ready to start designing.
Opening a New or Existing Design
After accessing the app, individuals can choose to start a new project or edit an existing one.
To open a new design, they can tap the “+” icon on the homepage.
This icon allows users to select various design types, such as social media posts, presentations, or flyers.
To modify an existing design, they simply scroll through their saved projects.
Tapping on a desired project will open it for editing. This simple navigation helps users easily find and create what they need.
With just a few taps, users are on their way to creating stunning graphics.
Selecting the Text Box
To select a text box in Canva on mobile, it’s important to understand how to navigate the app effectively.
Knowing where to tap and what to look for can make this process smooth and straightforward. Here are some key steps.
Navigating the User Interface
When using Canva on a mobile device, the user interface is designed to be intuitive.
First, the user needs to open the specific design where the text box is located. After this, they should look for the canvas area, which is where all design elements are displayed.
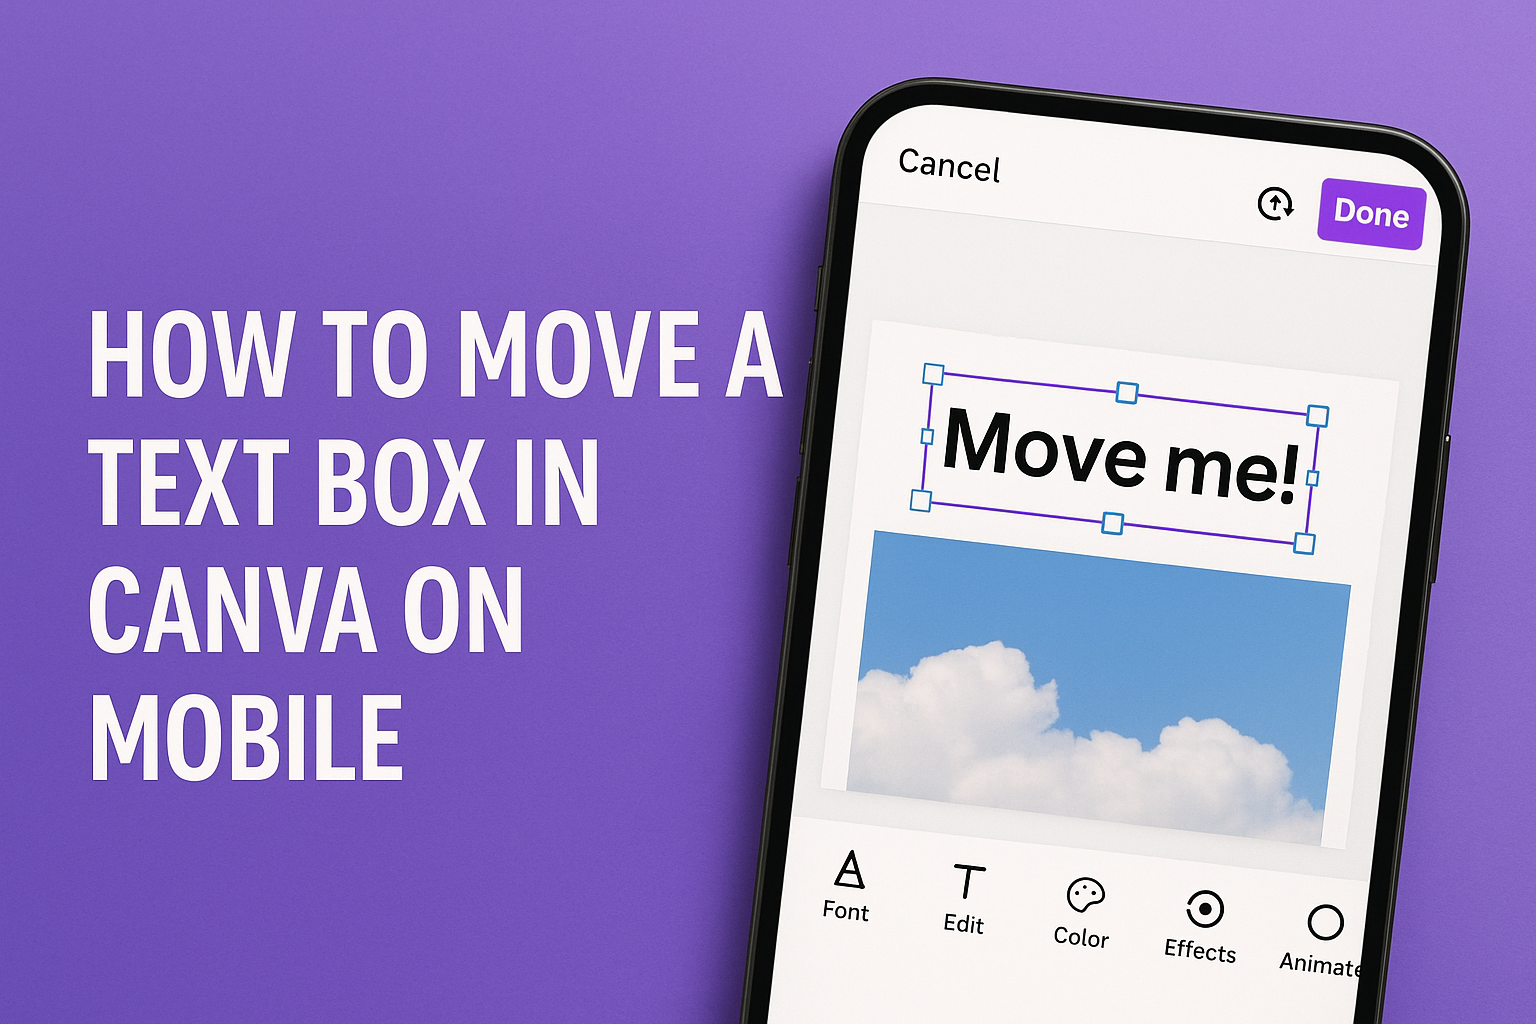
To select a text box, the user simply taps on it. When the text box is selected, a blue outline appears around it, indicating that it is active.
Users can also see small circles on the corners, which indicate that resizing is possible.
If multiple text boxes need selection, the user can hold the Shift key while tapping on additional boxes.
This method allows for efficient selection and movement of multiple elements at once. Familiarizing oneself with this navigation greatly enhances the design experience.
Moving a Text Box
Moving a text box in Canva on mobile is simple. Users can easily adjust the position using drag-and-drop methods or fine-tune their placement with arrow keys for precision.
Adjusting Position with Drag and Drop
To move a text box, the user should first tap and hold the box. This action will allow them to drag the text box to their desired location on the canvas.
As they move it, Canva provides visual guidelines to help align it with other elements.
It’s important to note that if the text box seems stuck, it might be locked or part of a group.
The user can unlock individual elements by selecting them and tapping “Unlock” on the toolbar. For boxes within groups, selecting “Ungroup” gives full control over individual text boxes.
Fine-tuning with Arrow Keys
For precise adjustments, users can utilize the arrow keys on their mobile device’s keyboard.
By tapping the up, down, left, or right arrow keys, the text box can be nudged in small increments.
This method is especially useful for ensuring that the text aligns perfectly with other design elements.
To make these adjustments, the user needs to have the text box selected. Each tap moves the box just slightly, allowing for careful placement without overshooting. This feature ensures that designs maintain a clean and polished look.
Additional Text Box Options
Canva offers various options to customize text boxes for better visuals and clarity. Users can resize and rotate text boxes to fit their designs. They can also change fonts and colors to enhance the overall look.
Resizing and Rotating
To resize a text box in Canva on mobile, the user needs to select the box first.
Once selected, drag the corners of the box inward or outward to adjust the size. This allows for a precise fit within the design layout.
For rotating, there is usually a rotation handle above the text box.
By tapping and dragging this handle, the user can easily spin the text box to any desired angle. This feature helps to create dynamic designs that stand out.
Changing Fonts and Colors
Changing fonts is simple in Canva. By tapping the text box, a formatting menu appears.
From there, the user can choose different font styles that match their theme or branding.
Color adjustments are also straightforward. The user can select the text and then tap on the color option in the menu.
A color palette will open, allowing the choice of a shade that enhances visibility and appeal. Using contrasting colors can help the text pop against the background.