Creating an eye-catching Facebook event banner can make all the difference for attracting attendees. With PicMonkey, users can easily design unique banners that reflect the theme of their event and grab attention.
Whether it’s a birthday party, a workshop, or a community gathering, a great banner sets the tone.
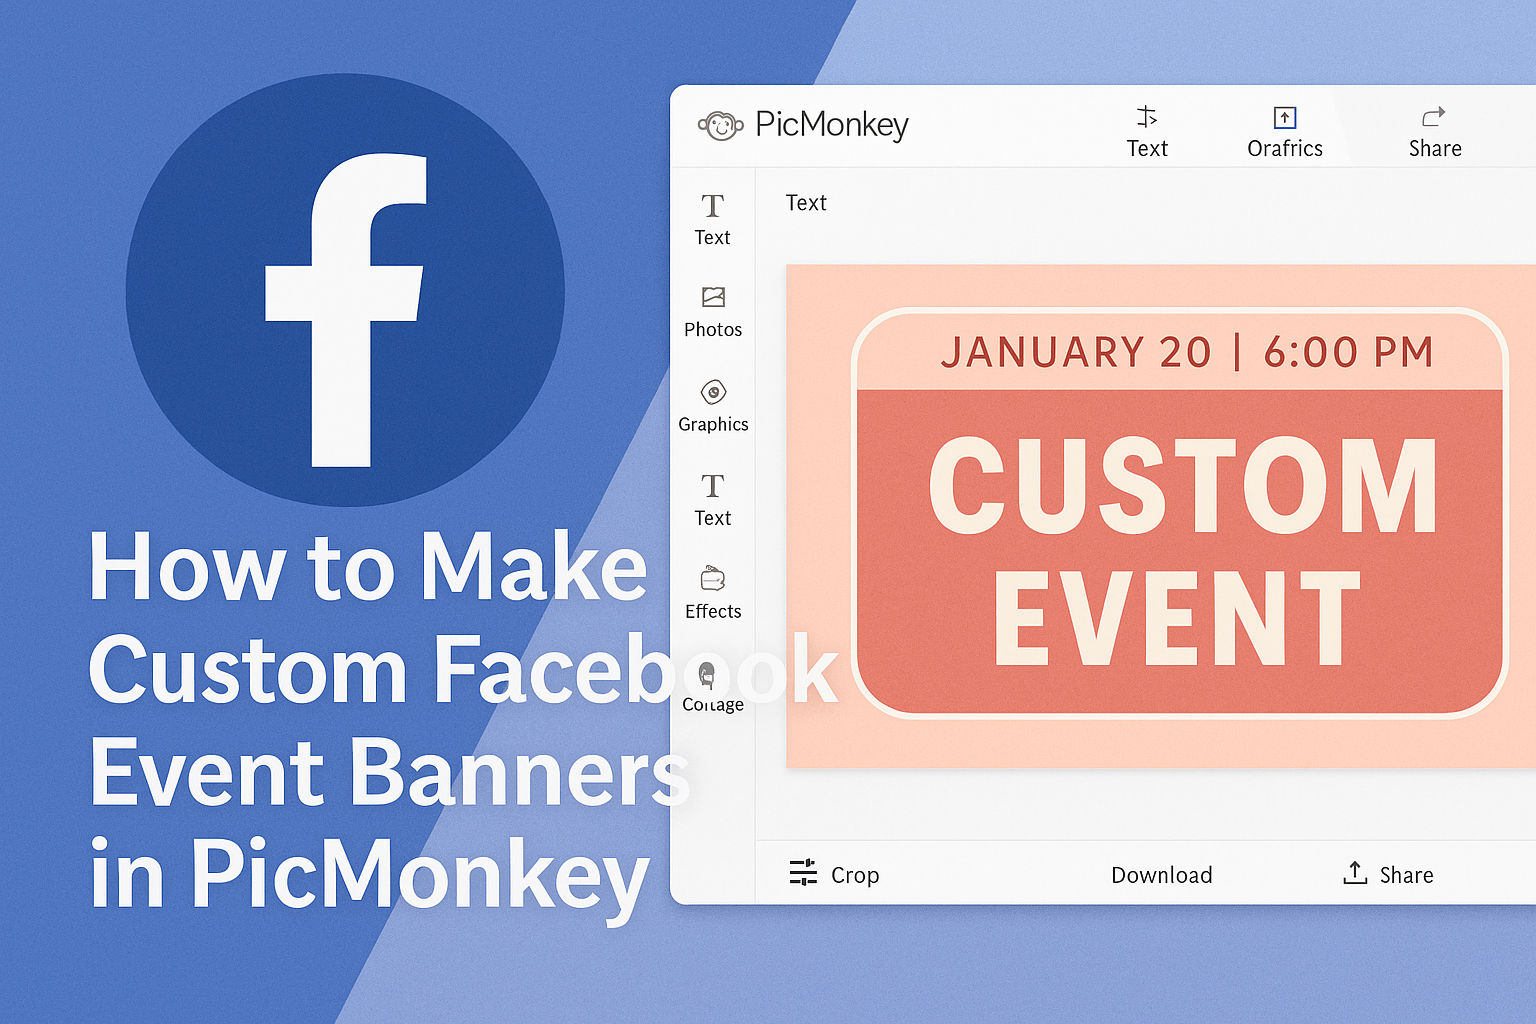
PicMonkey offers many customizable templates that make the design process simple and enjoyable.
Users can select the right dimensions, add images, and even include important details about the event. With just a few clicks, they can transform their ideas into a vibrant banner that stands out on social media.
The best part is that anyone can get started quickly, even without prior design experience.
By following some straightforward steps, users can create beautiful Facebook event banners that not only inform but also excite their audience. With the right tools, the possibilities are limitless!
Getting Started with PicMonkey
Starting with PicMonkey is easy and fun. Users can create eye-catching custom Facebook event banners by setting up an account and exploring the interface.
Understanding image dimensions is also key for creating professional-looking graphics.
Creating an Account
To use PicMonkey, a user first needs to create an account. This can be done by visiting the PicMonkey website and clicking on the “Sign Up” button.
Users can choose to sign up using their email address or through social media accounts such as Facebook or Google. After entering the required information, they will need to confirm their email to activate the account.
Once the account is active, users can explore free features or opt for a paid subscription for more advanced tools.
Having an account allows access to templates and saved projects, making it easier to design event banners.
Overview of PicMonkey Interface
The PicMonkey interface is designed to be user-friendly. Upon logging in, users will encounter a dashboard that displays various options for design projects.
On the left side, a toolbar offers tools for uploading images, adding text, and applying effects. Users can easily navigate through these options to create their banners.
The top bar includes options like “File,” allowing users to save, share, or print their designs.
Additionally, users can find tutorials and help directly within the interface, making it easier to learn how to use all the tools available.
Understanding Image Dimensions
For Facebook event banners, knowing the right image dimensions is crucial. The recommended size for a Facebook event cover photo is 1200 pixels wide by 628 pixels tall.
Using the correct dimensions ensures that the banner displays well on all devices. PicMonkey makes it easy to set these dimensions when creating a new project.
Within PicMonkey, users can either enter the dimensions manually or choose from pre-made templates that match Facebook’s requirements. This helps avoid any resizing issues that could impact the banner’s appearance.
Keeping image quality high while fitting the right size ensures a professional look for the event banner.
Designing Your Facebook Event Banner
Creating a custom Facebook event banner is a fun and creative way to promote an event. Key considerations include picking the right template, customizing its design, working with text, and incorporating visual elements that enhance the banner.
Choosing the Right Template
Getting started with a solid template makes the design process easier. PicMonkey offers a variety of templates tailored for Facebook events. Users can simply browse the options and select one that matches their event’s theme.
When selecting a template, it’s essential to think about the event’s tone. Is it formal, casual, or festive? The right template sets the mood.
Furthermore, users can customize these templates to ensure they reflect their personal style and event specifics. Using a template that fits well can save time and make the banner look professional.
Customizing the Template Design
Once a template is chosen, customization begins. This step allows users to adjust colors, backgrounds, and layouts. Adding unique touches makes the banner feel personalized.
PicMonkey’s editor is user-friendly. Users can click on different elements to change colors or add images.
Experimenting with layouts can lead to creative designs. It helps to visualize different arrangements.
Users should keep their audience in mind while customizing—this ensures that the design appeals to event attendees.
Working with Text and Fonts
Text plays a crucial role in event banners. It’s important to select fonts that are easy to read while aligning with the event’s style.
Users should focus on key information: event name, time, and location. Keeping text concise helps convey the message clearly. Adding a catchy tagline can also spark interest.
Mixing font styles can create visual interest. For example, users may use a bold font for the event title and a simpler font for details. Adjusting the size and spacing also ensures the text is easy to read.
Adding Visual Elements
Visual elements enhance the overall appeal of the banner. Users can incorporate images, icons, or patterns to make the design pop.
When adding images, it’s important to choose high-quality visuals that relate to the event. They can create a strong first impression.
Icons can also be useful for highlighting key details, like RSVP or featured guests. It’s a good idea to keep the visual elements balanced. This prevents the banner from looking cluttered and helps maintain focus on the text.
Advanced Editing Techniques
Mastering advanced editing techniques in PicMonkey can elevate the quality of custom Facebook event banners. By utilizing layers and adding filters, users can create eye-catching designs that stand out.
Using Layers for Complex Designs
Layers are essential for creating detailed designs in PicMonkey. This feature allows users to work on different elements of the banner independently. For example, one layer can hold the background, while another can be used for text or images.
To add a layer, simply click on the “Add” option in the layers panel. Users can also move, resize, or delete layers as needed.
By stacking layers, it becomes easy to experiment with different arrangements and visual effects.
Utilizing transparency on certain layers can help blend images smoothly. It allows for creativity and customization, giving users the freedom to adjust until they achieve the desired look. This technique can transform a simple design into a complex piece of art.
Applying Filters and Effects
Adding filters and effects is an excellent way to enhance the appearance of a banner. PicMonkey offers a variety of filters that can change the mood and feel of an image. For instance, a vintage filter can give a warm, nostalgic touch to a photograph.
To apply a filter, select the desired image and click on the “Effects” tab. Here, users can preview and adjust filters to suit their design perfectly.
Effects like shadows and highlights can also add depth to the design. These options create a 3D look, further drawing attention to important elements. Layers and effects combined result in a professional-quality banner that grabs viewers’ attention.
Exporting and Uploading
After creating a custom Facebook event banner in PicMonkey, the next steps involve exporting the design and uploading it to Facebook. This process ensures that the banner looks great and meets Facebook’s requirements.
Saving Your Design
To save the design in PicMonkey, the user should click on the “Export” button. It’s important to choose the correct file format; PNG is often the best option as it maintains high quality.
The user can also select the image size. A resolution of 1200 x 628 pixels works well for Facebook event banners. Once the desired options are selected, clicking “Download” will save the file to the computer.
Ensuring the file is named appropriately will make it easier to find later.
Optimizing for Facebook
Before uploading the banner, optimizing the image is key. This means checking the image size and ensuring it does not take too long to load. A file size of under 1 MB is ideal to avoid slow uploads.
PicMonkey offers options to adjust brightness, contrast, and saturation, which can enhance the banner’s appearance.
Ensuring that the text is clear and legible is also crucial, especially on mobile devices.
Using high-contrast colors between text and background can improve readability.
Best Practices for Uploading
When uploading the banner to Facebook, users should navigate to the event page and click on “Edit.”
From there, they can select the option to add a banner.
It’s best to preview how the banner looks before finalizing it.
Checking how it displays on both desktop and mobile views ensures that the design is effective in all formats.
Users should also remember to update their banner if they change the event details, so it always reflects the latest information.
Keeping the visuals consistent promotes a professional appearance.