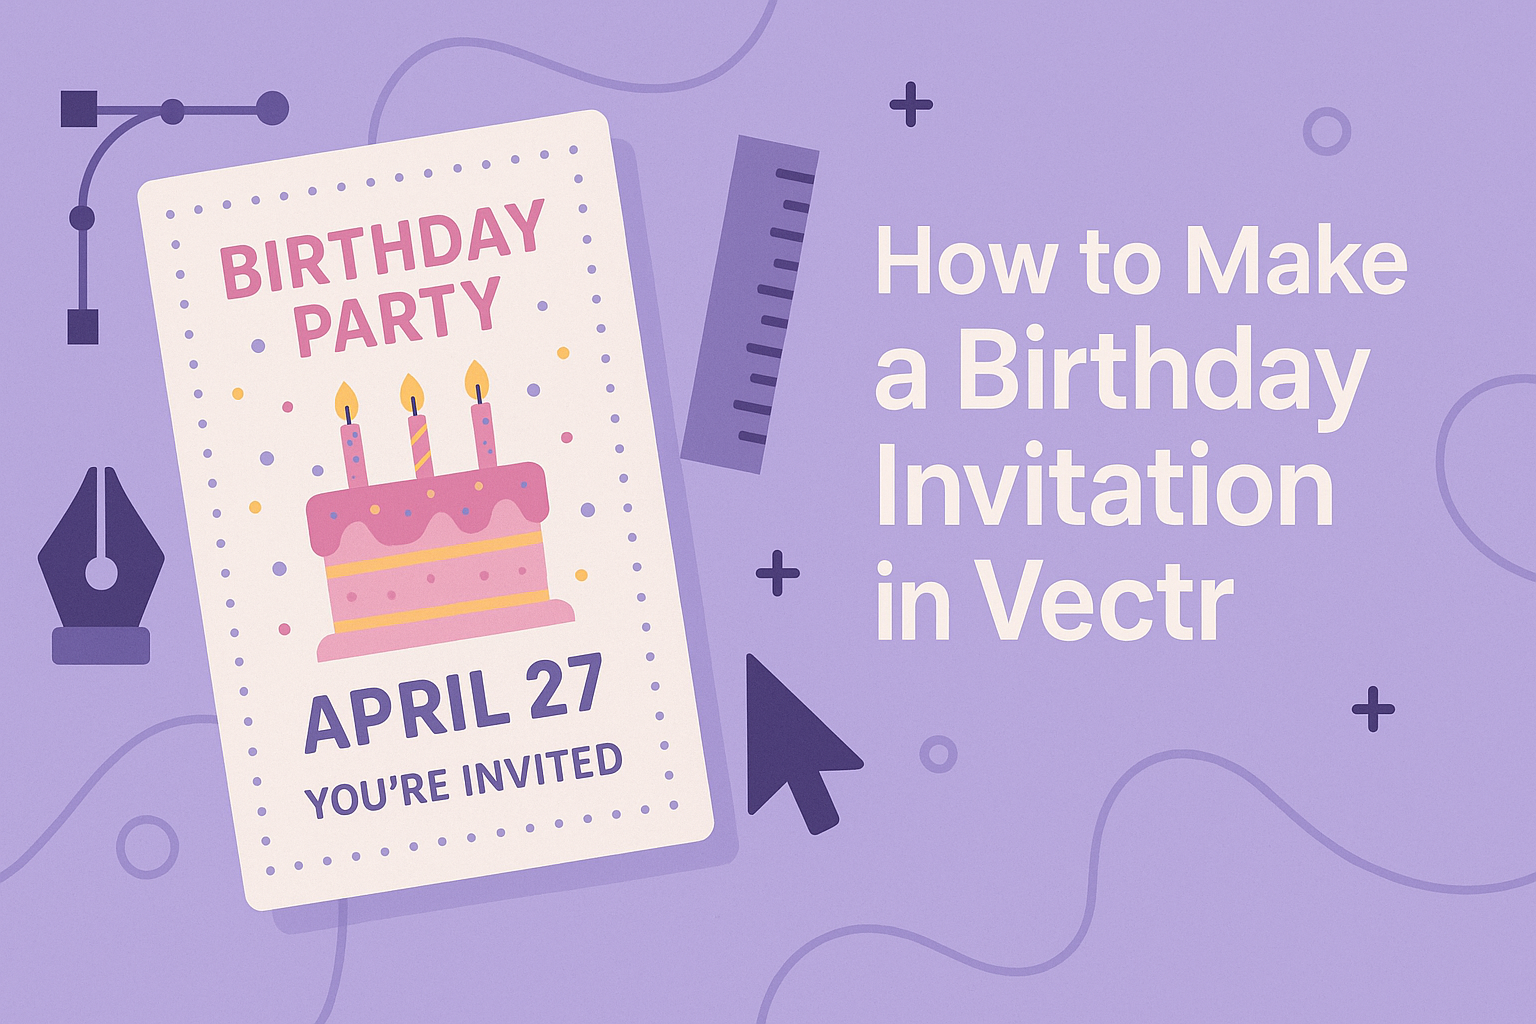
Creating a birthday invitation can be both fun and creative. With Vectr, anyone can design a beautiful invitation in just a few simple steps.
They will discover how easy it is to use Vectr’s tools to create a personalized and eye-catching birthday invitation.
This online graphic editor is accessible and intuitive, making it a great option for both beginners and experienced designers. By following straightforward instructions, users can add their own flair with colors, images, and fonts.
With Vectr, they can turn their ideas into a stunning invitation that sets the tone for an unforgettable birthday celebration.
Whether planning a small gathering or a big party, a well-designed invitation adds a special touch. The article will guide readers through the process, ensuring they have all the tips and tricks needed to make their invitation stand out.
By the end, they will feel confident in their ability to make the perfect birthday invitation using Vectr.
Getting Started with Vectr
Vectr is a simple and user-friendly graphic design tool. Users can create stunning graphics, including birthday invitations. Here are the key steps to begin using Vectr effectively.
Creating an Account
To use Vectr, the first step is creating an account. Go to the Vectr website and click on the “Sign Up” button.
Users can register using their email address or through Google.
After entering the required information, it’s important to check the email for a verification link. Once verified, users can log into their new account. This process is quick and allows access to all features of Vectr.
Having an account also enables users to save their projects and access them from any device. This flexibility is great for working on designs on the go.
Navigating the User Interface
After logging in, users will see the Vectr dashboard. The interface has several key components: the menu bar, the sidebar, and the workspace.
The menu bar is at the top and holds options like File, Edit, and Help.
The sidebar on the left shows tools for drawing, shapes, and text options. These tools are essential for creating a birthday invitation.
The workspace in the center allows users to design freely. By dragging tools from the sidebar, users can start building their invitations. Familiarity with the layout makes design much easier.
Setting Up a New Project
To create a new project, users should select “Create File” at the top left of the menu bar. This action opens a blank workspace.
Next, users can set the page size according to their needs. For instance, a standard size for invitations often is 5 x 7 inches.
After that, choosing a background color or image helps set the tone for the invitation.
It’s also helpful to save the project early to avoid losing any progress.
Overall, setting up a project in Vectr is straightforward and prepares users for creative work on their birthday invitations.
Designing the Invitation
Creating a birthday invitation in Vectr can be a fun and straightforward process. It involves selecting a suitable template, adding inviting text, and including eye-catching graphics. Each step helps in making the invitation appealing and personalized.
Selecting a Template or Canvas Size
Choosing the right template sets the tone for the invitation. Vectr offers various templates, so it helps to think about the birthday theme first. Whether it’s a kids’ party or an adult celebration, there’s a matching template available.
If starting from scratch, selecting a canvas size is key. Standard sizes like 5×7 inches work well for invitations.
To set the canvas in Vectr, simply create a new file and set the dimensions. This provides a clear area to design and prevents issues when printing.
Adding Text and Choosing Fonts
Text is crucial for conveying details like the date, time, and venue. When adding text, clarity is essential. The host should ensure the important information stands out.
Vectr allows users to choose from various font styles. A fun, playful font may suit a children’s birthday, while a sophisticated font could fit an adult gathering.
It’s wise to combine two font styles for contrast; one for the header and another for the details.
Using appropriate text colors also enhances readability. For example, if the background is dark, lighter text works best.
Incorporating Graphics and Images
Graphics and images can greatly enhance the invitation’s look. Vectr provides access to royalty-free images and graphics that fit various themes.
Adding balloons, cake icons, or custom images can make the invitation more festive.
It’s important to balance images with text. Too many visuals can clutter the design. Choosing a few key graphics can make the invitation visually appealing without overwhelming the important details.
Additionally, resizing and positioning images in Vectr is easy. This flexibility allows the user to experiment with different layouts until finding the perfect arrangement.
Personalizing Your Invitation
Customizing a birthday invitation makes it unique and special. Adjusting colors, themes, and adding personal details are essential steps to create an inviting and memorable design.
Adjusting Colors and Themes
Choosing the right colors and themes sets the mood for the birthday celebration. For a fun and festive look, bold colors like bright pink or blue can work well.
Using the color palette in Vectr, she can select colors that represent the birthday person’s favorite shades. Incorporating a theme, such as a favorite character or hobby, adds a personal touch.
Also, she can use gradients or patterns to enhance the background.
Simple color adjustments in Vectr allow for easy experimentation, helping her find the perfect combination that fits the party’s vibe.
Adding Personal Details
Personal details are important to make the invitation feel special. Key information should include the date, time, and location of the party.
She can include fun details like RSVP instructions or a favorite quote of the birthday person.
Vectr’s text tools allow her to choose fonts that match the invitation’s style while making the text clear and easy to read.
Lastly, adding a personal message or a themed graphic can make the invitation more inviting. Not only does this information inform and excite guests, but it also adds a special flair that celebrates the birthday person.
Finalizing and Sharing
Finalizing an invitation is essential before sharing it with guests. This includes previewing the design, ensuring every detail is correct, and choosing the best way to share or print it.
Previewing and Exporting Your Design
Before sending out an invitation, it is important to preview the design carefully. This helps catch any mistakes or typos.
Vectr allows users to zoom in and examine every element.
Once everything looks good, it’s time to export the file. Select a format that suits the sharing method, such as PNG for digital invites or PDF for printing.
In Vectr, this is done by going to the File menu and choosing Export. Choose high resolution for print and lower resolution for online sharing, as needed.
Sharing the Invitation Digitally
Sharing the digital invitation can be done in several straightforward ways.
One option is to email the invite directly from the computer. Users can attach the exported file or include a link if shared online.
Social media is another effective way to reach guests. She can post the invitation on platforms like Facebook or Instagram.
For those looking to keep it personal, sending the invite through messaging apps is also a great choice. Always ensure the file size isn’t too large for easy sending and viewing.
Printing Tips for Physical Invites
For those choosing to print invites, proper preparation is key.
First, select high-quality paper that matches the invitation’s theme.
He should also consider using cardstock, which adds a professional touch.
Before printing, check the design settings. Make sure to set the print dimensions and margins correctly.
It is also wise to do a test print on regular paper to see how it appears.
Once satisfied, proceed to print the final copies.
Finally, using a local print shop can yield great results, as they often provide guidance and resources for a polished finish.