Designing a great YouTube channel art graphic can make a big difference in attracting viewers.
To create eye-catching channel art in Vectr, one should focus on the recommended image size of 2560 x 1440 pixels. This ensures that the design looks great on all devices.
By using Vectr’s user-friendly tools, anyone can craft a professional design that captures the essence of their channel.
It’s important for creators to convey their channel’s theme and personality through their art. Simple, clean graphics that highlight key information can help viewers understand what to expect.
With Vectr’s features, users can easily layer shapes and colors to enhance their visuals.
This guide will take readers through the steps of creating their own unique YouTube channel art. From selecting the right canvas size to applying finishing touches, each phase is crucial for making a lasting impression. Dive in to discover how to design a channel art graphic that shines!
Understanding Vectr Basics
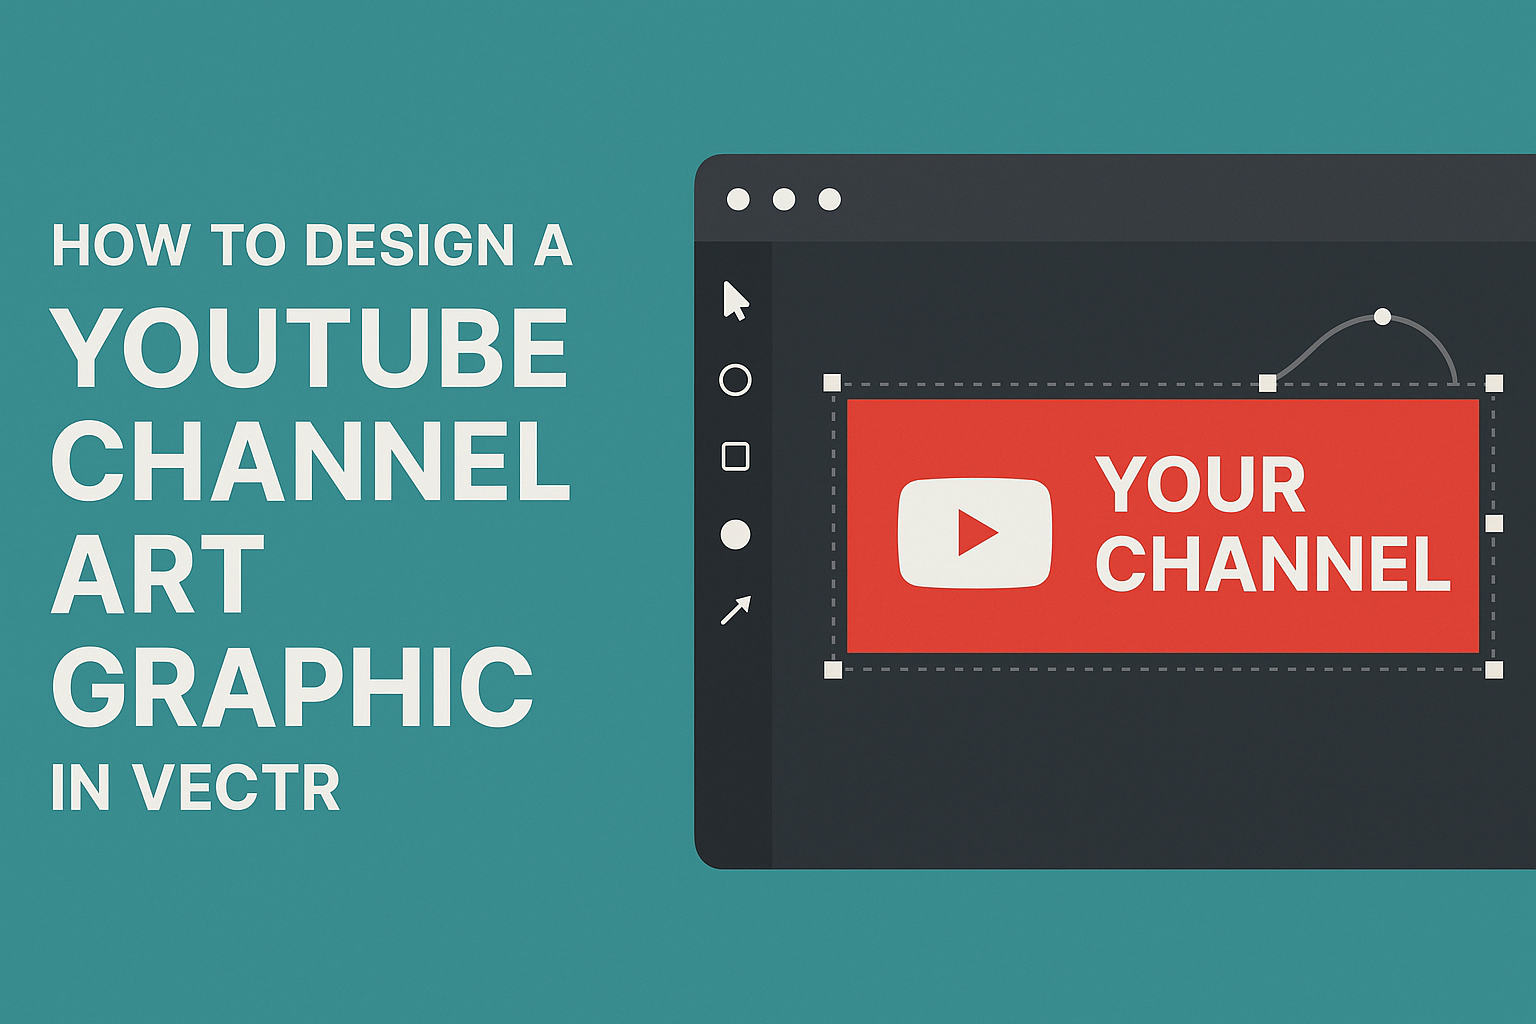
Vectr is a user-friendly graphic design tool that makes it easy to create custom designs. This section covers how to navigate the Vectr interface and set up a new project.
Navigating the Vectr Interface
When using Vectr, the interface is simple and accessible.
On the left side, users find the tool panel with essential tools like the selection tool, shapes, and text options.
The canvas area in the center is where the design comes to life. Users can zoom in and out for detailed work.
On the right side, the properties panel shows options for colors, layers, and effects.
Users can also access menus at the top for additional features like saving, exporting, or adjusting settings. Familiarity with these elements helps streamline the design process.
Setting Up a New Project
To start a new project, they select the “New Document” option after logging in.
A window opens where they can choose the document size. For YouTube channel art, the recommended size is 2560 x 1440 pixels.
Once the size is set, it’s important to select a background color or keep it transparent for flexibility.
After that, users can begin adding elements like shapes, text, and images to their canvas.
Remember to save work regularly by clicking the “File” menu and selecting “Save”. This ensures that none of their hard work is lost.
Designing Your Channel Art
Creating effective channel art is essential for a strong YouTube presence. It involves several key aspects, including dimensions, themes, and typography, which help capture the audience’s attention.
Selecting the Correct Dimensions
Choosing the right dimensions is the first step in designing channel art.
YouTube recommends using a size of 2560 x 1440 pixels for optimal display across all devices. The safe area for text and logos is 1546 x 423 pixels, ensuring important content is not cut off on smaller screens.
It’s also important to save your design in a high-resolution format, such as PNG or JPEG. Keeping these guidelines in mind helps maintain clarity and quality, making the channel look professional. Ensuring the art fits properly enhances the viewing experience for subscribers.
Choosing a Theme and Color Scheme
The theme and color scheme should reflect the channel’s content and personality.
Choosing colors that resonate with the brand will create a cohesive look across all platforms. It’s good to select 2-3 main colors that complement each other and fit the channel’s vibe.
When considering a theme, think about the niche. For example, a cooking channel may use warm colors like red and orange, while a technology channel might opt for cooler tones like blue and gray. Consistency in theme and color helps build brand recognition.
Adding Text and Typography
Text and typography play a crucial role in making channel art engaging.
It’s important to keep the text minimal while conveying the channel’s purpose. Use clear, bold fonts that are easy to read, even on smaller screens.
Consider using 1-2 different fonts to maintain visual interest without overwhelming the viewer. A primary font can be used for the channel name, while a secondary font can highlight a tagline or content type.
Ensure the text contrasts well with the background to enhance legibility.
Incorporating Graphics and Images
Incorporating graphics and images can greatly enhance the design of a YouTube channel art graphic. It helps convey the brand and style clearly. Here are two main ways to effectively use visuals in Vectr.
Inserting Icons and Shapes
Icons and shapes add visual interest and meaning to channel art. Vectr offers an easy way to insert these elements.
- Choose Icons: Click on the icon library and select the icons that match the channel’s theme.
- Adjust Size: After inserting, icons can be resized by dragging their corners.
- Change Colors: Users can modify the color to fit their brand by selecting the icon and choosing a new fill color.
Using shapes effectively can create frames or backgrounds. It is simple to drag shapes into your design and customize colors or transparency.
Uploading and Editing Images
Uploading and editing personal images is crucial in making channel art unique. In Vectr, users can easily bring images into their projects.
- Upload Images: Click on the upload button and select images from the device.
- Positioning: Once uploaded, images can be moved and resized to fit the canvas perfectly.
- Editing Tools: Vectr allows adjustments like cropping, rotating, and adding filters.
Personalizing images ensures they match the desired aesthetic. Careful editing can make any image pop and align better with the overall design.
Finalizing and Exporting
After designing the YouTube channel art, it’s important to preview and export the image correctly. This ensures the final product looks great on all devices.
Previewing Your Design
Before exporting, the designer should preview the artwork within Vectr. This step helps spot any issues such as alignment problems or color mismatches.
To preview:
- Use the zoom in/out feature to check details.
- Toggle between different backgrounds, if applicable, to see how the design adapts.
It’s also useful to check how the graphic looks on both desktop and mobile views. This ensures that important elements do not get cut off. Adjustments can always be made to maintain balance and visibility.
Exporting the Final Graphic
Once satisfied with the design, exporting the graphic is the next step.
Vectr allows users to export their work in various formats, such as PNG or JPEG.
For a smooth export:
- Click on the Export button in the main menu.
- Choose the desired format. PNG is ideal for quality and transparency.
- Set the resolution to at least 2560 x 1440 pixels. This size ensures clarity on all devices.
After exporting, the designer should check the file to confirm it meets their expectations.
This final check is key to presenting a polished and professional look for the YouTube channel.