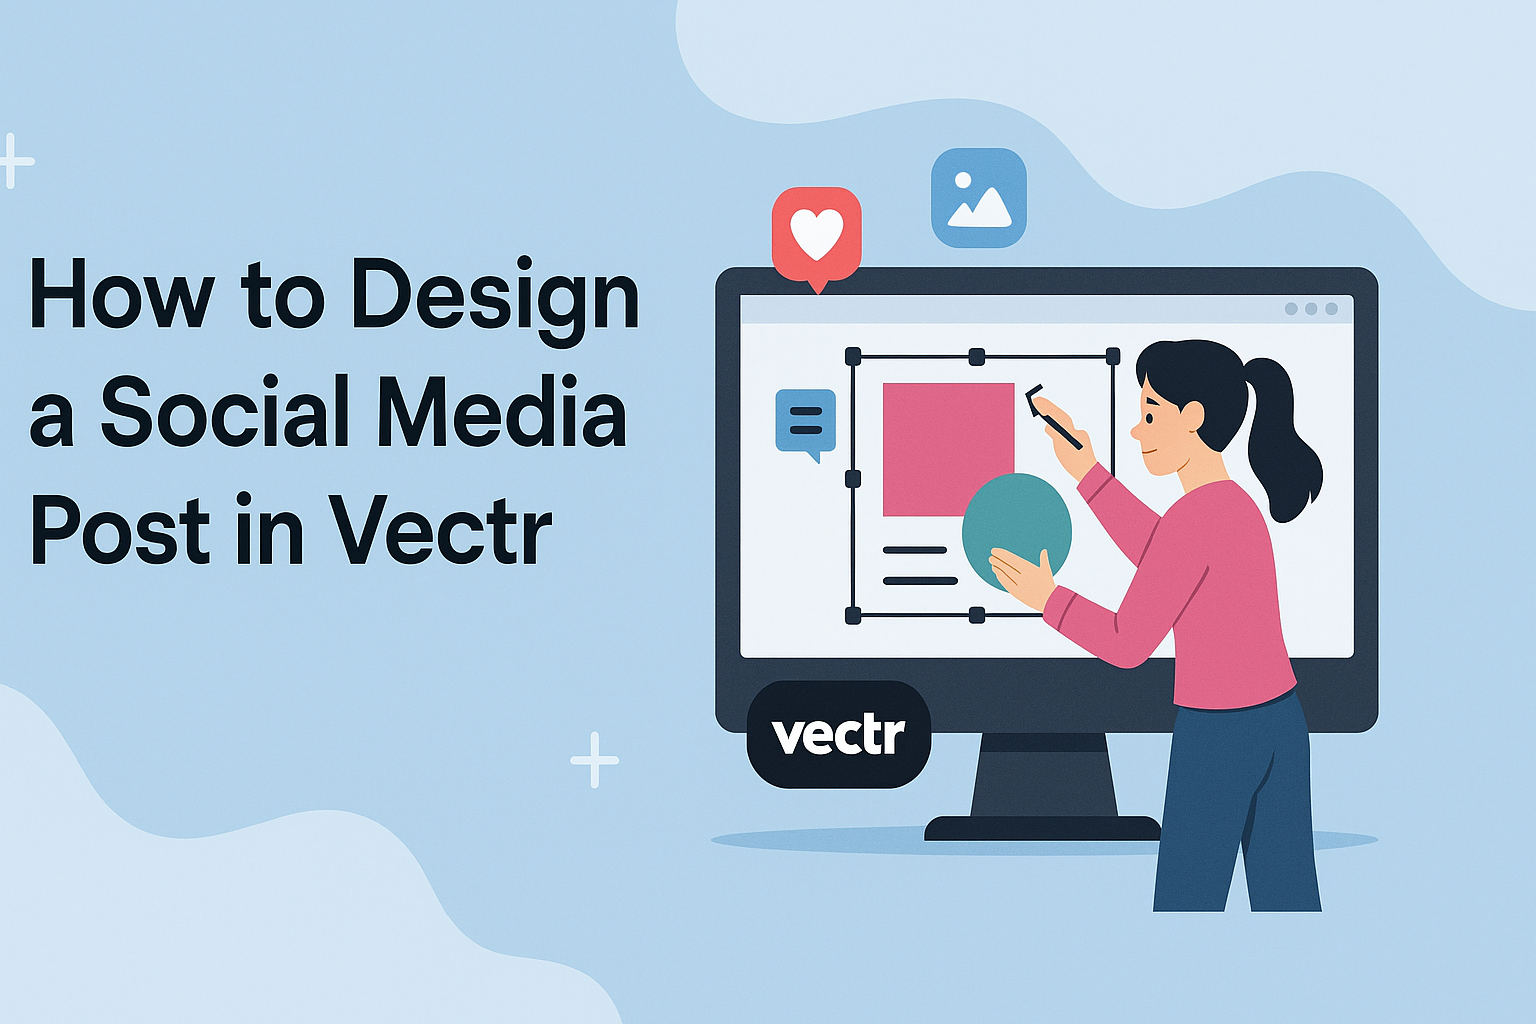
Designing social media posts can be both fun and rewarding. Vectr is a great tool for creating eye-catching graphics that grab attention and drive engagement. In this guide, readers will learn how to effectively design a social media post in Vectr, making it easy to share their message visually.
By using Vectr, users can take advantage of its user-friendly interface and powerful features. It allows for easy manipulation of shapes, text, and colors, providing endless creative possibilities.
Whether for personal branding or marketing, Vectr can help bring ideas to life with professional polish.
With the right tips and techniques, even beginners can create stunning posts in no time. This blog post will explore the essential steps and best practices for making social media graphics that stand out in crowded feeds.
Ready to dive in?
Getting Started with Vectr
Starting with Vectr is simple and enjoyable. Users can easily set up their accounts and explore the friendly interface. This makes it perfect for creating eye-catching social media posts.
Setting Up Your Vectr Account
To begin, visit the Vectr website and click on the “Sign Up” button.
Users can register using their email or by connecting with Google or Facebook. After signing up, a confirmation email may be required to activate the account.
Once the account is set up, users can log in and access their dashboard. This dashboard is welcoming and features options to create new files or access existing projects.
Keeping the account information secure is important for protecting designs.
Familiarizing Yourself with the Interface
After logging in, it’s time to explore the Vectr interface. The main workspace is where most of the design happens.
On the left side, there is a toolbar that includes various tools for creating shapes, text, and images.
Above the workspace, the menu bar offers options like saving and exporting designs. Users should take a moment to hover over different tools for tips.
Also, the right panel shows properties specific to selected objects. With a little practice, navigating this interface becomes easier and enjoyable.
Designing Your Post
Creating a social media post in Vectr involves several important steps. Choosing the right dimensions, selecting a template or starting from scratch, and understanding layers and objects are crucial for a successful design.
Choosing the Right Dimensions
When designing a post, it’s vital to choose the correct dimensions that fit the platform’s requirements. For example, Instagram uses a square format, typically 1080 x 1080 pixels, while Facebook and Twitter may have different dimensions for shared images.
Having the right size ensures the post appears clear and professional. To make this easier, Vectr offers pre-set dimensions for popular social media platforms. Users can select these to avoid any distortion or cropping issues.
Selecting a Template or Starting from Scratch
Vectr provides various templates to help users kickstart their designs. These templates are customizable, allowing for personal touches while saving time.
For those who prefer a unique look, starting from scratch is an excellent option. Users can create a new canvas and apply their design ideas using Vectr’s tools. Consider the post’s message and audience when deciding on a template or starting point.
Understanding Layers and Objects
Layers are fundamental in graphic design and allow elements to be stacked over one another. In Vectr, users can create, move, and modify layers easily.
Understanding how to work with layers helps in aligning text, images, and shapes effectively. Each layer can be adjusted independently, making it easier to create depth and contrast in the post.
Objects in Vectr include text, shapes, and images. Knowing how to manipulate these objects is key to achieving a balanced layout. Users can group, align, and resize objects for a polished result.
Adding Visual Elements
Visual elements play a crucial role in making a social media post engaging. By using the right images, colors, and text, a designer can effectively capture the audience’s attention and convey the intended message clearly.
Incorporating Images and Graphics
When adding images and graphics, it’s essential to choose high-quality visuals that relate to the content. They should resonate with the audience’s interests and evoke the desired emotions.
Tools like Vectr allow users to upload custom images or select from a library of stock photos.
To make the design stand out, layering images can create depth. For example, placing graphics over a blurred background can focus attention on the central theme.
Additionally, using elements like icons can help simplify complex ideas, making them more digestible for viewers.
Playing with Colors and Gradients
Colors have a significant impact on the mood of a post. Designers should select a color palette that aligns with their brand while appealing to viewers.
For instance, warm colors can evoke enthusiasm, while cool colors provide a calming effect.
Using gradients can enhance the visual interest of a design. A smooth transition between colors can create a more dynamic look, drawing the viewer’s eye.
Vectr allows for easy manipulation of color settings, making it simple to experiment and find the perfect combination that works for the specific design.
Utilizing Text to Convey Your Message
Text is a powerful tool in social media design. Clear and concise messaging is vital for grabbing attention quickly.
When adding text, it’s important to choose fonts that are easy to read and stylish.
Hierarchy in text can guide the viewers’ focus effectively. Using larger fonts for headlines and smaller ones for details ensures that essential information stands out.
Furthermore, contrasting text colors against the background can improve readability.
Finally, consider including a call to action (CTA) in the post. A well-placed CTA can encourage viewers to engage further, whether that means visiting a website or participating in a discussion.
Finalizing and Exporting
Before sharing a design on social media, it’s important to make final touches and ensure it looks polished. This includes applying filters, reviewing the design, and correctly exporting the file.
Applying Filters and Adjustments
To enhance a social media post, filters and adjustments can make a big difference.
In Vectr, users can find various options to change brightness, contrast, and saturation.
- Brightness: Adjust to make the image lighter or darker.
- Contrast: Change how colors pop against each other.
- Saturation: Increase or decrease the intensity of colors.
Using these adjustments helps a design stand out and catch the viewer’s attention. It’s best to experiment with different settings to see what looks best for the specific design.
Previewing and Revising the Design
After making adjustments, previewing the design is crucial. Vectr allows users to view their work in a larger size to catch any small errors.
If something seems off, revisions can be made easily. Users should look closely at alignment, spacing, and color harmony.
Taking breaks and returning with fresh eyes can help spot mistakes or areas for improvement.
Saving and Exporting Your Design for Social Media
Once satisfied with the design, saving and exporting it properly is the next step.
Vectr provides options to either save the design or export it for social media.
For exporting:
- Format: Choose a format such as PNG or JPEG.
- File Size: Check the file size to ensure it meets platform requirements.
- Resolution: Ensure the resolution is high enough for clear viewing.
Users can right-click the preview and select “save as” or drag the design to their desktop.
Following these steps ensures the design is ready for sharing across platforms effectively.