Creating a digital thank you note can be a fun and creative way to express gratitude. Using Easil makes the design process simple and enjoyable, allowing anyone to craft a beautiful note in just a few steps.
Whether it’s for a gift, a job interview, or a special event, personalized thank you notes leave a lasting impression.
With Easil’s user-friendly tools and templates, they can quickly design a note that aligns with their style.
From selecting images to customizing fonts and colors, the possibilities are endless. This flexibility allows them to add a personal touch that truly reflects their appreciation.
A well-designed thank you note not only conveys gratitude but also showcases creativity. It stands out in today’s digital world, making it more meaningful. With Easil, anyone can create a stunning thank you note that will be cherished by the recipient.
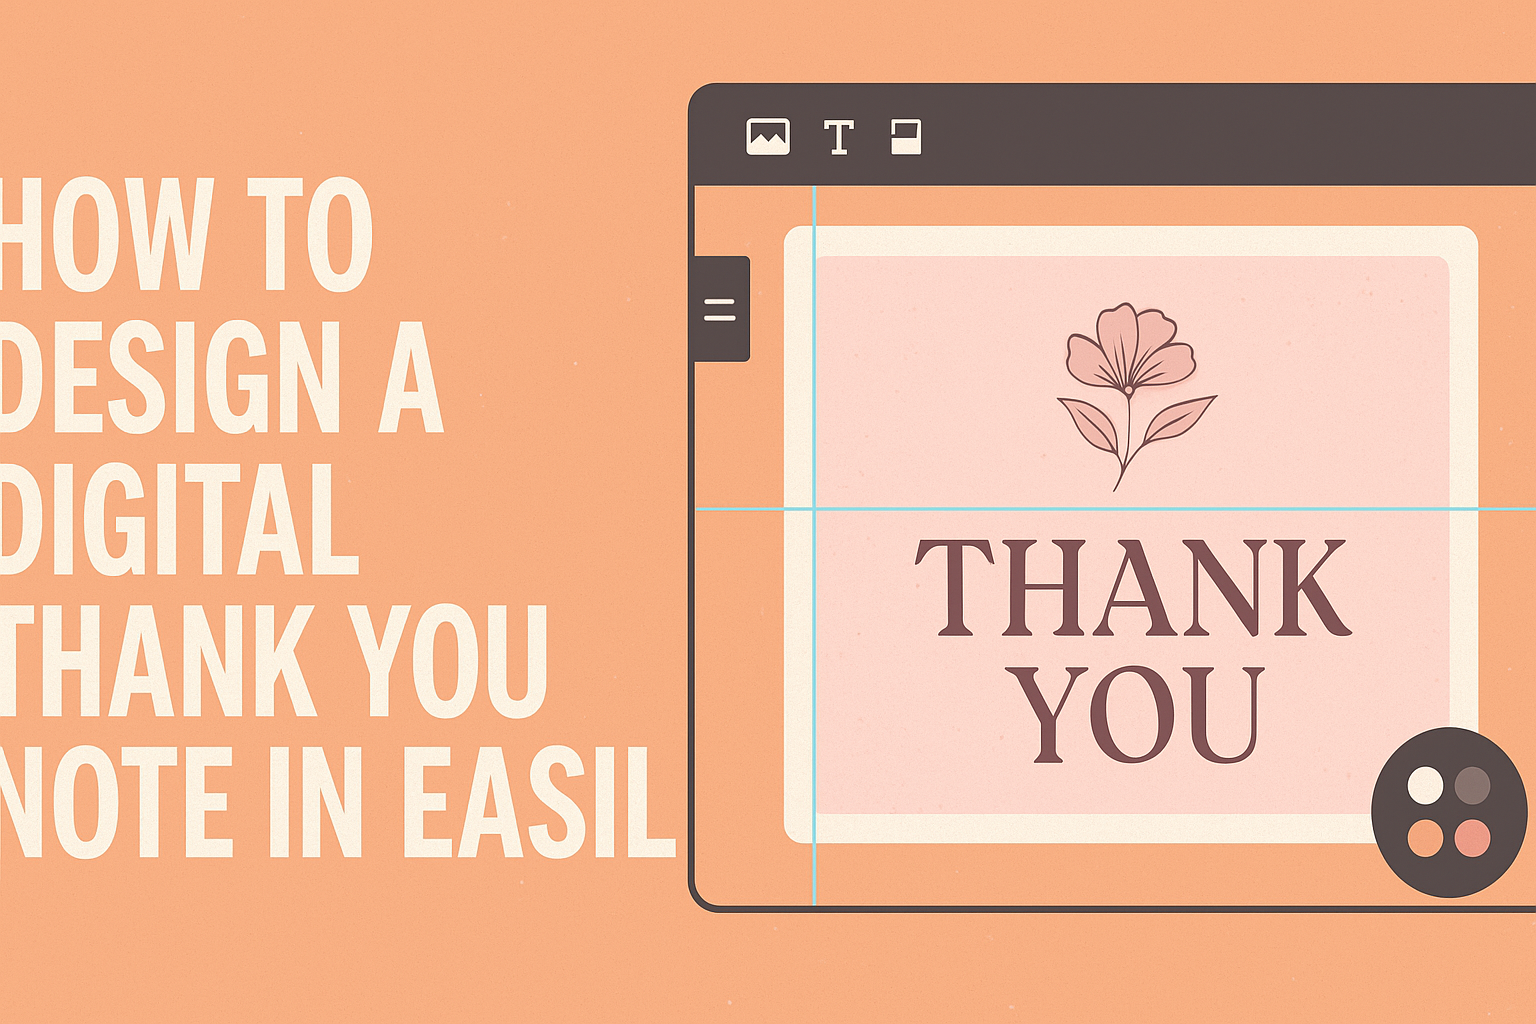
Getting Started with Easil
Easil is a user-friendly tool that makes designing digital thank you notes easy and fun. By following a few simple steps, anyone can create beautiful designs that express gratitude beautifully.
Creating an Account
To use Easil, one must first create an account. This process is straightforward and quick.
- Visit the website: Go to Easil’s homepage.
- Sign up: Click on the “Sign Up” button.
Here, they should enter their email address and create a password. After confirming the email, the account will be ready.
Users can choose a free plan or select a paid option for more features. Having an account allows access to saved designs and personalized templates.
Understanding the Interface
Once logged in, users will see the Easil interface. It is designed to be intuitive, making navigation easy.
The main elements include:
- Dashboard: Displays recent projects and the option to create new designs.
- Templates: A library with thousands of pre-designed templates.
- Editing Toolbar: Contains tools for customizing designs, such as text, images, and colors.
Exploring these features helps users become more comfortable with the platform. They can experiment to find what each tool does.
Selecting the Right Template
Choosing the perfect template is crucial for a thank you note. Easil provides a diverse range of options to suit any style or occasion.
Users can filter templates by category, color, or theme.
- Personalized Touch: Consider using templates that reflect one’s personality or the event.
- Readability: Choose designs that are easy to read.
After finding a template, clicking on it opens the design editor. Here, users can customize text, images, and more to make their note special.
Design Basics for Your Thank You Note
Creating a stunning digital thank you note involves careful consideration of colors, fonts, and personal touches. Each design element adds to the overall impact and helps convey the right sentiment.
Choosing Your Color Scheme
Selecting a color scheme sets the mood for the thank you note.
Soft, warm colors like pastel pinks and light blues evoke feelings of kindness and gratitude. In contrast, brighter colors can express enthusiasm and excitement.
It’s essential to consider the relationship with the recipient. For a personal touch, complementary colors can create balance.
Using tools in Easil, users can experiment with pre-made palettes or create a custom mix. This allows for more creativity while maintaining an appealing look.
It’s best to limit the palette to three or four colors to avoid overwhelming the recipient.
Fonts and Typography
Choosing the right fonts is crucial for readability and tone.
A mix of serif and sans-serif fonts can add depth. Serif fonts tend to feel more formal, while sans-serif fonts are often more modern.
Using no more than two different fonts keeps the design clean. Headers can use a bold font to draw attention, while body text should be simpler for easy reading.
Easil offers various templates where users can see font pairings in action. Always ensure the font size is readable on screens, typically around 12 to 14 points for the body.
Adding Personal Touches with Graphics
Incorporating graphics can make a thank you note feel special.
Simple illustrations or icons relevant to the message add charm. They can be floral elements, fun shapes, or even a shared memory with the recipient.
Easil provides options to add graphics easily, allowing for customization. Users might also consider adding a personal photo or a unique background to enhance visual appeal.
Taking the time to personalize these elements shows thoughtfulness. The right graphics can transform a basic note into a memorable keepsake. Keeping graphics subtle ensures they enhance rather than distract from the message.
Tips for Crafting Your Message
When designing a digital thank you note, it’s important to create a message that resonates personally. Two effective ways to achieve this are by expressing sincere gratitude and including personal stories that make the message feel more genuine.
Writing a Heartfelt Thank You
A heartfelt thank you can make all the difference. Begin with a warm greeting that matches the recipient’s style. It sets the tone right from the start.
Next, clearly state what you are thankful for. Use specific language that acknowledges their effort or gift.
Instead of saying, “Thank you for your help,” consider “I truly appreciate your support with my project. Your advice helped me succeed.”
End with a friendly note, inviting them to connect again. Simple phrases like “Looking forward to our next chat” or “Can’t wait to catch up” add warmth and show ongoing appreciation.
Incorporating Personal Anecdotes
Personal anecdotes can enhance the message. They can bring a smile and create a connection.
Sharing a short, relevant story related to the gift or help received makes the thank you note feel special.
For example, if someone gave a book, mention how it inspired a recent project or sparked new ideas. This not only shows gratitude but also highlights the impact of their gesture.
Keeping it concise is key. A couple of sentences can deliver the message without sounding overwhelming. A well-placed personal touch can turn a simple thank you into a memorable note.
Final Touches and Sharing
Before sharing a digital thank you note, it is important to check every detail to ensure it looks perfect. This includes previewing the design, exporting it correctly, and exploring various sharing options.
Previewing Your Design
Previewing is a crucial step. It allows the creator to see how the thank you note will appear to the recipient.
Easil offers a simple preview tool that displays the design as it will look when shared.
It’s wise to check for alignment, color consistency, and text readability. Adjustments can be made easily at this stage.
By examining the note closely, any typos or design flaws can be caught before sending. This extra care ensures the thank you note feels polished and thoughtful.
Exporting the Final Product
Exporting the final design is the next important step. Easil provides multiple formats for exporting, such as JPEG, PNG, and PDF.
Choosing the right format depends on how the note will be used. For social media, a JPEG or PNG file works well. For email or printing, a PDF may be best.
Once the format is selected, clicking the export button will save the design to the device. It is wise to name the file clearly to make it easy to find later.
Digital Sharing Options
Sharing the thank you note can be done in several creative ways.
One option is to email the note directly to the recipient. This allows for a personal touch and instant delivery.
Another option is to share it on social media platforms.
Posting the note publicly or tagging the recipient can spread joy to a wider audience.
Using messaging apps is also effective for quick sharing.
By sending the note through platforms like WhatsApp or Messenger, the creator can ensure the recipient receives their appreciation immediately.