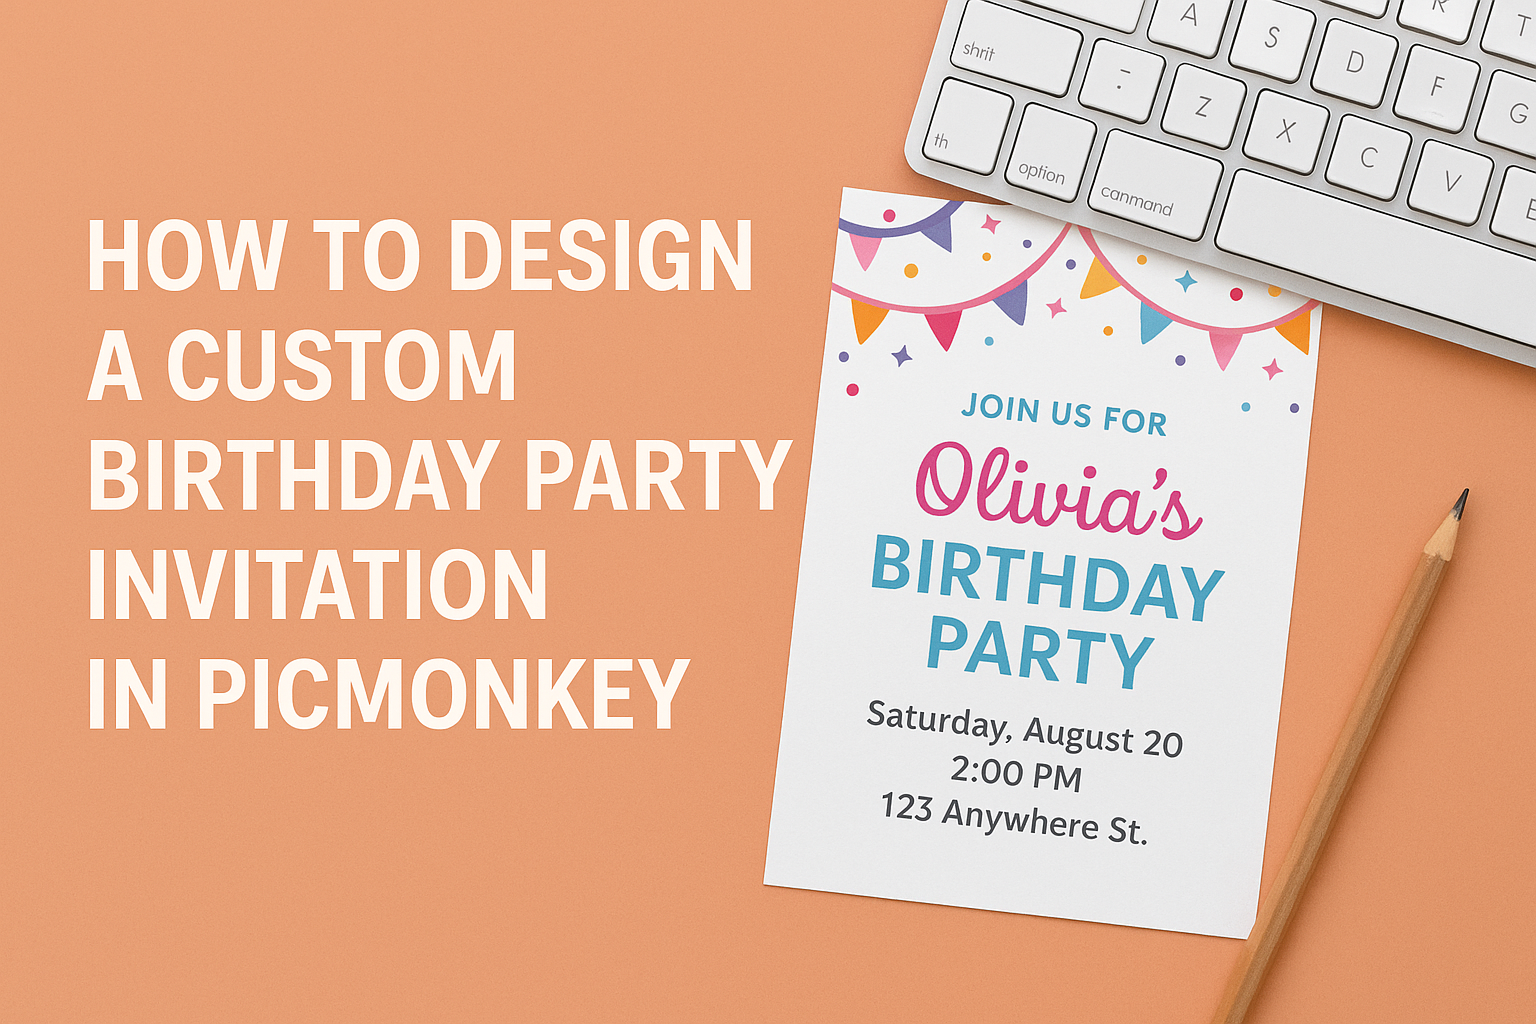
Creating a custom birthday party invitation can be a fun and rewarding experience. With PicMonkey, anyone can easily design an invitation that reflects their unique style and theme.
From colorful graphics to personalized messages, the possibilities are endless.
Using ready-made templates, she can customize every detail to ensure her invitation stands out.
Whether it’s a whimsical princess theme or a sporty soccer design, PicMonkey offers a variety of tools to make the project enjoyable and simple.
Friends and family will appreciate the personal touch when they receive an invitation that’s made just for them.
With the right steps, designing an invitation doesn’t have to be overwhelming. By exploring the features of PicMonkey, he can create an eye-catching design that captures the spirit of the celebration.
Every party deserves a great invitation, and PicMonkey makes that possible!
Getting Started with PicMonkey
PicMonkey is a user-friendly design tool that makes it easy to create custom birthday party invitations. Understanding how to set up an account and navigate the interface will help users get started smoothly.
Creating an Account
To begin using PicMonkey, one must create an account. This process is simple and can be done on their website.
Users can choose between a free trial or a paid subscription.
- Free Trial: This option allows access to many features for a limited time.
- Paid Plans: For a monthly fee, users benefit from additional features and tools suited for more serious design tasks.
Signing up requires an email address and setting a password. Once the account is created, users can start exploring the design options available.
Overview of Interface
Upon logging in, users are greeted by a clean and simple interface. The layout is designed to be intuitive, making it easy for anyone to start designing.
- Main Menu: This is located on the left side. It contains different tools for editing photos, adding text, and inserting graphics.
- Canvas Area: The center space is where the design happens. Users can drag and drop elements here.
At the top, there are options to save designs and access templates. The interface supports a variety of customization tools, so users can let their creativity shine while designing their invitations.
Designing Your Invitation
Creating a custom birthday party invitation is a fun and creative process. The steps involve choosing a template, customizing text, and adding personal photos to make it truly unique.
Choosing a Template
First, PicMonkey offers various templates designed for birthday invitations. Users can browse through options that fit themes like princess parties or sports gatherings.
When selecting a template, it’s important to consider the party’s theme. For example, a bright and colorful design suits a child’s birthday, while a more elegant style might be better for adults.
Once the template is chosen, it can be easily edited. Users can resize, crop, or even change the shape of the design to better fit their needs. This flexibility allows them to create something special right from the start.
Customizing Text
Next, customizing the text on the invitation is key to conveying the right message. PicMonkey allows users to change the font, size, color, and style.
For instance, using bold, playful fonts can attract attention, while elegant scripts can give a formal touch.
It’s essential to include important details such as the date, time, location, and RSVP information.
Positioning the text effectively is also important. Creators should ensure that the most crucial information stands out. Utilizing contrasting colors can help draw attention to these details, making the invitation both beautiful and functional.
Adding Personal Photos
Finally, adding personal photos can bring the invitation to life. PicMonkey lets users upload their favorite images easily.
Incorporating a photo of the birthday person or a fun family picture can enhance the invitation’s appeal. It adds a personal touch that guests will appreciate.
To ensure the photo fits well, users can adjust its size and placement. Using filters or effects can also make the photo more eye-catching. This step helps create a memorable invitation that reflects the personality of the party.
Adding Final Touches
This section focuses on enhancing birthday party invitations with graphics, overlays, filters, and effects. These elements can elevate the design and make the invitation stand out.
Using Graphics and Overlays
To give the invitation a personal touch, adding graphics and overlays is key. PicMonkey offers a variety of options, including fun icons, shapes, and themed decorations.
- Select Graphics: Navigate to the graphics library. Choose from categories like balloons, cakes, or stars.
- Resize and Position: Adjust the size of the graphics to fit the layout. Position them creatively around the text or in corners for a balanced look.
- Layering: Use multiple graphics. Layer them for depth. For example, place a birthday cake in front of balloons for a festive vibe.
Overlay options can also enhance visual interest. Transparency settings allow designs to blend seamlessly, providing a polished finish.
Applying Filters and Effects
Filters and effects can dramatically change how an invitation feels. Using these features can create a unique style that suits the theme of the party.
- Choose a Filter: PicMonkey has various filters. Experiment with options like “Dramatic” or “Vintage” to find a match for the invitation’s mood.
- Adjust Intensity: Customize the intensity of the chosen filter. A subtle effect can enhance colors without overwhelming the design.
- Text Effects: Add subtle shadows or glows to the text. These effects can help the wording stand out against busy backgrounds, ensuring readability.
Saving and Sharing
Once the birthday party invitation design is complete, it’s important to know how to save and share it effectively. This will ensure the invitation is stored properly and can reach friends and family easily.
Exporting Your Design
To export the design, users can click on the export button, usually found at the top right corner of the screen.
They can choose the preferred file format, such as PNG, JPEG, or PDF.
For invitations, PDF is often best for printing. If sharing digitally, PNG and JPEG formats are ideal for their quality. After selecting the format, users can adjust the resolution for better clarity.
Next, the user will click on the export option again. The design will then download to the device.
It’s a good idea to check the saved location for easy retrieval later.
Sharing on Social Media
Sharing the invitation on social media is a fun way to spread the word.
After exporting, the user can open their favorite social media app.
Many platforms allow users to upload images directly.
They can select the saved invitation, add a fun caption, and choose the audience.
This ensures that friends and family are notified about the party.
Additionally, users can create event pages on platforms like Facebook.
By doing this, they can invite people directly and keep track of RSVPs.
This method helps manage party planning more efficiently.