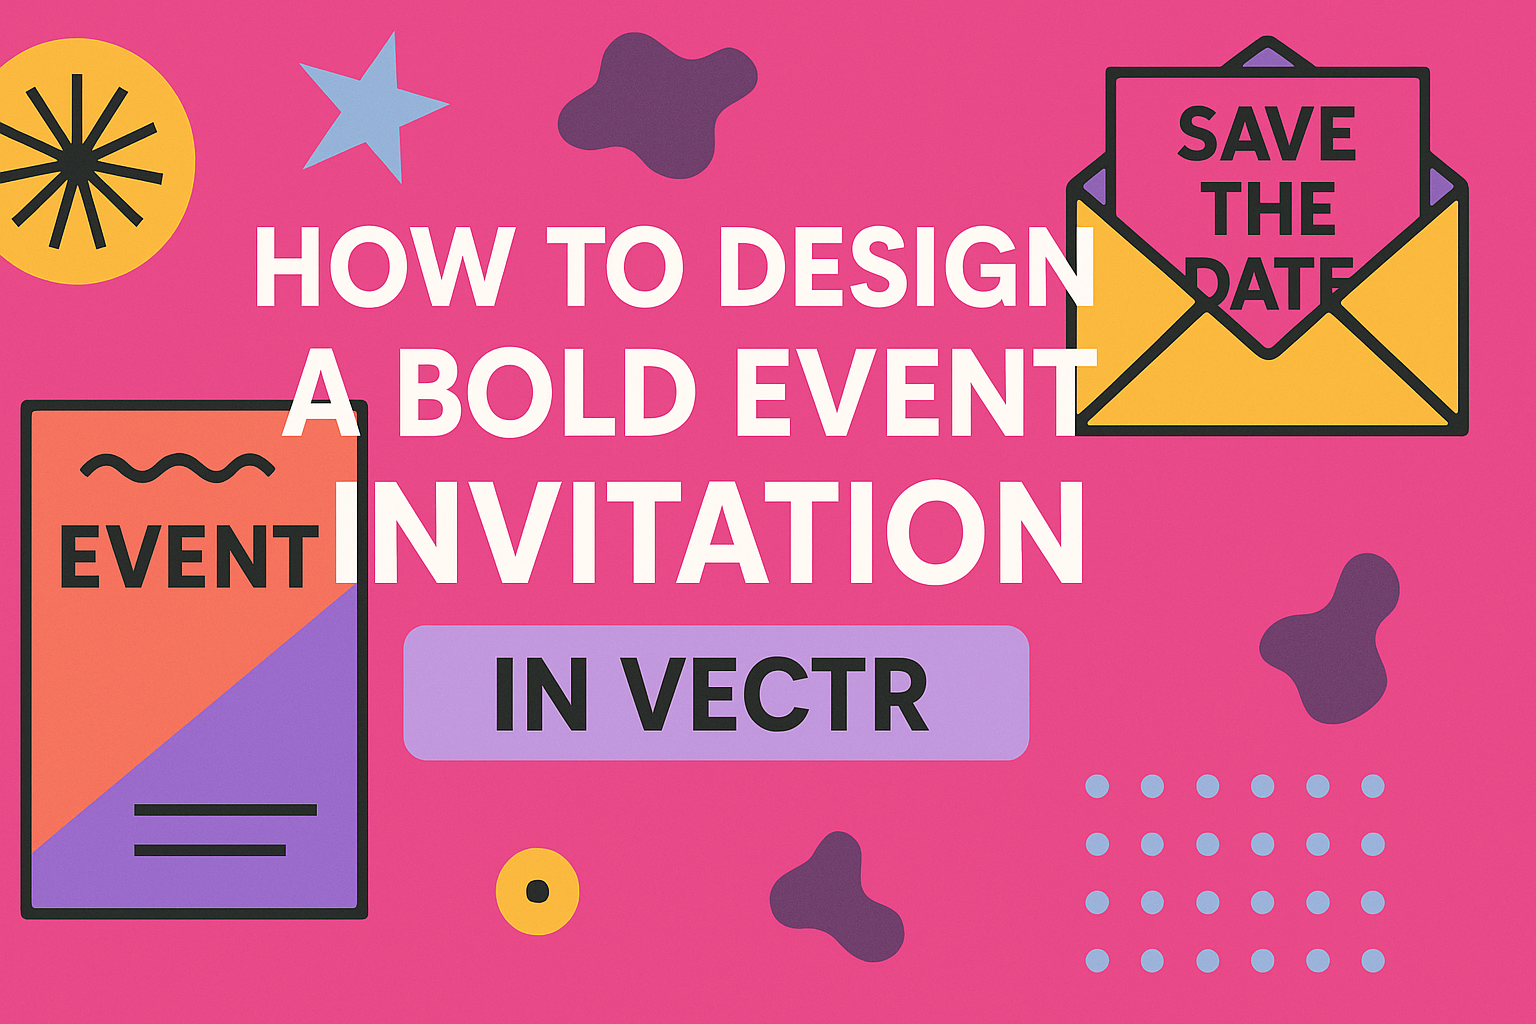
Creating a standout event invitation can set the perfect tone for any gathering.
Designing a bold event invitation in Vectr allows anyone to easily showcase their creativity and capture the essence of their occasion. With its user-friendly interface and versatile tools, Vectr makes it simple to craft eye-catching designs that impress guests.
A well-designed invitation serves as the first impression of an event, and using Vectr can make this process enjoyable. From choosing vibrant colors to adding unique shapes, everyone can create a layout that reflects their style.
By following some straightforward steps, anyone can transform their ideas into a stunning invitation.
Getting to Know Vectr
Vectr is a user-friendly tool that simplifies the process of creating stunning designs.
By understanding essential vector design principles and learning how to navigate the Vectr interface, anyone can start making impressive graphics.
Essential Vector Design Principles
Vector design is based on points, lines, and shapes. These elements allow designers to create images that maintain their quality at any size. This is different from raster images, which can become blurry when resized.
Designers should focus on simplicity and clarity to make bold invitations. Keeping designs clean helps the message stand out. Also, using a limited color palette can enhance visual appeal.
Moreover, employing contrast attracts attention. For instance, combining light text on a dark background makes information pop. This ensures the essential details are noticeable without overwhelming the viewer.
Navigating the Vectr Interface
Once logged in, users see a clean dashboard that makes design easy. The menu bar at the top includes options for creating new files and accessing tutorials. Clicking “Create File” starts a new project instantly.
To the left is the sidebar, where common tools are located. Here, designers can find tools for shapes, text, and paths. Hovering over each tool provides a brief description, making it easy for beginners.
In the center is the workspace, where all the magic happens. Users can drag and drop elements, adjust sizes, and see changes in real-time. This intuitive layout helps anyone create professional designs without feeling overwhelmed.
Setting the Stage for Your Invitation
Creating an effective event invitation starts with careful planning. It is essential to understand the purpose of the invitation and to identify the audience. Thoughtful choices in color and typography can enhance the overall appeal and clarity of the design.
Defining the Purpose and Audience
First, knowing the purpose helps shape the message. Is the event formal or casual? Understanding if it’s a wedding, corporate meeting, or birthday will guide the design style.
Next, identifying the target audience is key. Are they young professionals, families, or artists? Each group responds to different design elements. A birthday party for kids may require playful fonts and bright colors, while a corporate event should lean towards professionalism.
Choosing a Color Scheme
Color choices set the mood and grab attention. A color scheme should reflect the event’s theme and overall vibe. For instance, blues and greens often convey calm, while reds and oranges can energize the viewer.
It is helpful to select a palette with 2-4 main colors. This keeps the design consistent. Use contrasting colors for text to ensure readability. Online tools like color palette generators can simplify this process.
Selecting Typography
Typography plays a significant role in how the invitation is perceived. Choosing the right font can enhance the invitation’s message. For elegant events, serif fonts often work best. For casual gatherings, sans-serif can feel more relaxed.
It is important to limit font choices to two or three. This keeps the design cohesive. Additionally, consider font sizes; headings should be larger to stand out, while body text should be easy to read. Using bold or italic styles can add emphasis where needed.
Design Elements and Layout
Designing an event invitation requires careful selection of visuals and thoughtful layout strategies. The right design elements can enhance the invitation’s appeal and ensure it conveys the event details effectively.
Adding Visuals
Visuals play a crucial role in making an invitation stand out. Images, icons, and colors should align with the event’s theme. For instance, a wedding invitation may feature elegant florals, while a corporate event might use a sleek, modern look.
Using high-quality images is essential. They capture attention and set the tone for the event. It’s important to balance visuals with text for clarity.
Consider using vectors from sites like Vecteezy. They offer a variety of options, including Event Invite Layout Vector Images that are royalty-free and easy to integrate.
Layout Strategies
A well-planned layout organizes information clearly. Start by prioritizing the most important details: event name, date, time, and location. Use a hierarchy in font sizes to guide the reader’s eye.
Using grids can help align elements neatly. It creates a structured appearance, making it easier to read. White space is also vital; it prevents clutter and allows the design to breathe.
For added impact, consider asymmetrical layouts. They can give a modern feel and draw interest. Experimenting with different arrangements can lead to a more dynamic invitation design.
Final Touches and Exporting
Before wrapping up a design in Vectr, it’s important to ensure everything looks just right. Careful review and choosing the right export settings can make a big difference in the final product.
Reviewing Design Consistency
Checking design consistency is key. This means making sure that colors, fonts, and styles are uniform throughout the invitation.
- Color Palette: Verify that the same color shades are used consistently. This creates harmony.
- Fonts: Use no more than two or three fonts. Ensure that headings and body text are distinct yet complementary.
- Alignment: All elements should be aligned properly. It improves the overall visual appeal.
Taking the time to review these details can elevate a design from good to great. An eye for consistency helps in creating a professional look that impresses recipients.
Export Options and Formats
Export options in Vectr are crucial for sharing and printing. They allow the designer to save the invitation in various formats suited to different uses.
- PNG: Best for web use. It supports transparency and is perfect for digital invitations.
- JPEG: Ideal for email or social media sharing, though it does not support transparency.
- SVG: Great for printing as it maintains quality at any size.
Choosing the right format depends on how the invitation will be used.
Make sure to select the appropriate resolution. Typically, 300 DPI is for print and 72 DPI is for digital use. This ensures clarity and quality, regardless of where it’s displayed.