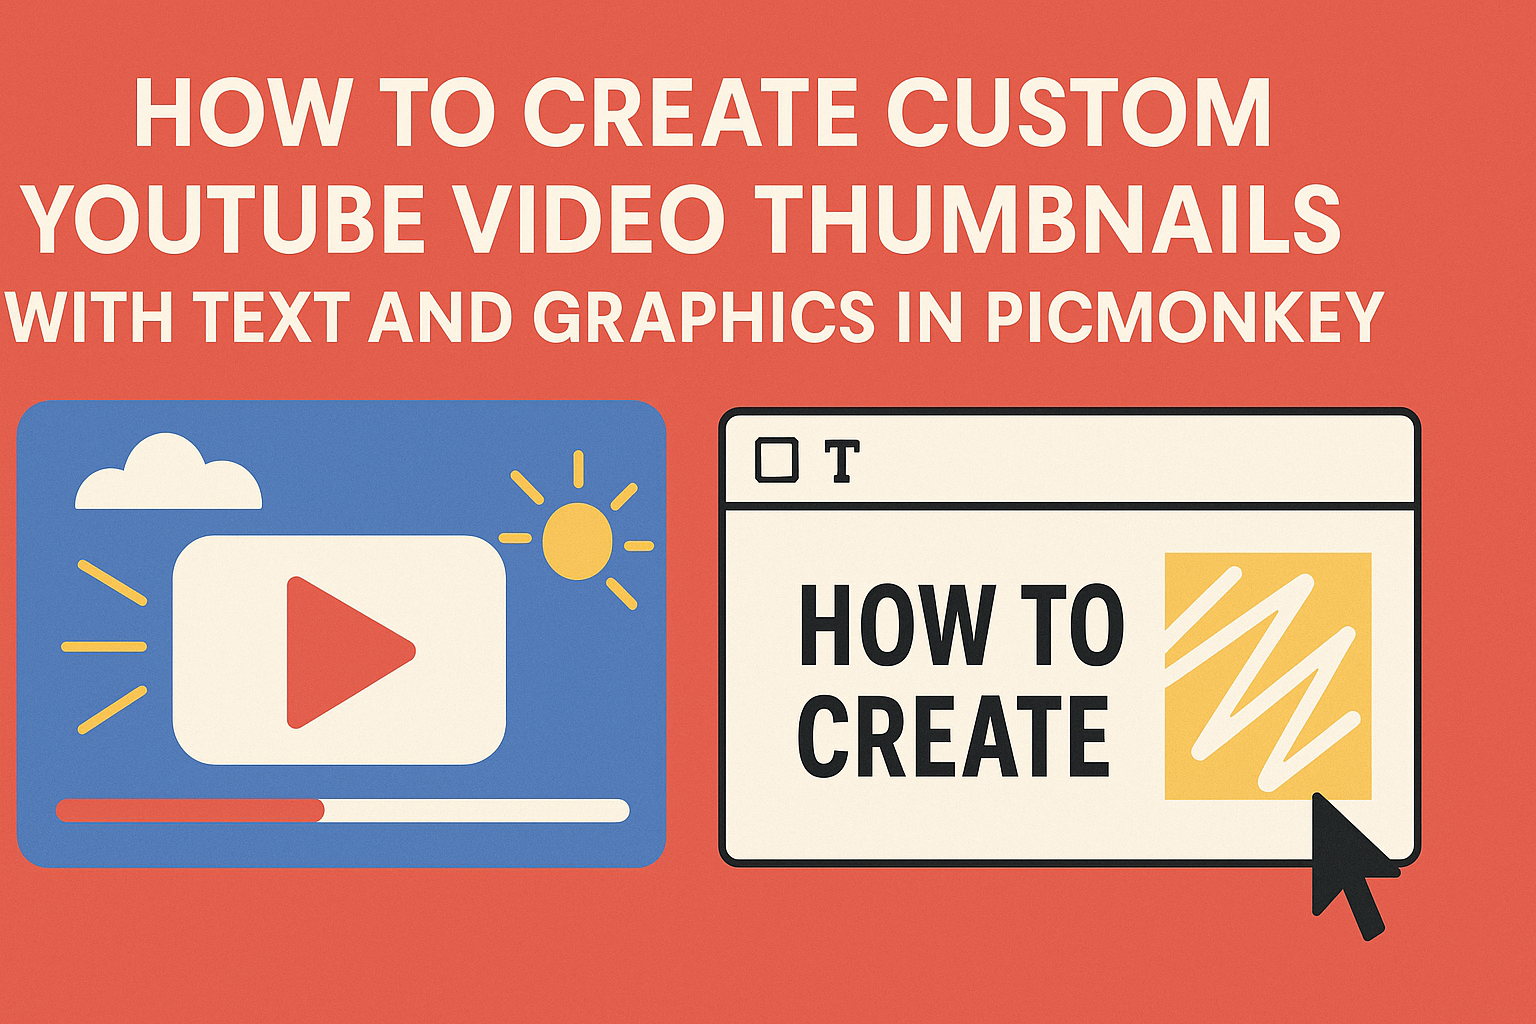
Creating custom YouTube video thumbnails can make a significant difference in attracting viewers.
Using PicMonkey, anyone can easily design eye-catching thumbnails by adding text and graphics that reflect their video content.
With simple tools and templates, PicMonkey helps users bring their creative ideas to life, making their video stands out in the crowded YouTube space.
To get started, it’s important to understand the key elements that make a thumbnail effective.
He or she can choose from a variety of graphics and add compelling text to grab attention. Learning to utilize these features will lead to higher engagement and more viewers for their videos.
This blog post will guide readers through the process of designing custom thumbnails in PicMonkey step by step. From selecting a template to adding finishing touches, it will cover everything needed to create stunning visuals for their YouTube channel.
Getting Started with PicMonkey
To create custom YouTube video thumbnails, using PicMonkey is a great choice. It offers user-friendly tools for designing visuals.
Signing Up and Account Overview
To begin, users should visit the PicMonkey website and sign up for an account.
They can choose a free trial or a paid plan, which offers more features. After signing up, users will access their dashboard, where they can manage projects and settings easily.
In the account overview, users can find options to update personal information, manage subscriptions, and explore various design templates.
It’s essential to familiarize oneself with these tools to maximize their experience. PicMonkey offers a great library of templates specifically for YouTube, making it simple to start designing thumbs up for videos.
Navigating the PicMonkey Interface
Once logged in, users will see the main interface, which includes several key areas. The top menu bar provides options like “Design,” “Edit,” and “Collage.” These are critical for creating thumbnails.
On the left side, users will find a panel for accessing templates and images. This section allows for easy browsing through thousands of images and graphics.
Users can also upload their images directly from their devices. The right side displays editing tools, such as text, color adjustments, and graphic overlays, which are essential for customizing designs.
Understanding this layout will help users create eye-catching thumbnails efficiently.
Designing Your Thumbnail
Creating a custom thumbnail is essential for attracting viewers.
Important aspects include choosing the right canvas size and selecting a fitting background image or color. These steps help create a visually appealing design that stands out.
Choosing the Right Canvas Size
To make a thumbnail for your YouTube video, start by selecting the proper canvas size. The ideal dimensions are 1280 x 720 pixels, which ensures that the thumbnail looks great on both desktop and mobile devices.
Using these dimensions helps maintain the quality of your image. PicMonkey allows users to customize these settings easily. Whenever you open a new project, choose these dimensions as a standard for YouTube.
This size also meets YouTube’s requirements, preventing any cropping issues. Keeping an eye on the file size is also important. A smaller file size allows for faster loading, ensuring viewers see the thumbnail quickly.
Selecting a Background Image or Color
The background of your thumbnail plays a crucial role in its overall appeal. You can choose a vibrant color or an engaging image that relates to your video’s content.
When using an image, make sure it’s high quality and visually interesting. This helps to grab attention quickly. Various free resources, including stock photo websites, offer quality images suitable for thumbnails.
If opting for a solid color, consider choosing something bold or contrasting. This can draw the eye of potential viewers. Utilizing PicMonkey’s tools makes it easy to experiment with different backgrounds and colors.
Your background sets the tone for the thumbnail. Keeping it simple can be effective. Avoid clutter, ensuring the focus remains on any text or graphics added later.
Adding Text to Your Thumbnail
Creating custom thumbnails in PicMonkey allows users to add eye-catching text that enhances video appeal. Text can help convey the video’s message and attract viewers. Below are two important areas to focus on: using text templates and customizing fonts and colors.
Using Text Templates
PicMonkey offers a variety of text templates that make it simple to get started. Users can choose from preset styles designed for different themes or moods. This saves time and provides a professional look.
To access text templates, navigate to the text tool in PicMonkey. From there, select “Text” and explore the available templates. Each template comes editable, allowing personal adjustments.
Using templates gives a great foundation, but users can also incorporate unique ideas to fit their video style. This creativity can make thumbnails pop and capture interest.
Customizing Fonts and Colors
Once a template is selected, customizing fonts and colors is crucial. PicMonkey offers a wide range of fonts to choose from. Users can match the font style with their brand for consistency.
To customize, click on the text to reveal options for font, size, and color. Experimenting with different colors helps the text stand out against the background.
Pairing contrasting colors is effective; for example, using dark text on a light background or vice versa. Adding shadows or outlines can also improve visibility, making the text more engaging. Adjusting these elements enhances the overall look of the thumbnail, ensuring it captures viewers’ attention.
Incorporating Graphics and Effects
Adding graphics and effects can transform a basic thumbnail into something eye-catching and engaging. This makes the video more appealing and helps it stand out in a crowded space.
Exploring PicMonkey’s Graphics Library
PicMonkey offers a vast library of graphics that users can incorporate into their thumbnails. These include shapes, icons, and illustrations. Users can access these elements through the “Graphics” tab.
To find specific graphics, users can use the search bar. This feature makes it easy to locate the perfect visuals for any theme or topic. Graphics can be resized, rotated, and moved around the canvas to achieve the desired look.
Additionally, layering graphics can create depth and interest. It’s helpful to use contrasting colors to ensure that graphics stand out against the background. By experimenting with different styles, users can find unique combinations that reflect their channel’s brand.
Applying Effects and Filters
Effects and filters can enhance the appearance of thumbnails significantly.
PicMonkey provides various options to adjust brightness, contrast, and saturation.
For instance, applying a filter can instantly change the mood of the thumbnail.
Users can also add effects like drop shadows or outlines to make text and graphics pop.
Using effects wisely is key; they should enhance not overwhelm.
It’s advisable to keep the audience in mind and ensure that effects align with the content of the video.
Experimenting with different effects can lead to exciting discoveries.
By previewing changes in real-time, users can see how each adjustment impacts the overall design.