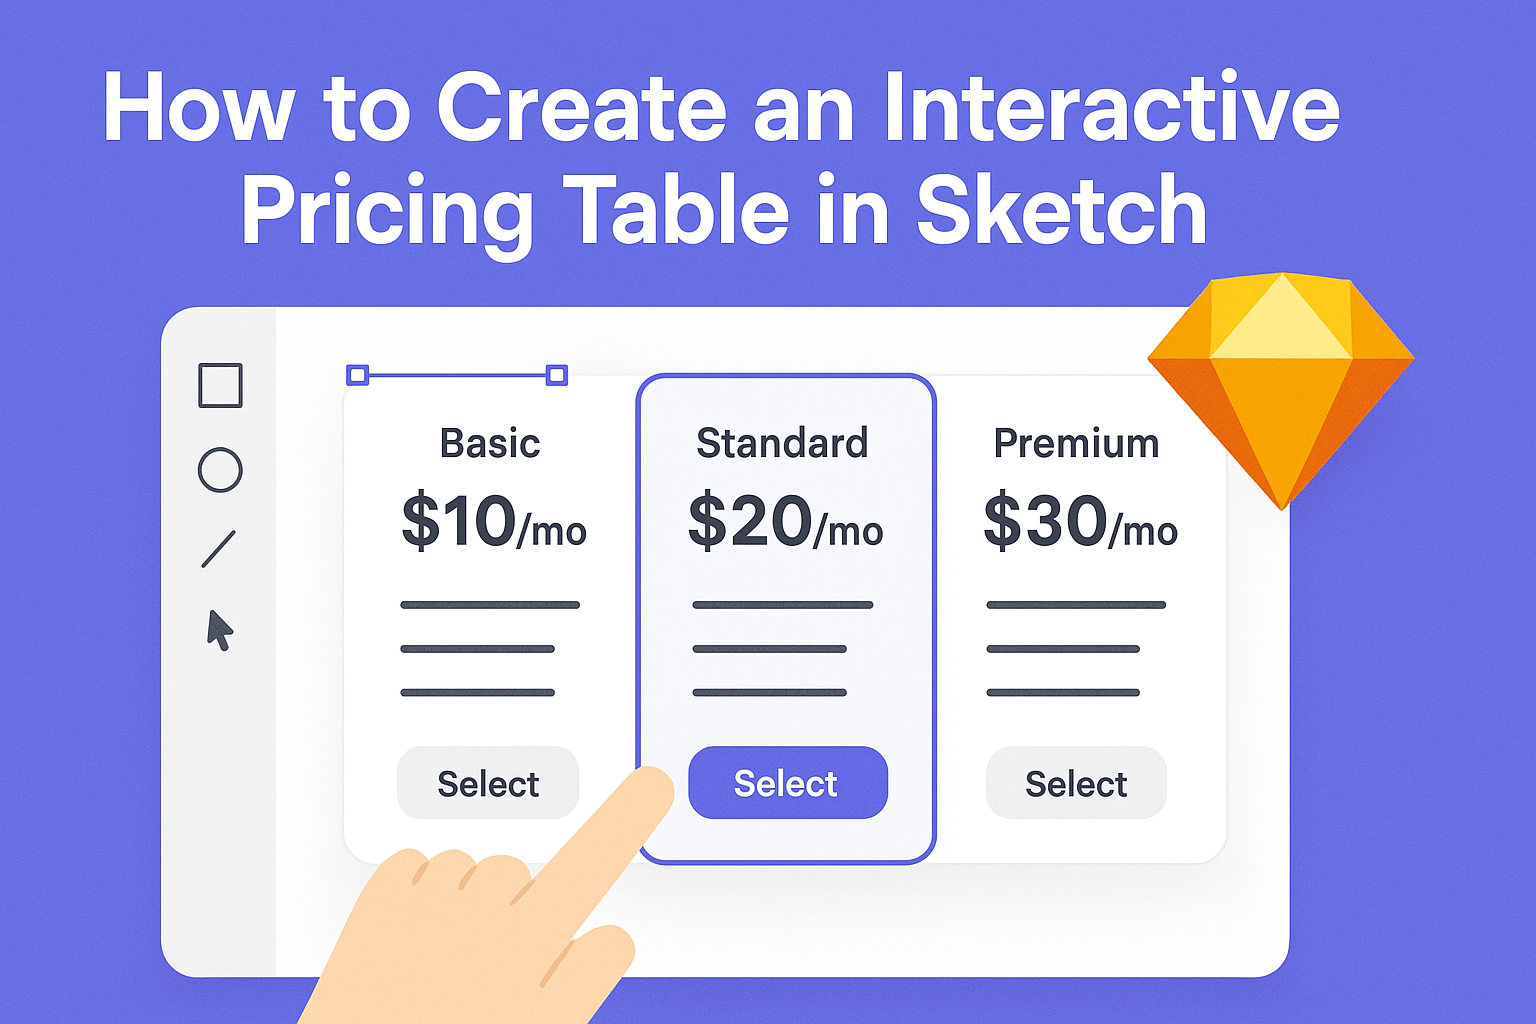
Creating an interactive pricing table in Sketch can elevate the way users engage with your designs. This process involves using features within Sketch that allow for dynamic elements, enhancing user experience and providing clear information at a glance.
By following a simple step-by-step approach, anyone can build a professional-looking pricing table that not only presents data but also invites interaction.
When designing a pricing table, clarity and usability are key.
It’s important to think about how users will navigate through options and understand values. Sketch offers a variety of tools to make this easy and visually appealing, bringing to life a table that meets the needs of both the creator and the audience.
Whether you’re a seasoned designer or just starting out, mastering interactive pricing tables can set designs apart. Readers will discover useful tips and techniques that help transform static layouts into engaging and informative pieces.
Getting Started with Sketch
Before diving into creating an interactive pricing table, it’s important to become familiar with Sketch. Understanding the interface and setting up the first project will lay a solid foundation for successful design work.
Understanding the Sketch Interface
The Sketch interface is designed to be user-friendly, with various tools easily accessible. The main components include the toolbar, inspector, and canvas.
- The toolbar at the top contains selection tools, shapes, and other design features.
- The inspector on the right displays the properties of selected objects. Here, you can adjust settings like colors, sizes, and text properties.
- The canvas is the main area where designs come to life. It provides a workspace to create and arrange design elements, which can be zoomed in or out for detail.
Getting comfortable with these elements will help anyone navigate Sketch more efficiently.
Setting Up Your First Project
To begin a new project, start by opening Sketch and selecting File > New. This will create a new document where all design work will occur.
- Choose Artboard: Artboards help organize designs. Select an appropriate size for your project, such as Web or Mobile.
- Naming Layers: As layers accumulate, naming them helps in easy identification. Right-click on a layer and choose Rename.
- Using Symbols: For reusable elements, create symbols. Select an object, right-click, and choose Create Symbol. This makes it easy to maintain design consistency.
Following these steps helps establish a clear project structure and improves workflow efficiency.
Designing Your Pricing Table
When creating a pricing table in Sketch, it’s important to focus on the layout, text, pricing information, and customization options. Each aspect plays a crucial role in making the table visually appealing and user-friendly.
Choosing a Layout and Style
Selecting the right layout is essential for clarity. Most pricing tables use a grid or column format to compare options easily.
- Single vs. Multi-column: A single-column layout works well for one product, while a multi-column layout is ideal for comparing different tiers.
- Visual Hierarchy: Use size and placement to highlight the most important plan. Place the most popular option in the center for visibility.
Deciding on a style, such as modern, minimalist, or vibrant, will also impact the table’s appeal. Ensure that the style aligns with the overall branding of the project.
Adding Text and Pricing Information
Text should be clear and concise. Include the name of each plan, key features, and pricing.
- Plan Names: Use catchy names that describe the plan’s benefits.
- Feature Lists: Bullet points can make features easy to read. Avoid cluttering the table with too much text.
Pricing should be prominent, utilizing larger font sizes. Including phrases like “Most Popular” or “Best Value” can draw attention to specific plans. Make sure the information is accurate and up-to-date to avoid any confusion.
Customizing Colors and Fonts
Colors and fonts play a vital role in the table’s impact.
- Color Scheme: Choose colors that complement the brand and make the table stand out. Use contrasting colors for the header and pricing sections to make them pop.
- Font Choices: Select fonts that are readable at various sizes. Pair a bold font for titles with a simpler font for descriptions.
Creating a cohesive look is important. Maintain consistent spacing and alignment for a polished final result. Using these design elements will not only attract attention but also facilitate comparison for users.
Making the Table Interactive
Creating an interactive pricing table in Sketch involves using various techniques to engage users. These techniques include using symbols, hover effects, and responsive design which enhances user experience.
Using Symbols and Overrides
Symbols in Sketch allow for reusable components. When creating a pricing table, design each pricing option as a symbol. This way, changes made to one instance will reflect across all uses.
Overrides enable customization of these symbols. For instance, you can modify text or images for specific pricing plans without altering the main symbol. To set up a symbol, select the desired layers and choose “Create Symbol” from the menu. This approach streamlines updates and ensures consistency in design.
Creating Hover Effects
Hover effects add a dynamic feel to the pricing table. You can achieve this by using the “Mouse Hover” interaction feature in Sketch. It allows elements to change appearance when a user hovers over them.
To create a hover effect, select the layer intended for interaction. Then, find the “Interactions” section and add a “Mouse Hover” trigger. You can change the fill color or add shadows to create a visual change. This makes the table more engaging and helps users identify options easily.
Implementing Responsive Design
Responsive design ensures the pricing table looks good on all devices. This can be done by using flexible layouts and scalable components.
Start by using a grid system to define the overall structure of the table. Then, use constraints to make sure elements resize properly on different screen sizes.
Additionally, test how each pricing plan adjusts when switching from desktop to mobile view. This approach helps maintain usability and aesthetics across all platforms.
Exporting and Integration
Exporting designs seamlessly and integrating those exports with web development tools are vital steps in the design process. These steps ensure that the interactive pricing table works effectively on various platforms.
Preparing Assets for Export
Preparing assets in Sketch is an essential part of the design process.
First, select the layers or components you wish to export. Then, mark each element for export by checking the appropriate options in the Inspector panel.
Designers can create slices by clicking the “+” icon under the export section. This allows them to define specific areas for export.
They can also customize the export settings, such as file format (PNG, JPEG, SVG), and sizes.
It’s helpful to create export presets for commonly used sizes. This saves time when exporting multiple assets, especially for responsive designs that require different resolutions for various devices.
Integrating with Web Development Tools
Integration with web development tools is essential for bringing designs to life.
Designers can export assets from Sketch directly to code. This can make handoff easier for developers.
Several integrations are available, such as Framer and others.
These tools enable the export of designs into production-ready code. This means developers can use the exported elements without extra effort.
Using online tools like InVision can help create an interactive prototype. This enhances the presentation of the pricing table and allows for better collaboration among team members.
By leveraging these integrations, developers can streamline their workflows and efficiently implement designs on websites.