Creating an elegant wedding invitation doesn’t have to be a daunting task. With Snappa, one can easily design stunning invitations that match the couple’s style and theme.
The step-by-step features in Snappa make it simple for anyone to create a polished and personalized wedding invitation.
With a variety of templates and customization options, Snappa allows users to add their unique touch while maintaining an elegant look. They can adjust colors, fonts, and images to reflect their personal aesthetic.
This flexibility helps in crafting an invitation that truly represents their special day.
Whether someone is planning a grand celebration or an intimate gathering, an elegant invitation sets the tone for the event. Snappa not only saves time, but it also ensures that every detail is just right. This makes it a go-to tool for anyone looking to make their wedding invitations memorable.
Getting Started with Snappa
Snappa is an easy-to-use design tool perfect for creating elegant wedding invitations. To make the most of Snappa, users first need to create an account and familiarize themselves with the interface.
Creating Your Account
Starting with Snappa is simple. Users need to visit the website and click on the Sign Up button.
They can sign up using their email, or connect through Google or Facebook for convenience.
Once they fill in the required fields, Snappa will send a confirmation email. Clicking the link in the email will complete the signup process.
Snappa offers a free tier, which allows access to essential features and templates. This is a great way to explore the tool before committing to a paid plan.
Understanding Snappa’s Interface
After logging in, users will see a clean and welcoming dashboard. The main features are organized clearly, making navigation easy.
On the left side, users will find options for Templates, Custom Sizes, and My Designs.
- Templates offer a variety of pre-designed options.
- Custom Sizes let users create invitations of any dimensions.
- My Designs keeps track of past projects for easy access.
The central area is where users can create and edit their invitations. Tools for editing text, images, and backgrounds are easily accessible, allowing for a smooth design experience. Familiarizing oneself with these elements is key to creating beautiful invitations.
Designing Your Wedding Invitation
Creating a wedding invitation involves selecting the right template, customizing the text, and adding personal touches that reflect the couple’s style. Each step contributes to a beautiful and unique design.
Choosing a Template
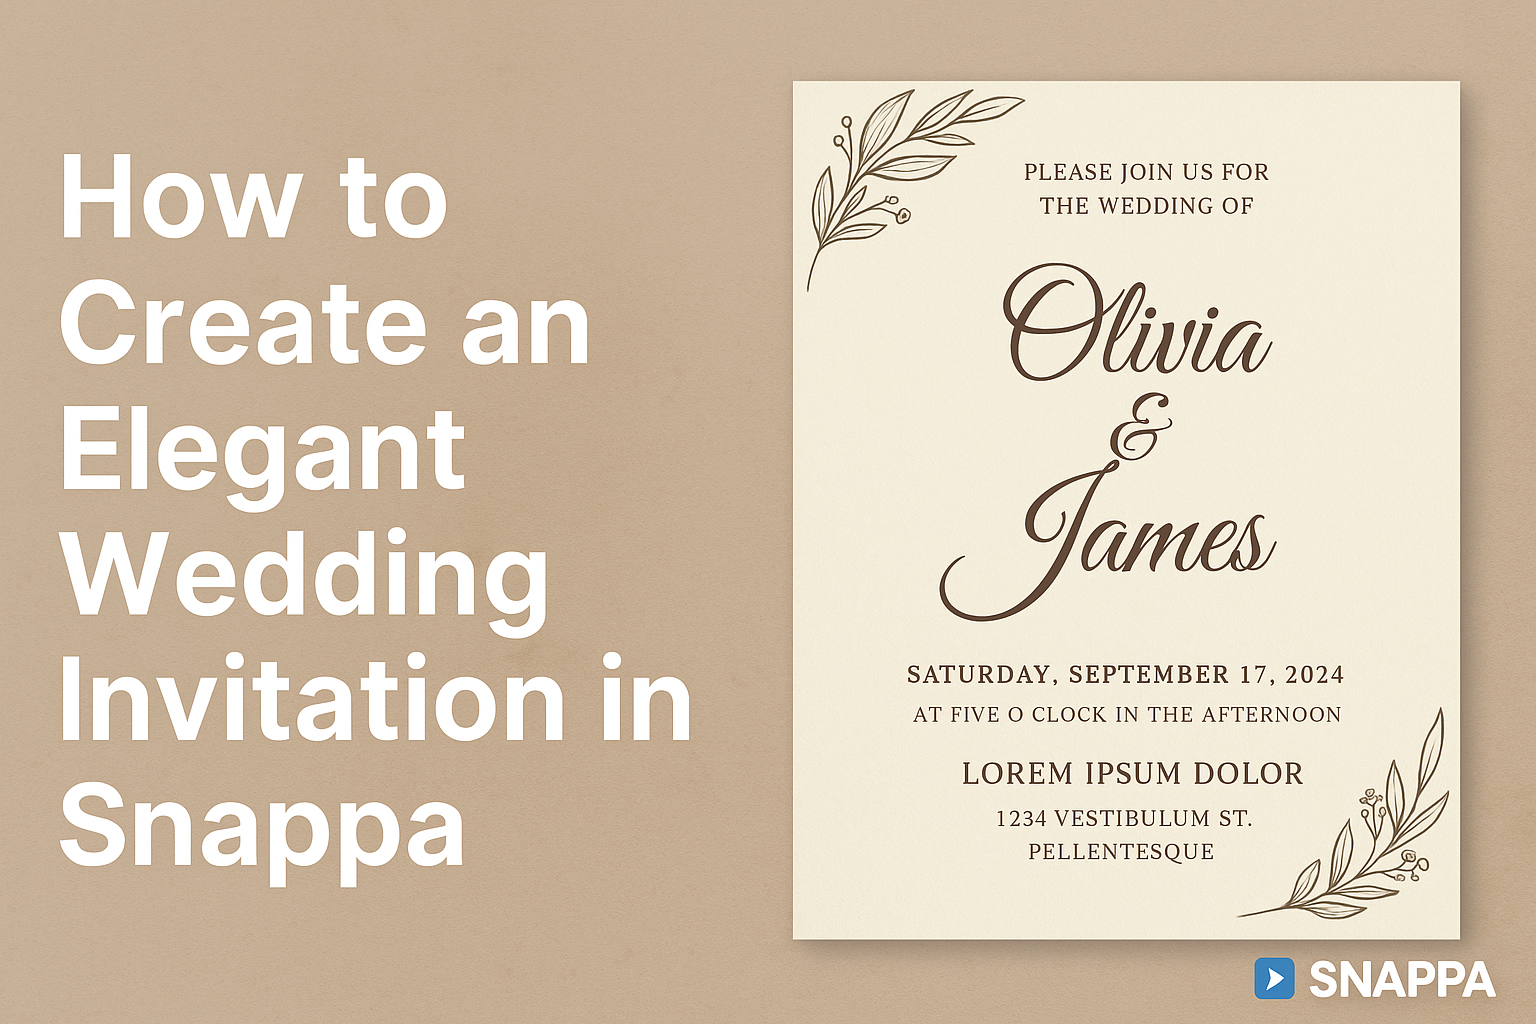
The first step in designing a wedding invitation is selecting the perfect template. Snappa offers a variety of elegant options that suit different wedding themes. For a classic look, she might choose a minimalistic white template, while a rustic wedding could inspire a floral design.
Once a template is selected, it’s important to ensure that it aligns with the color scheme and overall vibe of the wedding. This alignment creates consistency and enhances the invitation’s appeal.
Finally, remember to consider the size of the invite; the standard size is typically 5×7 inches.
Customizing Text Elements
After choosing a template, it’s time to customize the text elements. Clear and beautiful typography is essential for readability and style. The couple should include key details such as the names, date, time, and venue of the wedding.
Using a combination of fonts can add a unique flair, but two or three styles are usually sufficient. For example, a script font for the names paired with a sans-serif for the details can look sophisticated yet legible.
Keeping the hierarchy of information clear helps the reader grasp the important details at a glance.
Adding Personal Touches with Images and Graphics
Incorporating personal visuals can make the invitation more memorable. She can add images such as a monogram, a floral border, or a meaningful quote that resonates with the couple’s love story.
Graphics should complement the text without overwhelming the main details. Adding accent designs in the background or along the edges can enhance the aesthetic.
For instance, delicate watercolor florals can add elegance, while geometric shapes can bring a modern touch.
Personal touches not only elevate the design but also convey a sense of the couple’s unique story.
Finalizing Your Invitation Design
Fine-tuning a wedding invitation design involves careful adjustments to layout and the use of branding elements. These steps ensure the invite looks polished and reflects the couple’s style.
Adjusting Layout and Background
The layout is critical for creating an elegant invitation. Start by ensuring that all elements are well-organized. Use grids or guides to align text and images neatly.
Next, pay attention to the background. A soft texture or a subtle color can enhance the invitation’s overall look. It should complement but not overpower the text.
Avoid busy patterns that distract from the main details.
Once the background and layout are set, step back and review the overall appearance. Make adjustments as needed to improve balance and focus.
This process helps achieve a harmonious design that draws guests in.
Using Branding Elements
Incorporating branding elements is essential for a cohesive design. These can include colors, fonts, and symbols that represent the couple’s personality and wedding theme.
Choose a color palette that matches the wedding colors. Stick to two or three main colors for consistency.
Selecting fonts is equally important; a pairing of a classic serif font with a modern script can create a stylish contrast.
Logos or personal symbols can also add a unique touch. They may reflect the couple’s story or interests.
By thoughtfully integrating these elements, the invitation not only becomes visually appealing but also tells a story about the couple’s journey together.
Preparing for Print and Digital Distribution
When preparing a wedding invitation for both print and digital distribution, it’s important to ensure the design is properly exported and meets the necessary print specifications. This will help create a stunning and professional look for the invitations.
Exporting Your Design
To export a design in Snappa, first, select the size that best fits your invitation format. Common sizes include 5×7 inches for printed invitations.
By exporting in formats like PDF or PNG, one can ensure high-quality images.
When saving as a PDF, choose the option that preserves the highest resolution. For digital invitations, opt for PNG to maintain transparency and visual clarity.
Additionally, remember to check for any bleed areas, especially for printed destinations. Setting a 1/8 inch bleed is ideal for seamless edges when cut.
Exporting in the correct format is key to achieving that elegant appearance.
Print Specifications for A Flawless Look
For print invitations, selecting the right paper type can greatly enhance the final product. Common choices include matte or glossy finishes.
Matte provides a classic look, while glossy can make colors pop.
The resolution of the design should always be at least 300 DPI to avoid pixelation. This ensures the images and text appear sharp and professional when printed.
It can also be beneficial to consult with the printing service for their specific requirements. Some may require different file types or settings.
Keeping these specifications in mind will prevent any last-minute issues and guarantee a flawless printed invitation.