Creating eye-catching content for social media can be a challenge, but it doesn’t have to be. Using Vectr, anyone can design animated social media graphics that capture attention and boost engagement.
This simple and free tool makes the process straightforward, even for those without extensive design experience.
To get started, users need to familiarize themselves with Vectr’s interface and features.
By following easy step-by-step instructions, they can create unique animations that enhance their brand’s presence across platforms like Instagram and Facebook. Vectr offers various customizable templates that streamline the creative process and ensure the final product looks professional.
With the right techniques, anyone can turn their social media feed into a dynamic gallery that attracts more followers. Learning to create an animated graphic could be the key to making posts stand out in a crowded space, and Vectr makes it accessible for all.
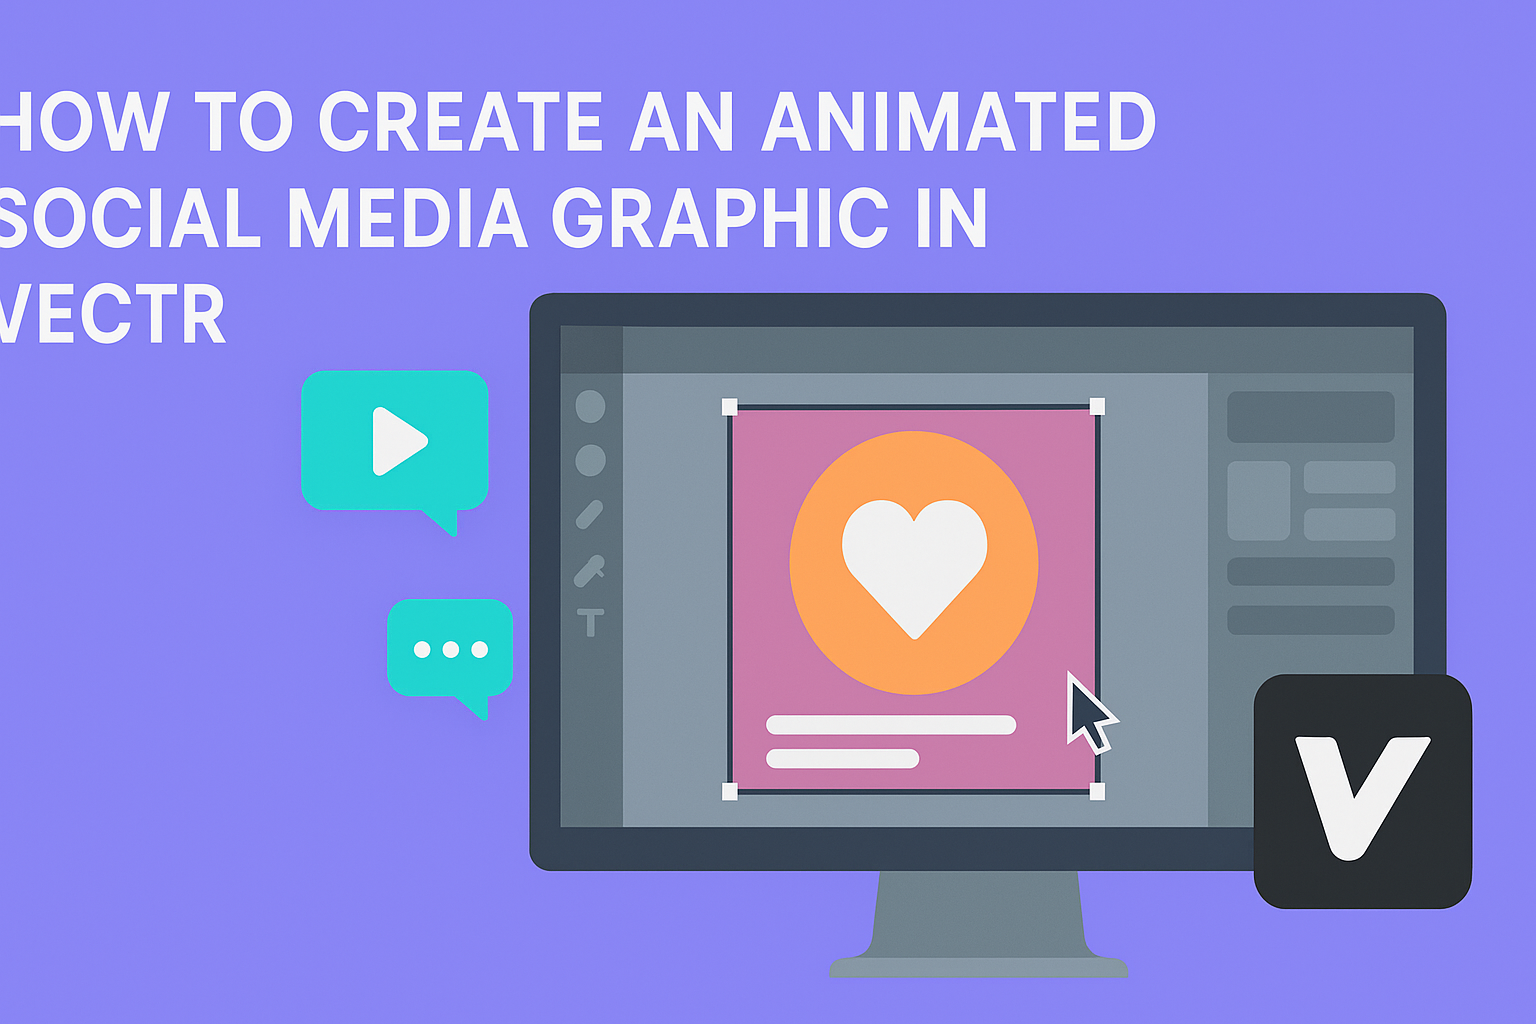
Getting Started with Vectr
Vectr is a user-friendly design tool that allows anyone to create stunning graphics easily.
Users can create an account quickly and navigate the interface with confidence, making the design process smooth and enjoyable.
Creating an Account and Overview of Interface
To use Vectr, the first step is to create an account. This is a straightforward process that requires an email and password. Users can also sign in with Google for added convenience.
Once logged in, the interface appears with a clean layout. At the top, there is a menu bar where users can find options to create a new file or access existing projects.
The sidebar provides a collection of tools such as shapes, text, and colors. This setup allows for easy access to all necessary functions.
Users will notice a workspace where their designs come to life. It has a grid to help align elements. Exploring this interface is key to becoming familiar with the software.
Essential Tools for Designing Graphics
Vectr offers a variety of essential tools that enhance the design experience.
Users can choose from basic shapes like rectangles, circles, and lines to build their graphics. Each shape can be customized in terms of size, color, and opacity.
The text tool is another important feature. It allows users to add text, select fonts, and adjust sizes. This helps create eye-catching messages within the designs.
Layers are crucial when it comes to managing different elements. They allow users to organize their graphics effectively.
By clicking on the layer panel, users can easily rearrange, lock, or hide layers.
Finally, Vectr supports collaboration. Users can share their projects with others and work together in real-time. This feature is great for teamwork and feedback.
Designing Your Graphic
Creating an animated social media graphic involves careful planning and design. The key steps include setting up the canvas properly, adding text and elements that stand out, and organizing the design with layers and groups effectively. Each part plays a vital role in achieving a polished final product.
Setting Up Your Canvas
First, the user should start by opening Vectr and creating a new canvas.
Selecting the right dimensions is crucial, depending on where the graphic will be posted, such as Instagram, Facebook, or Twitter. It is important to keep in mind the recommended sizes for each platform to ensure the graphic displays perfectly.
To set the canvas, the user can choose a size from the presets or enter custom dimensions. A common size for Instagram is 1080 x 1080 pixels.
After this, adjusting the background color can help in visualizing the design. A simple background allows for better focus on the animated elements, making the graphic more engaging.
Adding Text and Elements
Next, adding text and elements helps convey the message.
The user should select fonts that are bold and easy to read. It’s good to limit the number of font styles to two or three to maintain consistency. Using contrasting colors for text can also enhance visibility against the background.
For elements, Vectr offers various shapes, icons, and images. Users can import their own images or find free graphics online.
When layering images with text, ensuring that each element complements the message is key. This creates a harmonious design that captures the audience’s attention quickly.
Using Layers and Groups
The organization of layers is vital for managing different elements of the graphic.
In Vectr, users can find the layers panel to see all components of the design. Layers allow users to stack elements, helping in creating depth and focus.
Grouping related elements together simplifies editing and animations. For instance, if a user has multiple items that appear together, grouping them helps in moving or animating them as one unit. This not only saves time but also keeps the workspace organized. Proper layer management leads to a cleaner, more professional graphic.
Animating Your Graphic
Animating a graphic adds life and engagement, making it more appealing for viewers. Understanding the basics and applying motion to elements are key steps in creating animations that resonate with an audience.
Understanding the Basics of Animation
Animation transforms static images into dynamic visuals. Knowing simple concepts helps in creating effective animations.
Key Principles:
- Timing: Timing affects how objects move. Good timing creates a natural flow.
- Easing: This technique makes movement smoother. It uses acceleration and deceleration to make motions look realistic.
- Layers: Organizing elements into layers simplifies adjustments. It allows for individual element control.
Familiarizing oneself with these principles can lead to an improved animation. Even small adjustments make a big difference in how the audience perceives the animation.
Applying Motion to Elements
Adding motion to elements requires a thoughtful approach. Each element can have varying movements to enhance the overall design.
Steps to Apply Motion:
- Select Elements: Choose which parts of the graphic will move.
- Set Keyframes: These mark the start and endpoints of an animation. They are essential for defining movement.
- Adjust Movement: Change the speed or direction of the motion. Tiny tweaks can create impactful animations.
Using software like Vectr makes these tasks easy to manage. Animations should feel purposeful, drawing viewers’ attention without overwhelming them. Consistent practice will refine skills over time.
Exporting and Sharing
After creating an animated graphic in Vectr, the next steps involve exporting it in the right format and sharing it effectively on social media. Getting these steps right ensures the animated graphic looks great and captures attention online.
Exporting Your Animated Graphic
To export an animated graphic in Vectr, users can follow these simple steps.
First, navigate to the File menu and select Export. This opens options for different file formats. Common formats for animated graphics include SVG and GIF. These formats maintain quality while allowing for smooth animations.
Next, users can choose their desired settings. Selecting the appropriate resolution helps maintain clarity. It’s best to keep the file size manageable to ensure fast loading times on social media.
Once everything is set, click the Export button. The graphic will then be saved to the user’s device, ready for sharing.
Best Practices for Sharing on Social Media
Sharing animated graphics on social media requires some key strategies.
First, consider the platform.
Each social media site has unique requirements for video length, format, and size.
For instance, short animations tend to perform better on platforms like Instagram and Twitter due to user attention spans.
Additionally, adding a catchy caption or relevant hashtags can increase visibility.
Users should keep captions brief and engaging to prompt interaction.
Experimenting with different posting times can also help reach a wider audience.
Lastly, monitor engagement.
After posting, checking responses and comments can provide insights.
This will help refine future graphic sharing strategies.