Creating a website footer design may seem simple, but it can significantly impact the user experience.
A well-designed footer provides essential information and navigation options that enhance usability and engagement.
Gravit Designer offers intuitive tools that make this process easier, allowing designers to craft footers that are both functional and visually appealing.
In this blog post, readers will discover practical tips for designing an effective footer tailored to their website’s needs.
By following best practices and leveraging the features of Gravit Designer, anyone can elevate their site’s professionalism. Engaging footers can help users find what they need quickly, improving overall satisfaction.
From layout considerations to essential elements, this guide covers everything needed to get started.
Whether designing a personal portfolio or a business site, understanding footer design is crucial. Readers are invited to learn how to create an impactful footer that complements their website’s design.
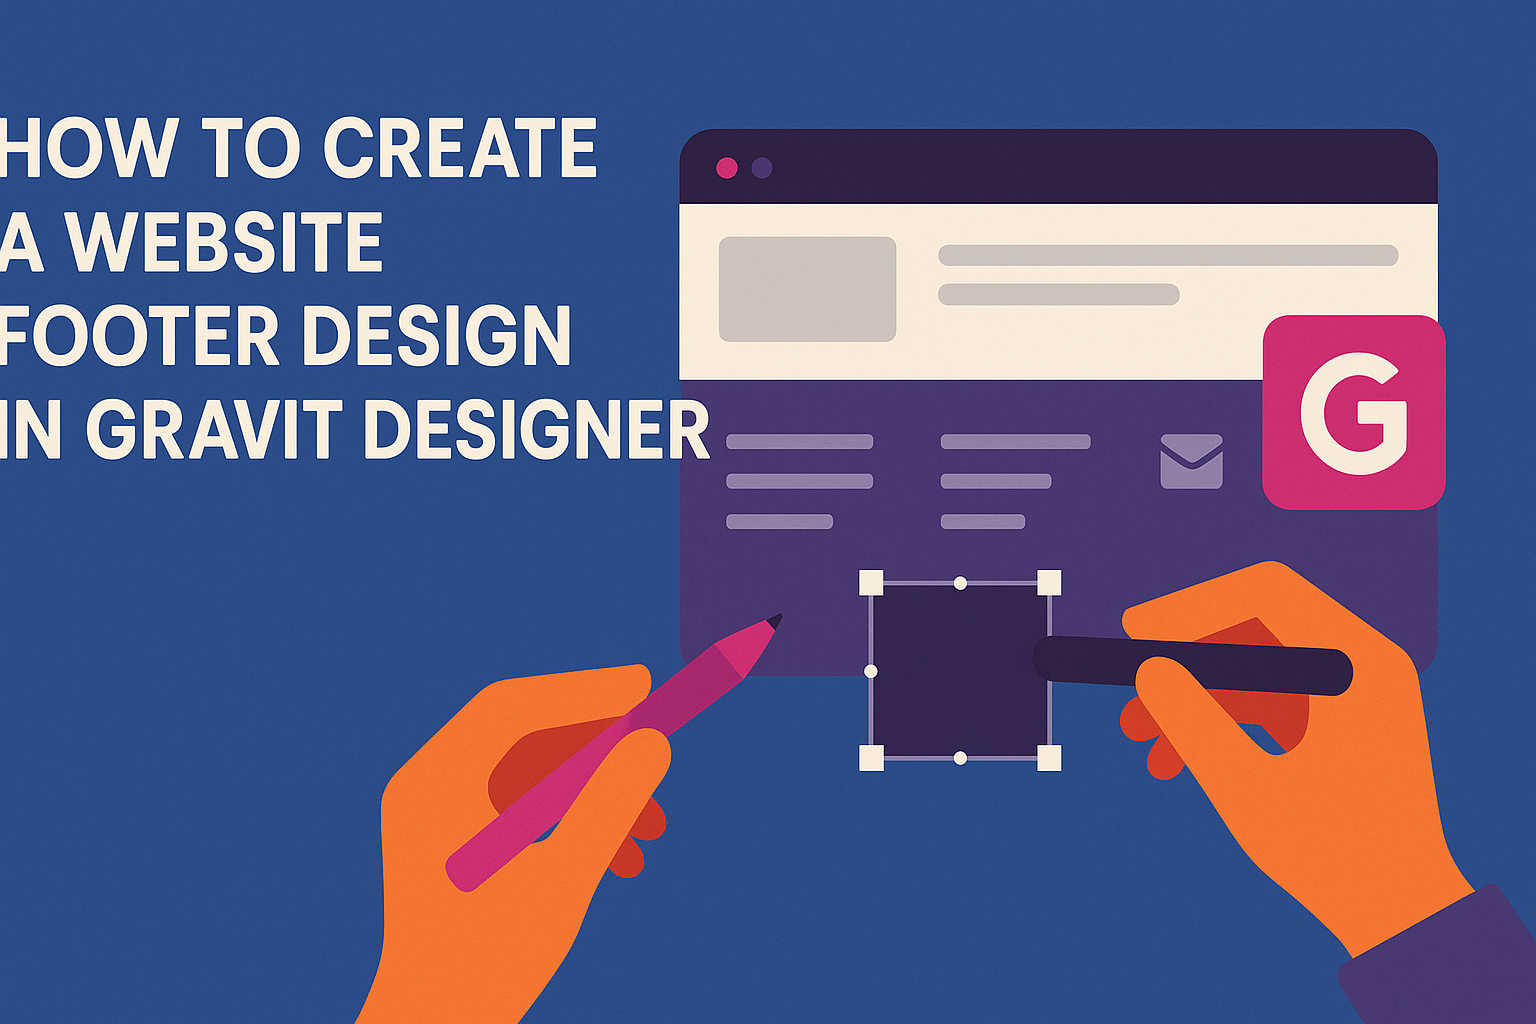
Getting Started with Gravit Designer
Gravit Designer is a user-friendly vector design tool ideal for creating website assets. Understanding its features and setting up a project is essential for effective design work.
Overview of Gravit Designer
Gravit Designer is a powerful vector design application that operates across various platforms.
Users can create stunning graphics, illustrations, and layouts with ease.
Key features include:
- Vector Editing: It allows users to draw and manipulate shapes using pen and pencil tools.
- Multi-Page Design: Users can design multiple pages within a single project.
- File Export Options: You can export designs in popular formats such as PDF, SVG, JPEG, and PNG.
This software’s intuitive interface makes it accessible, even for beginners. The extensive library of shapes, icons, and templates helps users get started quickly.
Setting Up a New Project
To set up a new project in Gravit Designer, one must first launch the application. After that, they can follow these steps:
- Select New File: Click on “New Design” to open a new document.
- Choose Dimensions: Users can select the desired canvas size or create custom dimensions for their project.
- Set Units: Choosing units like pixels or inches is crucial for responsive design.
Once the project file is open, users can start adding elements like shapes, text, and images.
Understanding the workspace layout, including the toolbar and layers panel, also helps streamline the design process.
Designing the Footer
Creating a footer in Gravit Designer requires careful planning. It is important to choose the right layout, add necessary text and links, and incorporate graphics and icons effectively.
Choosing a Layout
When choosing a layout for the footer, it is essential to consider the overall design of the website. A clean and organized layout enhances usability.
Common layouts include single-column and multi-column designs.
Multi-Column Layout: This is ideal for including various links and information.
- It allows for better organization.
- Users can find what they need quickly.
Single-Column Layout: This is simpler and works well for smaller websites with limited information.
Both layouts should ensure that the footer fits well with the overall site design and is responsive on different devices.
Adding Text and Links
Text in the footer typically includes contact information, copyright notices, and important links.
Start with including the company name and copyright year. This is essential for brand visibility.
Next, include key links that guide users to important pages like:
- About Us
- Privacy Policy
- Terms of Service
These links should be clear and easy to read. Using bold or italic text can help emphasize key points.
Ensuring that text is concise will help maintain a clean look and make navigation simple.
Incorporating Graphics and Icons
Graphics and icons can make the footer visually appealing. Simple logos or brand icons can reinforce identity.
Consider using social media icons to encourage engagement. These should be recognizable and link directly to the respective platforms.
Additionally, decorative graphic elements can add personality.
- Use icons for quick visual cues.
- Ensure they match the website’s color scheme.
Maintaining a balance between graphics and text is important. The footer should not feel cluttered. Each element should serve a purpose and enhance user experience.
Customizing Your Design
Customizing a website footer in Gravit Designer involves using various design tools, selecting appealing colors and fonts, and ensuring responsiveness across devices. Each of these aspects contributes to creating a footer that is both functional and visually attractive.
Utilizing Gravit Designer’s Tools
Gravit Designer offers a range of tools to enhance footer design.
The Rectangle Tool is perfect for creating the main shape of the footer. Users can easily adjust the size and corners to fit their desired look.
The Text Tool allows for adding important text elements like contact information or copyright notices. It’s essential to choose appropriate alignment and spacing for clarity.
Additionally, the Style Panel enables users to modify properties such as shadows and borders, giving the footer a polished look. Grouping elements together helps keep the design organized, making future edits easier.
Styling with Colors and Fonts
Color plays a significant role in design. Choosing a color palette that matches the website’s theme makes the footer blend seamlessly.
Gravit Designer’s Color Picker allows for accurate color selection and adjustment.
For fonts, it is crucial to select those that enhance readability. Gravit Designer provides various font options, enabling users to pick ones that reflect the website’s personality.
It’s often beneficial to use two or three font styles for contrast while maintaining coherence.
Using bold for headings helps draw attention to key elements, while softer colors can be used for less critical information. Creating a color contrast between the text and background improves legibility.
Creating Responsive Designs
A responsive design ensures that the footer looks good on all devices.
Gravit Designer allows users to set constraints and resize elements according to different screen sizes.
It is advisable to test the footer on mobile and desktop views.
Adjusting padding and margins is important to maintain visual harmony.
Using flexbox layouts can help make the footer adaptable.
For instance, aligning items in a row on larger screens and stacking them on smaller devices promotes a better user experience.
Ensuring that buttons and links are easily clickable on mobile is essential for user interaction.
Finalizing and Exporting
Before finishing the website footer design, it is important to review the work and ensure everything meets the intended goals. The next steps include previewing the footer to see how it looks in the full layout and preparing the file for export.
Previewing the Footer
In Gravit Designer, checking how the footer appears is simple.
Users should navigate to the main canvas and select the footer layer. This allows them to view the design against the background of their website’s layout.
They can adjust elements such as color, font size, and spacing as needed.
It’s helpful to zoom in and out to see how the footer looks at different scales. This preview process can highlight any areas that may need tweaking.
A good practice is to gather feedback from others during this stage. Fresh eyes can catch mistakes or suggest improvements.
Exporting the Design
Once the footer design is finalized, it is time to export the file.
In Gravit Designer, users should click on the “File” menu at the top and select “Export.” Here, they can choose the format best suited for their needs, such as PNG or SVG.
Users can select the resolution and quality settings to ensure the exported file meets web requirements.
It’s essential to double-check the dimensions as well, ensuring the footer fits perfectly into the website layout.
After setting everything, the final step is to click the “Export” button.
The footer is now ready to be uploaded to the website and provide a seamless user experience.