Creating a Venn diagram can be easy and fun, especially with the right tools at your disposal.
Canva offers an intuitive platform that allows anyone to design a Venn diagram with ease. With just a few clicks, users can choose a template and customize it to fit their needs.
Whether someone is working on a school project or a business presentation, a Venn diagram can help visually organize information and show relationships between different sets.
Canva’s wide selection of templates makes it simple to start, providing a variety of styles and layouts to suit any purpose.
The simplicity of Canva comes with a range of features for detailed customization.
Users can adjust colors, fonts, and sizes to make the Venn diagram truly unique. Canva’s tools also facilitate collaboration, allowing teams to work together seamlessly on a shared project.
Understanding Venn Diagrams
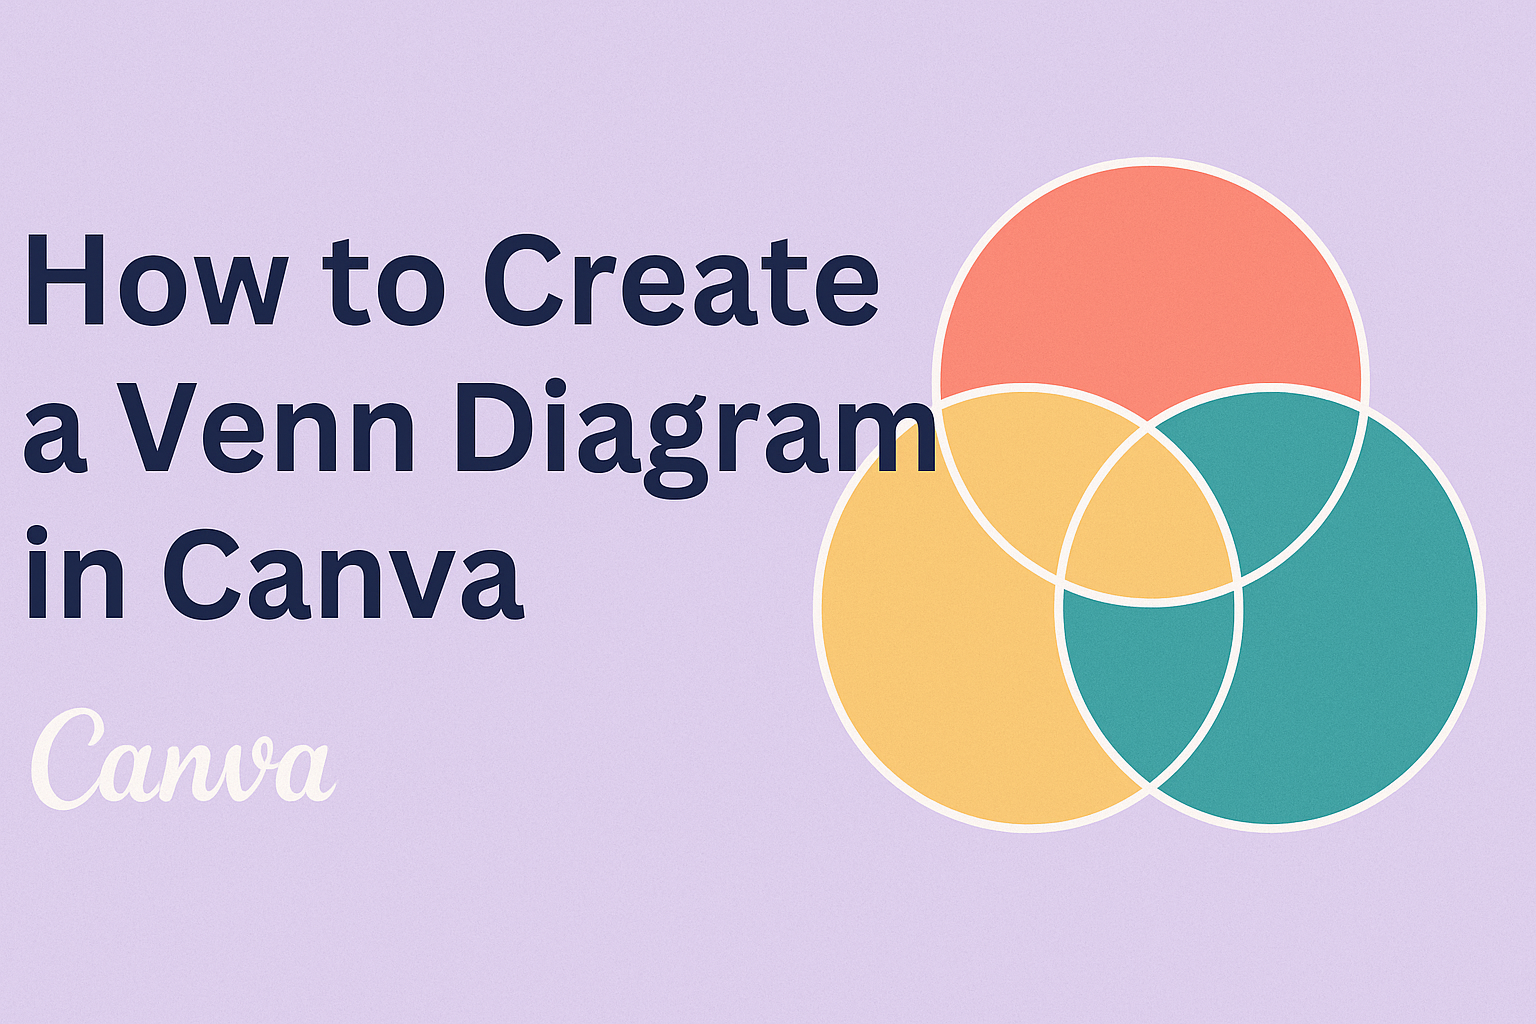
Venn diagrams are a simple yet powerful way to show relationships between different sets. They use circles to represent these sets, and the overlapping areas highlight common elements.
These diagrams are often used in math, logic, and statistics.
Key Components of a Venn Diagram:
- Circles: Each circle stands for a set.
- Overlap: Shows shared items between sets.
- Non-overlapping Areas: Represent elements unique to each set.
Creating Venn diagrams can help visually clarify how groups are related or different. They can be helpful in various fields such as problem-solving, decision-making, and comparing data.
Diagrams can be made with two circles for simple comparisons. For more complex ideas, use three or more circles. This approach provides a clearer picture of how multiple groups relate to one another.
Venn diagrams are beneficial tools for students and professionals alike.
They can make complex concepts more understandable by visually organizing information. By simplifying data, these diagrams aid readers in grasping comparisons at a glance.
Signing Up for Canva
Signing up for Canva is simple and quick. New users can start by visiting Canva’s website. Once there, clicking on the “Sign Up” button will lead them to the registration page.
There are several ways to create an account.
Users can sign up using their email address, or they can link an existing Google or Facebook account. Linking accounts can save time as it uses existing login information.
Steps to Sign Up:
- Go to Canva’s website.
- Click “Sign Up”.
- Choose a registration method: Email, Google, or Facebook.
- Follow the prompts to complete the registration.
After signing up, new users have access to Canva’s features.
It’s easy to explore the platform’s tools for creating designs. Both free and paid options are available, with premium choices offering extra features and templates. Freelancers, students, and professionals can all find a package that fits their needs.
Tip: It’s helpful to explore Canva’s tutorials and resources soon after signing up. They help newcomers learn how to navigate and utilize Canva effectively.
With a completed sign-up, users can start designing right away! Designing Venn diagrams, like many other projects, becomes straightforward with Canva’s tools at their fingertips.
Getting Started with Canva
Creating a Venn diagram in Canva begins with familiarizing yourself with its user interface and selecting a suitable template. This section will guide you through these key steps to ensure a smooth start.
Navigating the User Interface
Canva’s user interface is designed to be intuitive and user-friendly. Once logged in, users will see the dashboard, which offers options for designing various graphics.
The toolbar on the left side provides access to elements like text, images, and shapes, essential for creating diagrams.
To begin, users can select the “Create a Design” button, often found at the top right. This button offers a plethora of design choices.
It’s helpful to explore the elements panel, as it offers a variety of icons and shapes that can be used in a Venn diagram.
The canvas itself is where all the designing magic happens. Users can drag elements from the left panel onto the canvas to start their creation.
This area allows for resizing, moving, and layering elements to suit individual design needs.
Selecting the Right Template
Choosing the right template is a crucial step when making a Venn diagram.
Canva provides a wide array of templates specifically designed for various kinds of diagrams, including Venn diagrams. Users can access these by selecting “Templates” from the sidebar.
In the search bar, typing “Venn diagram” brings up numerous options.
Templates are a great starting point, as they offer pre-designed layouts that can save time. From here, selecting one that closely matches the project’s needs makes the process efficient.
After choosing a template, users can customize it by changing colors, adjusting sizes, and inserting text.
This ensures the final design aligns with the intended message or presentation purpose. Don’t hesitate to try different templates for inspiration and fresh ideas.
Creating Your Venn Diagram
Designing a Venn diagram in Canva is simple and fun. Users can easily adjust the circles, pick their favorite colors, and add text and icons to personalize their diagrams.
Adding and Editing Circles
To start, search for “Venn Diagram” in the Canva templates. After selecting a template, you’ll see a default arrangement of circles.
Users can resize circles by clicking on them and dragging the corners. Adding more circles is straightforward—just copy an existing circle or use the “Shapes” tool from the side panel.
Adjust the layout by dragging circles to overlap them as desired.
Aligning circles evenly can make a diagram look neat. Canva’s snap-to-guide feature helps circles line up smoothly, giving the diagram a clean appearance. This feature ensures circles align properly for a polished look.
Customizing Colors and Styles
Customizing colors makes a Venn diagram visually appealing. Click on a circle to change its color using the color picker in the toolbar.
Canva also offers preset color palettes that make it easy to apply a consistent theme.
Choosing contrasting colors will help distinguish each section clearly. Users can also apply transparency levels to circles by adjusting the “Opacity” setting.
This effect allows overlaps to show through vividly, illustrating shared areas effectively.
For a unique look, users can add borders or shadows. To do this, use the “Effects” button to find different style options. This feature helps personalize the diagram’s appearance without a lot of effort.
Inserting Text and Icons
Adding text is a breeze. Click the “Text” tool to insert headings or explanations in each circle.
Users can choose from a variety of fonts and sizes to match their style. Canva allows text positioning anywhere within or near the circles.
Icons enhance the diagram’s message. Access the “Elements” tab to find suitable icons or images.
Drag and drop them into your chosen position and resize as needed. Icons can emphasize key points or represent ideas visually, making the diagram more engaging.
Finally, always review the arrangement to ensure clarity. This involves rearranging elements or adjusting text size to avoid overlaps, making the diagram easy to read and understand.
Adjusting Your Design
Adjusting your design in Canva involves aligning elements correctly and using layers to organize different parts of the Venn diagram. Both practices ensure that your diagram is neat and visually appealing, making it easy to understand.
Aligning Elements
Aligning elements in a Venn diagram is crucial to achieve a balanced look. Canva offers alignment tools that help users position elements precisely.
By selecting an element, users will notice options like “Align” in the top panel. These tools allow aligning elements vertically or horizontally, ensuring circles overlap neatly for accurate intersections.
For more precise control, Canva provides guidelines and snapping features. These visual aids help in evenly positioning elements, making the adjustments seamless.
Users can move elements with the arrow keys for finer adjustments, ensuring every part of the Venn diagram is perfectly aligned.
Using Layers Effectively
Using layers effectively helps in managing the complexity of a Venn diagram.
In Canva, each shape or text box is placed on a separate layer. Users can select the “Position” button to move elements forward or backward, arranging them in the desired order.
Managing layers is essential when adding text or additional shapes. For instance, if circles overlap, it might be necessary to bring text to the front for visibility.
This ensures that every part of the diagram is clear and easy to read.
An effective way to handle layers is by naming them. Although Canva might not support explicit naming, being aware of the arrangement helps in accessing the right element quickly.
This organized approach enhances the workflow and aids in creating an effective diagram.
Finalizing Your Venn Diagram
Once the Venn diagram is created, it’s essential to review and save it properly. Ensuring the work is polished and securely stored enhances the professional quality and usability of the diagram.
Previewing Your Work
Before saving, it’s important to take a moment to review the Venn diagram.
Check each circle’s content to ensure the information is accurate. Make sure all text is readable and visually appealing.
A spell check can prevent typos. Ensuring that the color scheme is consistent with the intended purpose or branding is also helpful. Adjust any overlaps if they obscure important information.
Utilizing Canva’s grid view helps align elements neatly. This feature can be essential in ensuring a clean, professional appearance.
Saving and Downloading
After previewing, it’s time to save the Venn diagram.
With Canva, users can easily save projects both online and offline. For online saving, ensure you have a Canva account. Your work will be automatically saved as you create it.
When downloading, choose the appropriate file format, such as PNG, JPEG, or PDF, depending on its intended use.
Professional printing might require a PDF for the best resolution.
Canva also allows users to share directly via email or social media. This feature is convenient for collaborations or presenting the diagram to a larger audience. Make sure the settings match the privacy or sharing preferences required.
Practical Uses of Venn Diagrams
Venn diagrams are versatile tools that can help with understanding complex relationships. They are particularly useful in education and business settings, where they break down complicated concepts into visual formats.
Educational Purposes
In classrooms, Venn diagrams are often used to teach students about comparisons and contrasts. They help students visualize the similarities and differences between things, such as comparing characters in a story or understanding scientific concepts like animal classifications.
By using diagrams, students can develop critical thinking skills.
Venn diagrams also play a part in subjects like mathematics. In math, these diagrams can show the relationships between different sets or groups, making abstract concepts more concrete. They help in solving problems related to set theory and probability, providing a clear illustration of how sets overlap and interact.
Furthermore, teachers find Venn diagrams effective for group activities. Students can work together to fill out the diagrams, encouraging teamwork and discussion. This interactive method allows students to engage more deeply with the material.
Business and Marketing
In the business world, Venn diagrams are valuable for decision-making. They can be used to visualize how different departments interact, or how products and services overlap within a market.
This helps companies identify opportunities for growth or areas needing improvement.
Marketers use Venn diagrams to better understand target audiences. By comparing customer needs, desires, and demographics, businesses can tailor their marketing strategies. This approach allows marketers to pinpoint commonalities between different customer segments.
Venn diagrams are practical tools in strategic planning as well. Managers can map out potential collaborations or partnerships, showing how combining resources might benefit all parties involved. Whether for analysis or collaboration, these diagrams make complex business strategies more accessible.
Sharing Your Work
Creating a Venn diagram in Canva is just the beginning.
Sharing your work can be both simple and exciting.
Canva makes it easy to download your Venn diagram in various formats.
Users can choose from options like JPEG, PNG, or PDF.
This flexibility allows them to select the right format for their needs.
Collaboration Tools
If they want feedback, Canva offers collaboration features.
They can invite others to view or edit their diagram. This is done by sharing a link directly through the platform.
Social Media Sharing
With a few clicks, sharing a Venn diagram on social media is straightforward.
Canva integrates with platforms like Facebook, Twitter, and Instagram, allowing for direct posting.
Printing
For those who prefer a physical copy, Canva provides the option to print.
Users can send their designs to a connected printer or order prints directly from Canva.
Email and Messaging
Sending a Venn diagram via email or messaging apps is also possible.
Users can attach the file or share a link, ensuring easy access for recipients.
Tips for Effective Diagrams
When creating Venn diagrams in Canva, clarity is key.
Users should ensure that each circle is clearly labeled to prevent any confusion. Labels can be added using the text tool, allowing for customization in size and font.
Keeping labels short and direct ensures easy comprehension.
Use Contrasting Colors:
Different colors help distinguish between the circles and intersections. This makes information stand out.
Canva offers a wide range of color options, so choose those that contrast well to avoid blending.
Limit the Number of Items:
Too many items can clutter the diagram and make it hard to read.
Stick to a few key points to maintain focus on the most important information. This helps viewers grasp the content quickly.
Spacing and Alignment:
Proper spacing between elements keeps your diagram neat.
Users can adjust the alignment tools in Canva to center and space out circles evenly. A clean layout enhances readability and appeal.
Utilize Canva Templates:
Canva provides pre-designed templates for Venn diagrams, which can save time and offer design inspiration.
These templates come with customizable elements that fit a variety of needs.
Maintain Consistency:
Keep a consistent design by using the same font, color scheme, and style throughout the diagram. This uniformity helps create a professional and polished appearance.