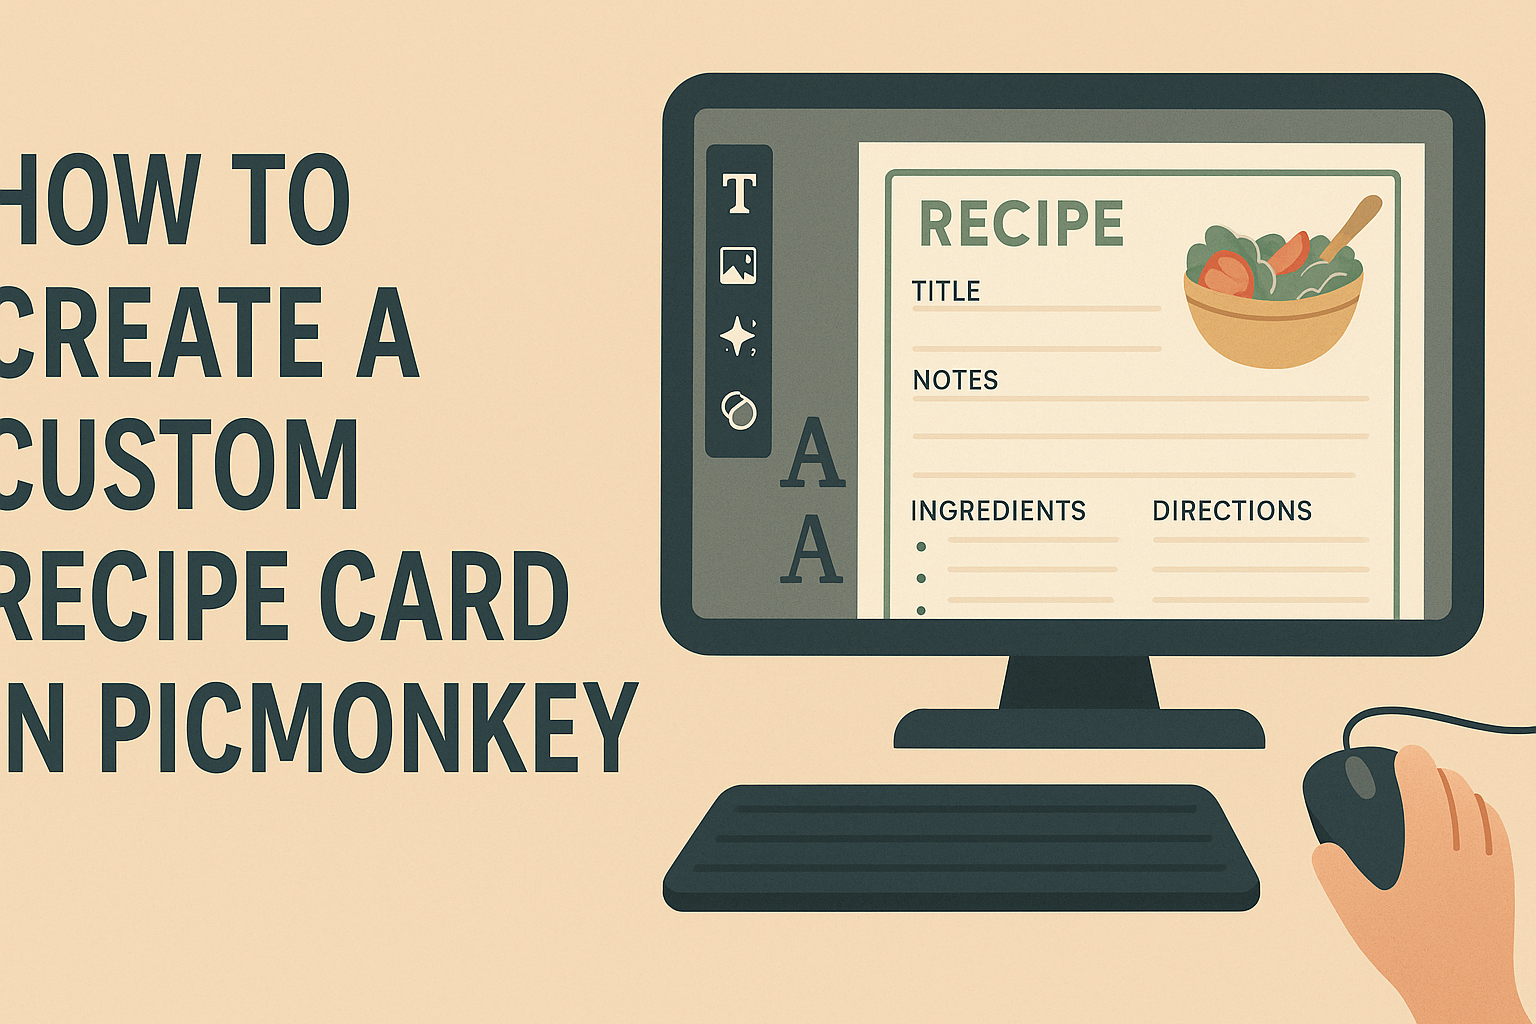
Creating a custom recipe card in PicMonkey is a fun way to share favorite dishes with friends and family. By using PicMonkey’s user-friendly tools and templates, anyone can design beautiful recipe cards that are both functional and eye-catching.
Making personalized recipe cards adds a special touch to gift-giving and keeps cherished family recipes preserved in style.
PicMonkey offers various templates, graphics, and fonts, making it easy to tailor each card to reflect individual tastes and preferences.
With a few simple steps, anyone can produce a unique card that showcases their cooking creativity. It’s a perfect way to express the joy of cooking and share it with the world.
Setting Up Your Account
Creating a PicMonkey account is the first step for anyone wanting to design custom recipe cards. With a few simple steps, users can access a variety of tools and templates. Here’s how to get started.
Sign-Up Process
To create an account, visit the PicMonkey website. There, users will find a “Sign Up” option prominently displayed.
Clicking this opens a form that requires basic information such as name, email address, and password.
After filling out the form, it’s essential to check the box for the terms of service. Then, users can hit the “Create Account” button.
Some users may also have the option to sign up using their Google or Facebook accounts for a quicker process.
Once registered, a confirmation email is sent. Users should check their inbox and click the link to verify their account. This step is important to gain full access to all features.
Exploring the Dashboard
After signing in, users are greeted with the PicMonkey dashboard. This is the central hub for all design projects.
Here, users can start a new project, access templates, or check out existing designs.
On the left side, various tools and options are neatly organized. Users can find tools for editing images, adding text, and applying effects. The dashboard also features templates specifically for recipe cards.
Exploring the dashboard is vital for new users. Taking time to familiarize oneself with the layout makes the design process smoother.
Users can access support and tutorials from the dashboard, which can be helpful as they begin to create their custom recipe cards.
Designing the Recipe Card
Creating a beautiful recipe card involves several steps that include choosing a template, customizing its layout, adding text, and inserting images. Each step is important to ensure the final card looks appealing and conveys the recipe clearly.
Choosing a Template
To start designing a recipe card, selecting a template is essential. PicMonkey offers a variety of pre-designed templates that cater to different styles.
She can browse through these options to find one that matches her aesthetic—be it modern, vintage, or playful.
Using a template saves time and provides a professional look. It is advisable to consider the type of dish being presented, as it can influence the color scheme and style of the template.
Once a template is chosen, she is one step closer to creating a delightful card.
Customizing the Layout
After picking a template, customizing the layout is the next step. PicMonkey allows users to resize or rearrange elements within the chosen template easily.
This way, it fits personal preferences and highlights important parts of the recipe.
She can move sections for ingredients or cooking instructions according to her needs. Additionally, adjusting margins and spacing can enhance readability. A well-organized layout ensures that others can follow the recipe without confusion.
Adding Text and Fonts
Text is a crucial element in any recipe card. When adding text, it helps to choose fonts that are easy to read and match the card’s theme.
PicMonkey provides a range of font styles where she can explore fun or elegant fonts based on the vibe she wants to achieve.
To create a hierarchy, she can use different font sizes for titles, ingredients, and instructions. Making titles bold or using colors can grab attention. Clear text will make her recipe more accessible to readers.
Inserting Images and Graphics
Images or graphics can elevate a recipe card. She can insert pictures of the finished dish or relevant graphics that complement the recipe.
PicMonkey allows easy drag-and-drop functionality to place images exactly where she wants them.
It is important to ensure that the images are of high quality and sized appropriately. Using graphics like borders or decorative elements can also enhance the overall design. A visually appealing card will make sharing recipes even more enjoyable.
Fine-Tuning Your Design
To create a stunning recipe card, it’s essential to focus on the finer details. Adjusting colors, backgrounds, and applying effects can elevate the appearance of the card, making it more visually appealing.
Adjusting Colors and Background
When designing a recipe card, colors play a significant role. They can convey a mood or theme that matches the type of recipe.
To begin, she should select a color palette that complements the dish featured on the card.
PicMonkey allows users to easily adjust colors. She can click on the color settings within the editing tool. This feature enables her to modify text, shapes, and backgrounds.
Tips for Color Selection:
- Use contrasting colors for text and background for better readability.
- Limit the palette to three or four primary colors to maintain harmony.
- Consider seasonal colors that resonate with the recipe’s ingredients.
Lastly, she should explore different background options. Adding textures or patterns can provide depth without overwhelming the design.
Applying Effects and Filters
Effects and filters can add a unique touch to a recipe card. They enhance images and create visual interest.
She can choose from various options in PicMonkey, such as softening images or adding a vignette.
To apply an effect, she selects the photo and navigates to the effects menu. From there, she can preview how each effect transforms the image.
Popular Effects to Consider:
- Drop Shadows: Helps text stand out.
- Blur Effects: Can soften the background, emphasizing the dish.
- Light Leaks: Adds a warm, vintage feel.
By experimenting with these options, they can find the perfect balance that enhances the card’s overall look without overdoing it.
Saving and Sharing
After creating a custom recipe card in PicMonkey, it’s easy to save and share the design. Knowing the options available can help anyone find the best way to showcase their culinary creations to friends and family.
Exporting Options
When it comes to exporting a recipe card, PicMonkey provides several choices. Users can save their designs as PNG, JPG, or PDF files.
- PNG: This format is great for high-quality images and transparency.
- JPG: Ideal for smaller file sizes, perfect for online sharing.
- PDF: Best for printing, ensuring that the layout remains consistent.
To save, simply click on the “Export” button in the top right corner. After selecting the desired format, users can adjust the quality settings before finalizing the save. This allows for flexibility in how they want to use the card.
Sharing on Social Media
Sharing a recipe card on social media is a fun way to engage with friends.
PicMonkey offers easy integration with platforms like Facebook, Instagram, and Pinterest.
To share, users can click on the “Share” button, which gives options to upload directly to their chosen platform.
- Facebook: Share directly on timelines or in groups.
- Instagram: Users can save the card to their device and then upload.
- Pinterest: Perfect for pinning to boards for recipe inspiration.
This quick sharing option makes it simple to get feedback and inspire others with delicious recipes.