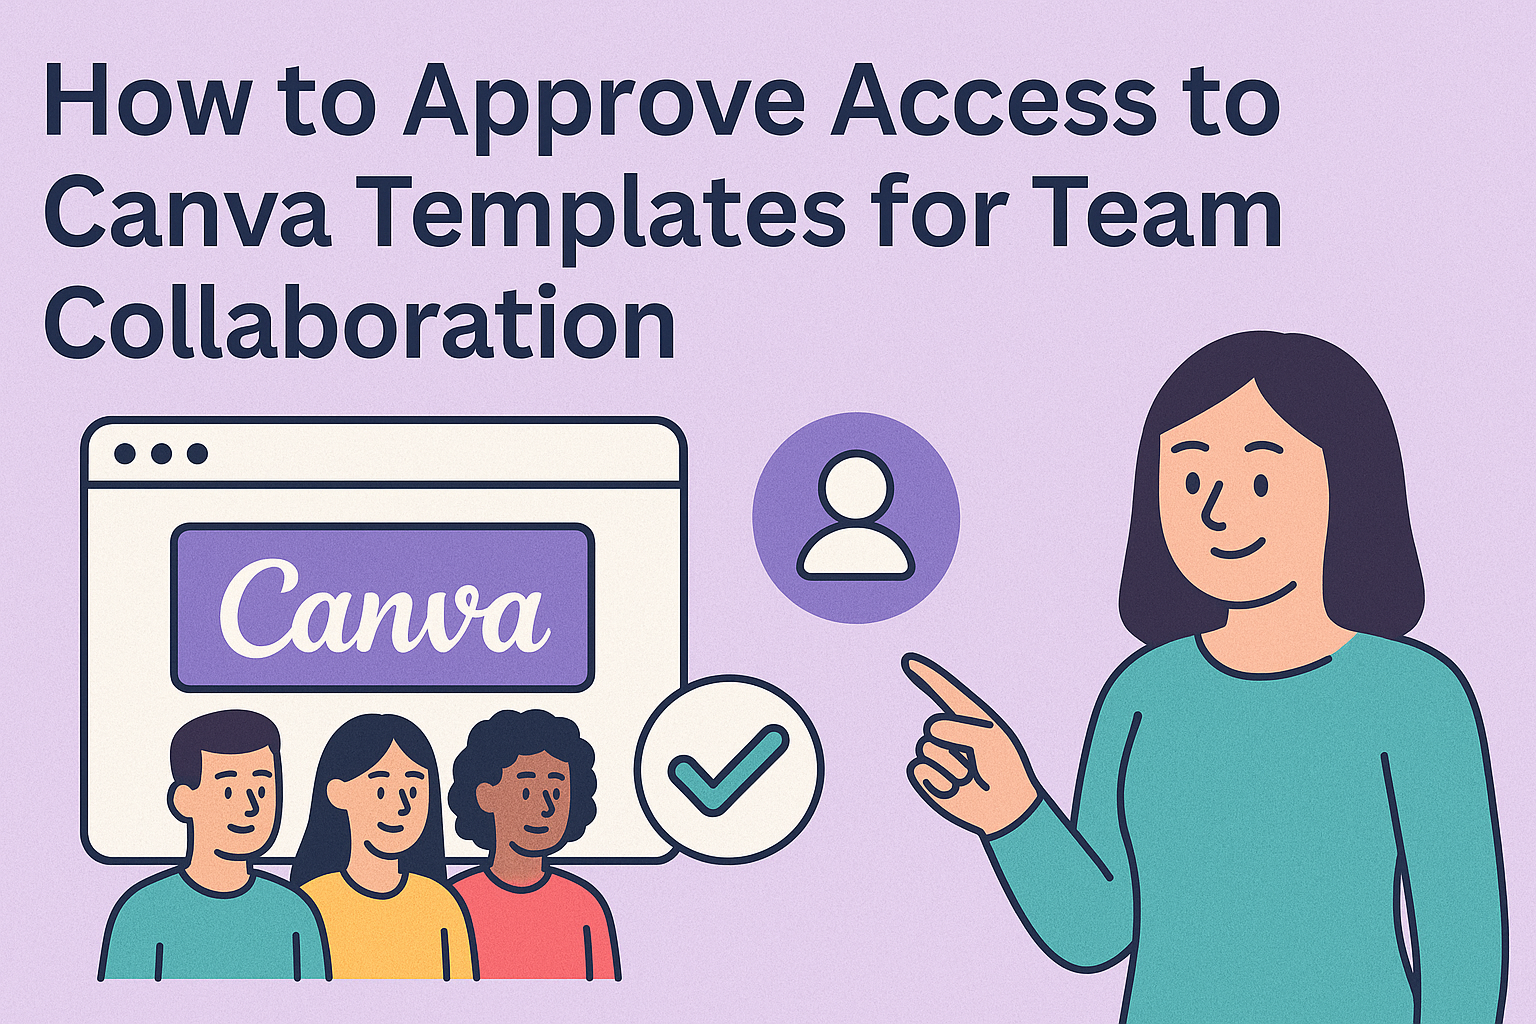
Canva templates are a fantastic way to enhance design projects, but accessing them can sometimes be tricky.
To approve access to Canva templates, the template owner needs to follow a few simple steps within the editor. This process ensures that team members or collaborators can utilize the templates effectively.
Once a user has requested access, the owner can easily manage these requests. This not only streamlines collaboration but also maintains control over who can edit or view the designs.
By understanding this approval process, users can make their Canva experience much smoother.
With the right knowledge, accessing and approving templates becomes a hassle-free task. Learning the steps to approve access not only empowers users but enhances teamwork and creativity in projects.
Understanding Canva Access
Canva offers a variety of account types and roles that define how users interact with templates and designs. Knowing these specifics helps users navigate permissions and manage collaborations effectively.
Types of Canva Accounts
Canva has several account types, each designed to meet different needs.
-
Free Account: This basic account provides access to many templates and tools. Users can create designs but may have limited access to premium templates and features.
-
Canva Pro: This account unlocks advanced features, including a wider selection of templates and tools. Users also get the ability to create brand kits and collaborate with team members easily.
-
Canva for Enterprise: Designed for larger teams, this account offers full access to all features. It includes advanced administration tools and enhanced security settings for managing multiple users.
Each account type caters to specific user needs, allowing for varied levels of access and functionality.
Roles and Permissions
Understanding roles and permissions is key for effective collaboration in Canva.
-
Owner: The person who creates a design holds ownership rights. They can manage access settings and permissions for others.
-
Editor: Users with this role can modify designs, add new elements, and save changes. They play an essential part in the creation process.
-
Viewer: This role allows users to see designs without making changes. It’s useful for stakeholders who need to review without editing.
It is important for users to understand these roles to maintain control over their projects and ensure smooth collaboration.
Setting Up Your Canva Team
Creating a team in Canva helps streamline collaboration and manage access to templates effectively. It is essential to understand how to set up a team and invite members for a smooth workflow.
Creating a Team
To create a team in Canva, one starts by logging into their Canva account. They should navigate to the “Teams” tab on the sidebar.
Once there, they can click the “Create a Team” button. A pop-up will appear to enter a team name and description. This helps clarify the team’s purpose and focus.
After naming the team, they can choose whether to set it as private or public. A private team requires invitations, while a public one is open for anyone to join. Following this, clicking “Create Team” officially sets it up.
Inviting Members
Inviting members to a Canva team is a straightforward process. Once the team is created, the team admin can click on “Invite Members.”
They can enter email addresses or share a link for easy access. Using email addresses allows for specific invitations, which helps control who joins.
Members receive an email invitation with a link to join. After they accept, they can access shared templates and projects, promoting collaboration.
It’s important to manage permissions carefully to ensure team members can edit, view, or comment as needed.
Sharing Canva Templates
Sharing Canva templates allows collaboration and creativity among team members. This process can be done using specific links and managing shared templates efficiently.
Using Template Links
To share a Canva template, the user can create a template link.
First, they need to open the desired template in Canva. Then, they can click on the “Share” button located in the menu bar.
Next, it is important to select the option to create a shareable link.
Users should choose the access level, either “Can edit” or “Can view.” If the user selects “Can edit,” others will have full access to modify the template. Copy the link and share it via email, chat, or other platforms.
With this method, it is easy to grant access to multiple users quickly.
Managing Shared Templates
Managing shared templates is essential for keeping creative projects organized. To do this, users should start by reviewing who has access to the templates.
In Canva, go to the “Shared with you” section to see all shared designs.
Users can modify permissions by clicking the settings icon next to the template. This allows them to change access from “Can edit” to “Can view” or revoke access completely.
Additionally, regular check-ins on shared templates can help ensure everyone is on the same page. This approach keeps projects streamlined and avoids confusion among team members.