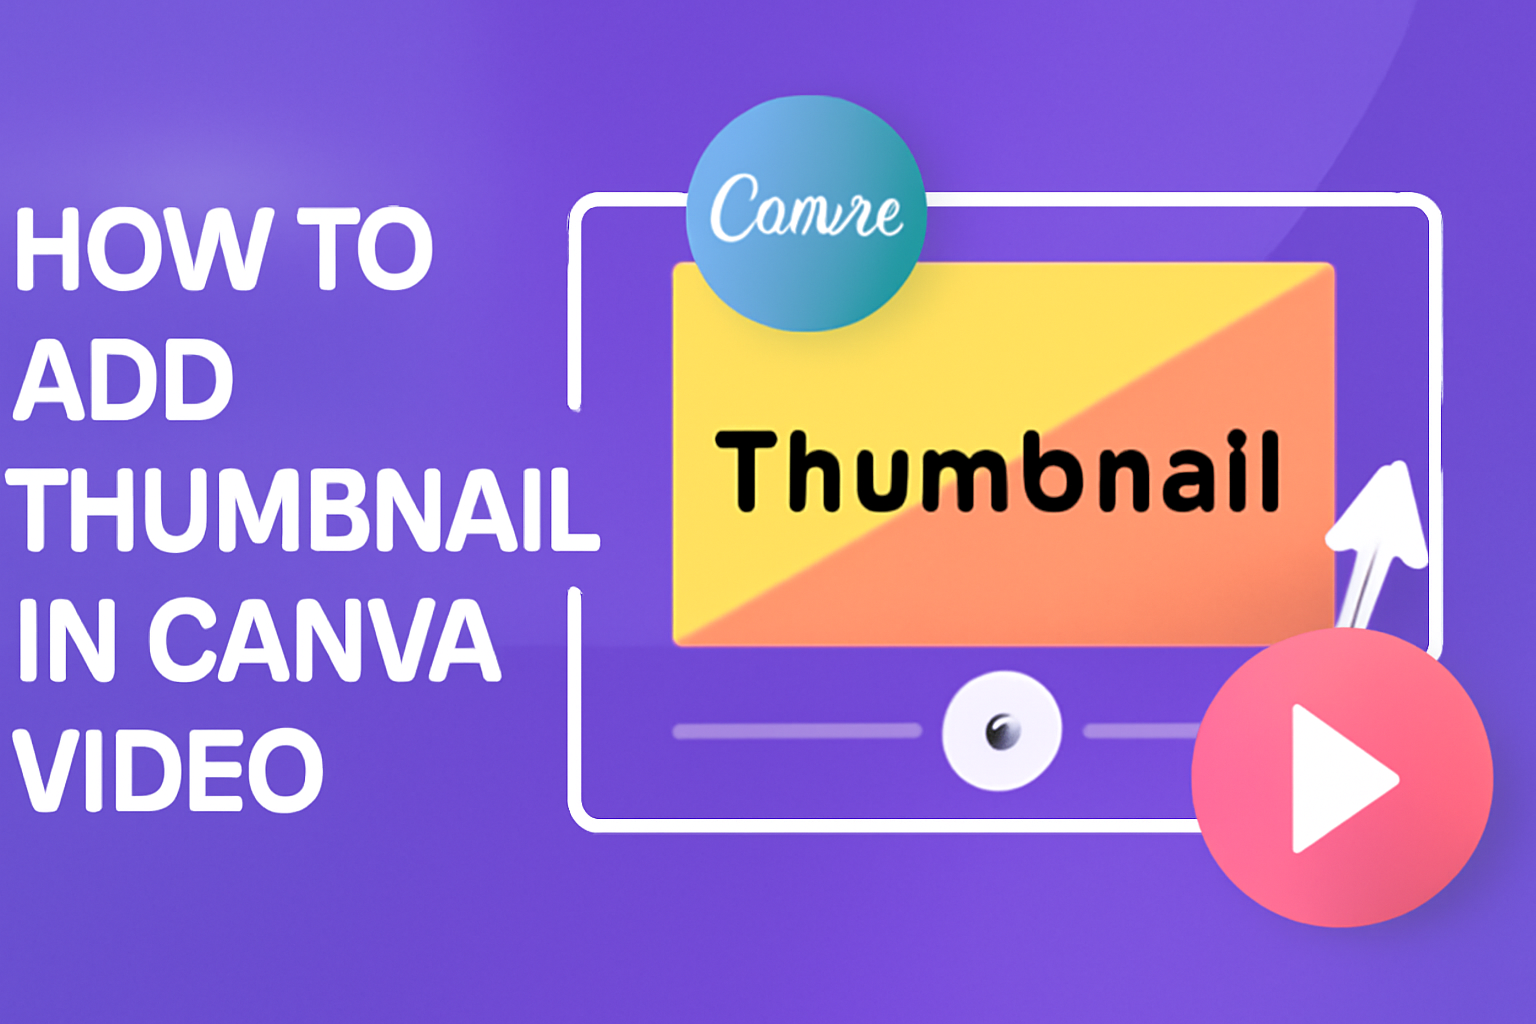
Creating an engaging video is just the first step; capturing the viewer’s attention with a compelling thumbnail is key.
To add a custom thumbnail in Canva, users can start by heading to the “Design” tab and using the “Uploads” icon to import their chosen image. This simple step can significantly enhance a video’s appeal.
Thumbnails are like the cover of a book—they draw viewers in and make them curious about the content.
With Canva’s user-friendly interface, anyone can upload their image, adjust design components, and craft a standout thumbnail effortlessly.
For those aiming to boost their video views, understanding how to design eye-catching thumbnails is crucial.
Whether it’s experimenting with color schemes and font styles or uploading unique artwork, the creative possibilities in Canva are endless.
Getting Started with Canva
Starting with Canva involves creating an account and familiarizing yourself with its intuitive interface.
Both of these steps are essential to unlocking the creative potential of this versatile design tool. Let’s explore how to set up an account and navigate the interface.
Creating a Canva Account
To start using Canva, one first needs to create an account. It’s a straightforward process that can be completed in just a few minutes.
Users can sign up using an email address, Google account, or Facebook profile. Each option is secure and easy to follow.
Once signed up, they can choose either a free or paid plan. The free plan offers a wide range of basic features perfect for beginners. Meanwhile, the Canva Pro plan unlocks advanced tools and resources, which are much appreciated by professionals and frequent users.
After registration, users receive a welcome email with guides and tips. These resources are helpful for new users to get a better grasp of the platform’s features and potential.
Overview of the Canva Interface
Canva’s interface is user-friendly and visually appealing. It opens with a dashboard that displays design templates, recent projects, and design inspirations at a glance.
The main toolbar is located on the left side of the screen, providing access to different design elements.
Users will find categories like “Templates,” “Elements,” “Uploads,” and more. Each category allows for easy browsing and selection, helping to personalize designs with images, graphics, and text.
A work area in the center of the screen is where they create and edit designs. Above it, the top menu bar provides additional tools like resizing, duplicate, undo, and more.
This layout makes it simple to focus on what matters—design creation—without overwhelming users.
Understanding Video Thumbnails
Video thumbnails play a crucial role in drawing attention. They act as a snapshot of the video content, helping viewers decide whether to click and watch. A well-crafted thumbnail can significantly increase viewer engagement and boost video performance.
Importance of Video Thumbnails
Thumbnails are often the first impression a video makes. They are important for catching the eye amidst a sea of online content.
A good thumbnail can increase click-through rates, helping videos stand out on platforms like YouTube.
Creators use thumbnails to represent their video’s content visually and to entice potential viewers. Whether through bright colors, clear text, or expressive images, thumbnails can convey the video’s essence effectively. This initial glance helps viewers quickly determine if the video matches their interests.
Best Practices for Thumbnail Design
Designing an effective thumbnail requires attention to detail. High-quality images ensure clarity even when reduced to a small size. Bold text can emphasize key video topics or themes.
Colors that contrast well can make your thumbnail pop on a viewer’s feed. Additionally, using faces with clear expressions can increase emotional engagement. Consistency in style can also benefit creators, making their videos easily recognizable.
For those using Canva, exploring templates or the Free YouTube Thumbnail Maker can streamline design. This tool allows users to customize with ease, ensuring their thumbnails are both appealing and professional.
Navigating to the Canva Thumbnail Maker
Accessing Canva’s Thumbnail Maker involves simple steps to start designing your video thumbnails efficiently. The process includes selecting your video project and locating the thumbnail editing features.
Selecting the Video Project
Users begin by logging into their Canva account. Once logged in, they should navigate to the dashboard where current projects or templates are displayed.
They can either choose an existing video project or start a new one specifically for creating a thumbnail.
In the search bar, they can type “Video” to filter through options quickly. After locating the desired project, clicking on it will open the workspace, which is user-friendly and filled with various tools for video thumbnail creation. This setup ensures a smooth transition from choosing a project to designing its engaging thumbnail.
Designing Your Thumbnail
In this section, the focus is on creating a standout thumbnail for your video using Canva. Readers will learn how to select the best template, change text and fonts, and incorporate various graphics and icons.
Choosing a Template
Selecting the right template is the first step. Canva offers a variety of templates that cater to different themes and styles.
Users can hover over each design to get a preview of its layout and features. Templates can be categorized by themes, such as travel, food, or education, making it easier to pick one that fits the video’s topic.
Using the template as a base, users can further modify elements like color schemes and borders. This flexibility allows enhancements without building a design from scratch. A well-chosen template sets the tone for the entire thumbnail, providing a solid foundation for further customization.
Customizing Text and Fonts
Text is a key component of any thumbnail, capturing attention and conveying information. In Canva, users can choose from a wide range of fonts, each offering a unique vibe.
It’s crucial to select fonts that match the video’s theme and are easy to read. Pairing different fonts for titles and subtitles can add visual interest.
Customizing text goes beyond fonts. Users can adjust size, color, and alignment to better fit the design. Bolding or italicizing specific words can emphasize important messages. Consistency across all text ensures the thumbnail looks cohesive and professional, making it more likely to catch the viewer’s eye.
Adding Graphics and Icons
Graphics and icons can give a thumbnail extra appeal. Canva’s library offers a wide variety of options, from simple shapes to detailed illustrations.
Users can search for specific icons that match their video’s theme, enriching the design further.
Adding graphics helps balance text and images, playing a crucial role in the overall composition. Adjusting the size and placement ensures they do not overpower other elements. Layering icons, such as social media symbols, can also highlight the video’s call to action. With thoughtful integration, graphics increase both the aesthetic appeal and informational value of a thumbnail.
Editing and Adjusting Your Thumbnail
Editing your thumbnail in Canva can enhance the visual appeal of your video. Key adjustments include resizing elements, changing backgrounds, and applying filters.
Resizing Elements
Resizing elements in Canva is a simple process that allows users to adjust their thumbnail’s layout.
To resize, click on the element such as text or images. Use the corner handles to make the element larger or smaller. This can help in fitting elements proportionally to the design.
While resizing, it’s important to maintain aspect ratios to prevent distortion. Keeping a balanced look makes the thumbnail more visually appealing. Using alignment tools can further help in placing elements accurately on the canvas.
Changing Backgrounds
Changing the background sets the tone for the thumbnail. Users can swap backgrounds by selecting the image or color, then clicking on the “Background” button. Canva offers various colors and patterns that fit different themes.
For a custom look, users can upload their own images. Make sure to choose backgrounds that contrast well with text and other elements, ensuring readability. Experimenting with transparency can also add depth to the design.
Applying Filters and Effects
Filters and effects enhance the visual impact of a thumbnail. In Canva, users can select an element and choose from a variety of filters.
These filters adjust brightness, contrast, and saturation, which can alter the mood of the image.
Additional effects, like shadows or blurs, can add dimension. Using effects sparingly is key to avoid overwhelming the viewer. This approach enhances the overall appeal while maintaining focus on the main subjects of the thumbnail.
Finalizing and Uploading Your Thumbnail
Once the design of a thumbnail is complete in Canva, it’s important to ensure that it looks just right and is prepared for upload. This involves previewing the thumbnail, saving it properly, and then uploading it to a video platform. These steps will help make sure the thumbnail attracts viewers and represents the video effectively.
Previewing the Thumbnail
Before saving, it’s a good idea to preview the thumbnail to check how it appears. Canva allows users to view their designs in full-screen mode. This feature lets designers see how their thumbnail will look as if it’s already on platforms like YouTube or Vimeo.
A close look at the text is important here. Make sure the font is readable and stands out against the background. If it’s difficult to read, users can adjust the size, color, or font style. Contrast matters, so colors should pop!
Also, check the overall composition. Make sure that important elements do not get cut off on smaller screens. Testing your thumbnail on multiple devices can also reveal how it will appear to different users.
Saving the Design
After ensuring that the thumbnail looks great, it’s time to save it. Canva offers several formats, but PNG is often recommended for high-quality images.
To save in PNG, click the ‘Download’ button and choose the PNG option from the dropdown menu.
Naming the file clearly is also helpful. Use a descriptive name to find it easily later. Avoid generic names like “Untitled” as this can cause confusion or mix-ups when managing several files.
One useful tip is to save a backup. Always keep a copy of the design in Canva or download a backup to prevent losing any work. Canva’s cloud saves can help, but offline backups provide extra security.
Uploading to a Video Platform
Once the file is saved, it’s time to upload it. If you’re using a platform like YouTube, go to the video settings where it usually allows users to add a custom thumbnail during the upload process.
Make sure the thumbnail size and format meet platform requirements. YouTube, for instance, suggests a resolution of 1280×720 pixels. Incorrect sizing can impact visibility and click-through rates.
Check one last time before confirming the upload. Platforms sometimes show previews or options to adjust alignment, allowing last-minute tweaks to fit the video format perfectly. With these steps done, the video is ready to be presented with an appealing thumbnail that attracts viewers.
Tips for Effective Thumbnails
An effective thumbnail can significantly impact a video’s reach and engagement. Here are some tips to make a thumbnail eye-catching and informative:
Use High-Quality Images:
Clear and sharp images draw attention. Blurry images can turn viewers away. Canva offers a library of sharp images or users can upload their own.
Bold, Easy-to-Read Text:
Text should be bold and large enough to be read easily, even on small screens. Use clear fonts and contrast them against the background.
Consistent Branding:
Maintain a consistent style for branding. Use the same colors, fonts, and logos. This helps viewers recognize content from the same creator.
Expressive Colors:
Bright and expressive colors catch the eye. Picking a unique color scheme can make thumbnails stand out in a sea of others.
Use Canva Features:
Canva provides many features like adding shapes and elements to enhance the look. Users can experiment with these to see what works best.
Simple and Clear Design:
Avoid clutter. A simple design ensures that viewers can quickly understand what the video is about. Focus on the main message.
Regularly reviewing analytics can help creators see what thumbnails are working. Effective thumbnails can lead to more clicks and engagement.
Maintaining Brand Consistency in Thumbnails
Ensuring brand consistency in thumbnails is key to building a recognizable online presence.
It helps viewers identify content quickly.
Use Consistent Colors:
Choosing a specific color palette for your thumbnails can create a cohesive look across all videos. This helps your content stand out.
Fonts and Text Style:
Selecting a uniform font and text style across thumbnails makes them easily identifiable.
Use bold or italic styles to highlight important words.
Elements to Consider:
- Logo Placement:
Always include your logo in a specific corner of the thumbnail.
- Uniform Layout:
Keep the layout consistent. This could mean similar placement of text or images.
- Image Style:
Ensure that any images used follow the same style or theme.
Tips for Creating Thumbnails:
- Use bright colors for elements you want to highlight.
- Ensure all text is readable, even at a small size.
- Place key elements away from YouTube’s timestamp or other overlays for better visibility.
Using Canva to implement these strategies can be quite effective.
The platform offers tools to maintain this consistency easily by saving templates.