Designing a resume isn’t just about listing work experience and skills; it’s also about making a strong visual impact. Adobe Illustrator offers a unique way to create standout resumes that don’t just look professional but also grab attention. By using Illustrator, users can customize their resumes with creative layouts and graphics, setting themselves apart from the standard templates.
Using Adobe Illustrator to design a resume lets individuals tailor every aspect of their resume to their personal style and industry needs. With Illustrator’s tools, users can modify text, adjust font styles, and incorporate striking colors. This flexibility allows for a resume that not only reflects their skills but also demonstrates their design proficiency.
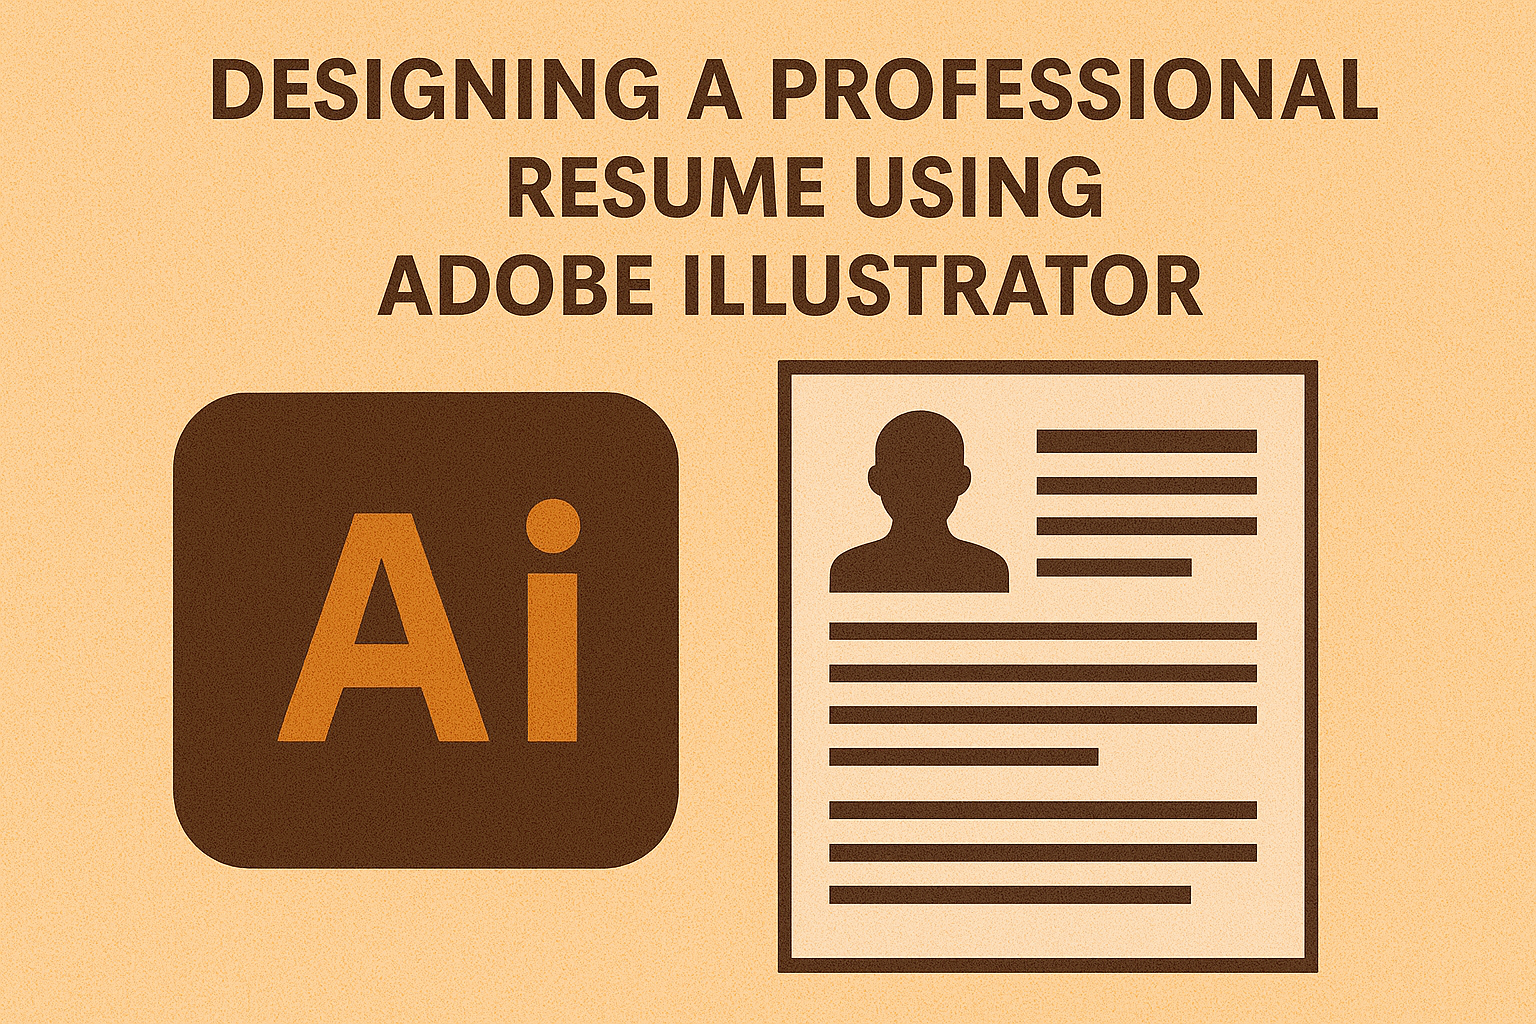
Creating a resume in Illustrator might seem challenging at first, but with guidance, anyone can learn the basics. Resources like step-by-step tutorials provide helpful insights, making the process smoother. For those looking to take their resumes to the next level, using Illustrator can be a game-changer.
Understanding Adobe Illustrator for Resume Design
Adobe Illustrator is a powerful tool for designing professional resumes. It offers a variety of features that let users create visually appealing layouts, use vector graphics for clarity, and customize each element to fit their needs.
The Interface and Tools Overview
Adobe Illustrator has an interface that can seem overwhelming at first, but it’s full of helpful features. On the left, the Toolbar provides quick access to essential tools like the Selection Tool, Pen Tool, and Text Tool. The right side features the Panels, including Layers, Stroke, and Color, which help in adjusting design elements.
At the top, the Control Panel offers quick settings for the currently selected tool or object. Understanding how to navigate these components can streamline the resume design process. Users should also explore the Properties Panel, which adapts its options based on the selected item, adding efficiency to design tasks.
Setting Up Your Document
Before starting a resume design, setting up the document correctly is crucial. Users should create a new file with appropriate dimensions, commonly using A4 or US Letter size. Selecting suitable dimensions ensures the resume prints correctly and looks professional.
In the File menu, choose New, then set the width and height. Using the Artboards panel, multiple pages can be created to expand the resume if necessary. It’s also important to set a proper bleed if the design will extend to the edges. These initial settings provide a strong foundation for resume creation.
Vector Graphics Basics
Vector graphics offer flexibility due to their scalability without losing quality. This makes them ideal for creating sharp and clean resume elements like icons or logos. Unlike raster images that can blur when resized, vector graphics retain their clarity.
Users can employ the Pen Tool to create customized shapes or lines. The Shape Tool is handy for adding basic forms like rectangles and circles. These can be used to highlight sections or add visual interest to the resume layout. Mastery of these tools allows users to design unique and professional resumes with ease.
Planning Your Resume Layout
Designing a standout resume requires careful planning. Focusing on personal branding, strategic organization, and optimizing space will help create a visually appealing and effective document. Each of these aspects plays a crucial role in capturing a potential employer’s attention.
Defining Your Personal Brand
Personal branding is how a candidate presents their professional identity. It’s essential to be clear about what makes them unique. The resume should reflect their personality, skills, and values.
Use colors, fonts, and graphics that align with the industry. For a creative role, bold colors and artistic layouts might be suitable. In contrast, a more conservative field like finance may require a simpler design.
Including a personal logo or a consistent color scheme helps reinforce the brand. Consistency throughout the resume creates a coherent image.
Organizing Content Strategically
Strategic organization of content ensures that employers notice the most important information first. Begin with contact details followed by a strong summary statement that highlights achievements and skills.
Use bullet points and headings to break down sections like experience, education, and skills. This makes the information easy to scan. All relevant details should be placed prominently.
Chronological order is often effective, starting with the most recent experiences. Highlighting key achievements with quantifiable results can further draw attention. Group similar skills and experiences together to improve clarity.
Optimizing Space and Readability
Effective use of space is crucial to keep the resume readable. Use white space strategically to prevent the document from feeling cluttered. Specific margins and spacing help maintain balance.
Choose fonts that are easy to read, such as Arial or Times New Roman. Vary font sizes for titles and body text to create hierarchy. Avoid overwhelming the reader with too much text.
Incorporate elements like icons and sections to visually separate information. Keeping the document to one page is often advisable, but make sure to include all necessary information clearly and concisely.
Typography in Resumes
When designing a resume, typography is key to making sure the content is clear and engaging. The right typography can enhance readability and highlight important information, making a great first impression.
Choosing the Right Typeface
Picking the right typeface can set the tone for your resume. Arial is popular for its clean lines and readability, perfect for a professional look. Times New Roman is another classic choice for those seeking a more traditional feel. For a bit of uniqueness, Garamond offers elegance without sacrificing clarity.
Every typeface has its own character. A sans-serif font, like Arial, is simple and modern, making it suitable for most industries. On the other hand, serif fonts like Times New Roman can convey professionalism and trust, often preferred for corporate environments. Font size matters too; staying between 10 and 12 points ensures readability.
Hierarchy and Consistency
Creating a clear hierarchy in your resume lets potential employers easily find key information. Use different font sizes or weights to distinguish headings from body text. Bold fonts can help highlight section titles, while italics can subtly emphasize certain points or details without overwhelming the reader.
Consistency is crucial in maintaining a cohesive design. Using the same font family throughout the resume ensures uniformity. Keep styles and spacings uniform so the reader is not distracted by sudden changes in appearance. For instance, if section headers are bold and 14 points, keep it consistent throughout to create a seamless reading experience.
Type Tools and Techniques
Adobe Illustrator offers various tools that enhance typography. The text alignment tool helps in creating a neat layout, making sure that text lines up correctly, which is important for formal documents like resumes. Use the spacing tool to adjust the space between lines and letters, ensuring that text is neither too cramped nor too sparse.
Utilizing grids can help structure the resume with precision. Guides in Illustrator can help align text boxes and elements, creating a balanced and orderly layout. The character palette in Illustrator also offers advanced options to refine the look of your text, providing control over aspects like kerning and leading for better readability and visual appeal.
Color Theory and Branding
A well-designed resume can leave a lasting impression. Using the right colors, aligned with branding, enhances this effect. Understanding color schemes, integrating brand colors, and balancing color use are crucial for a successful design.
Color Schemes and Moods
Every color has the power to influence emotions and perceptions. Blue can evoke feelings of trust and calmness, while red often signifies passion or urgency. Green is associated with growth and harmony.
Using complementary colors can make your resume stand out without overwhelming the viewer. For example, combining blue and orange can create a striking effect. On the other hand, analogous colors, like blue and green, offer a more subtle and harmonious look. Understanding these basic combinations helps designers craft resumes that align with the intended mood or message.
Incorporating Brand Colors
Integrating brand colors into a resume ensures consistency with personal or company identity. For someone who has been part of a specific brand, using its colors can strengthen the connection between the candidate and potential employers.
Selecting one or two dominant brand colors for headers or section titles can create a cohesive look. It is essential to maintain a balance so that the resume doesn’t appear too flashy. Adobe Illustrator offers tools to match brand colors accurately, ensuring that the resume remains professional while reflecting individual or organizational branding effectively.
Balancing Color Use
When creating a resume, it’s essential to balance color usage to prevent distraction. Overusing colors can make the document look unprofessional. A good rule of thumb is to use a maximum of three colors: one for the background, a second for text, and a third for highlights or key elements.
Designers should also ensure there is enough contrast between the text and background to maintain readability. Adobe Illustrator provides easy adjustments to fine-tune this balance. Effective color balance keeps the focus on the content while still making the resume visually appealing.
Working with Shapes and Icons
Incorporating shapes and icons into a resume design can make it stand out visually. Custom shapes add unique flair, while icons can guide the reader’s eye to important details.
Creating Custom Shapes
Adobe Illustrator offers tools for creating custom shapes that can be integrated into a resume design. Users can begin with basic shapes like rectangles, circles, or lines, and then modify them using the Direct Selection Tool. This tool allows for manipulating anchor points and paths to mold shapes into the desired form.
Another option is using the Pen Tool. Mastering this tool provides flexibility in creating smooth curves and angles. It’s crucial to keep shapes simple to maintain readability, ensuring that information remains the focus.
Layering shapes can add depth. For a polished look, use transparency settings to blend shapes subtly into the background. Contrast colors of shapes against the text to maintain clarity and attractiveness.
Implementing Icons for Visual Interest
Icons can highlight details and improve readability. Adobe Illustrator’s library offers a range of icons to choose from, or users can create their own for a personalized touch.
Icons should be relevant to the information. For example, a phone icon next to contact information or a briefcase next to work experience. Consistent icon style and size ensure a cohesive look and prevent visual clutter.
Consider the spacing around icons. Giving them enough space helps them stand out and makes text easier to follow. Maintaining a consistent alignment with text lines keeps the layout orderly. Match the color scheme with other design elements to achieve harmony.
Alignment and Distribution
Proper alignment and distribution play a key role in making a resume visually appealing and easy to scan. Adobe Illustrator provides Align and Distribute tools that can be used to organize both shapes and icons consistently across the document.
Using grids helps align elements precisely. Snap to Grid or Smart Guides in Illustrator assist in keeping everything neat. Centered alignment can highlight a particular section, while left or right alignment often works well for text-heavy sections.
Even spacing between shapes and icons ensures a balanced layout. The use of white space is also vital. It prevents overcrowding and gives visual breathing room, which enhances overall readability.
Adding Visual Elements
Using visual elements in a resume can make it more appealing and easier to read. This involves adding infographics, charts, and maintaining visual hierarchy to highlight important information effectively.
Using Infographics
Infographics can make complex information easier to understand at a glance. They help in presenting skills, experiences, and achievements in a visually engaging way.
One can use icons to represent skills such as software proficiency, language abilities, or certifications. For instance, small icons next to each skill can quickly convey the message without taking up too much space. Colors and shapes can also guide the reader’s eye and make sections more distinct.
It is important to ensure that infographics are not overwhelming or distracting. The key is to complement the text, not overwhelm it. Keeping the design simple and clean is essential to make the information stand out.
Incorporating Charts and Graphs
Charts and graphs are an excellent way to present statistical information. They can effectively display achievements or compare skills.
For example, a bar chart could show the percentage of project goals met each year. Pie charts could represent the distribution of different job roles held over time. These visuals provide a quick snapshot, which can be more persuasive than text alone.
Consistency in design and color schemes throughout the resume ensures that charts and visuals are integrated smoothly. Attention should be given to detail, like labeling axes clearly and using legible fonts. This minimizes confusion and enhances readability.
Reinforcing Visual Hierarchy
Visual hierarchy helps guide the reader’s eye to what is most important first. This is achieved by controlling the size, layout, and color of different elements.
Large headings and bold fonts can be used for names and section titles. This quickly draws the reader’s attention to critical areas. Subheadings and bullet points break information into smaller, digestible parts, making it easy to follow.
Consistent spacing and alignment contribute to a clean layout. Using Adobe Illustrator, one can experiment with different layouts to find the most effective configuration. By prioritizing important details, the resume will effectively communicate the candidate’s strengths.
Exporting Your Resume
Exporting a resume from Adobe Illustrator requires attention to detail for both print and digital formats. Key considerations include ensuring clarity and compatibility with different devices and software.
Preparing for Print
When preparing a resume for print, focus on clarity and quality. Set the color mode to CMYK for accurate color reproduction. Ensure all text is legible by choosing a suitable font size, typically 10-12 points.
Use high-resolution images and graphics, ideally 300 DPI, to avoid pixelation. Additionally, include bleed and safe margins to maintain the design integrity during trimming. You can set up bleed in the document settings to extend your design slightly beyond the actual dimensions of the page.
Digital Formats and Compatibility
For digital sharing, exporting your resume in different formats like PDF, JPEG, or PNG is crucial. PDF is often preferred since it preserves the layout and is widely compatible. When exporting a PDF, ensure you select settings that retain text quality.
Check for compatibility issues, as fonts may not display correctly on all devices. To avoid this, consider embedding fonts within the PDF. You can also convert text into outlines to eliminate font issues altogether, although this makes text uneditable.
Final Checks and Proofing
Before finalizing your resume, engage in thorough proofing. Review the document for any spelling or grammatical errors. It’s helpful to have another person glance over your resume for a fresh perspective and to catch anything you might have missed.
Additionally, make sure all information is up-to-date and formatted consistently. Check hyperlinks to confirm they work as intended, especially if sharing the resume digitally. Ensure all design elements are aligned and visually balanced, creating a polished and professional appearance.
Proofing tools in Adobe Illustrator can assist in spotting inconsistencies. Don’t rush this step; it’s vital for making a lasting impression.