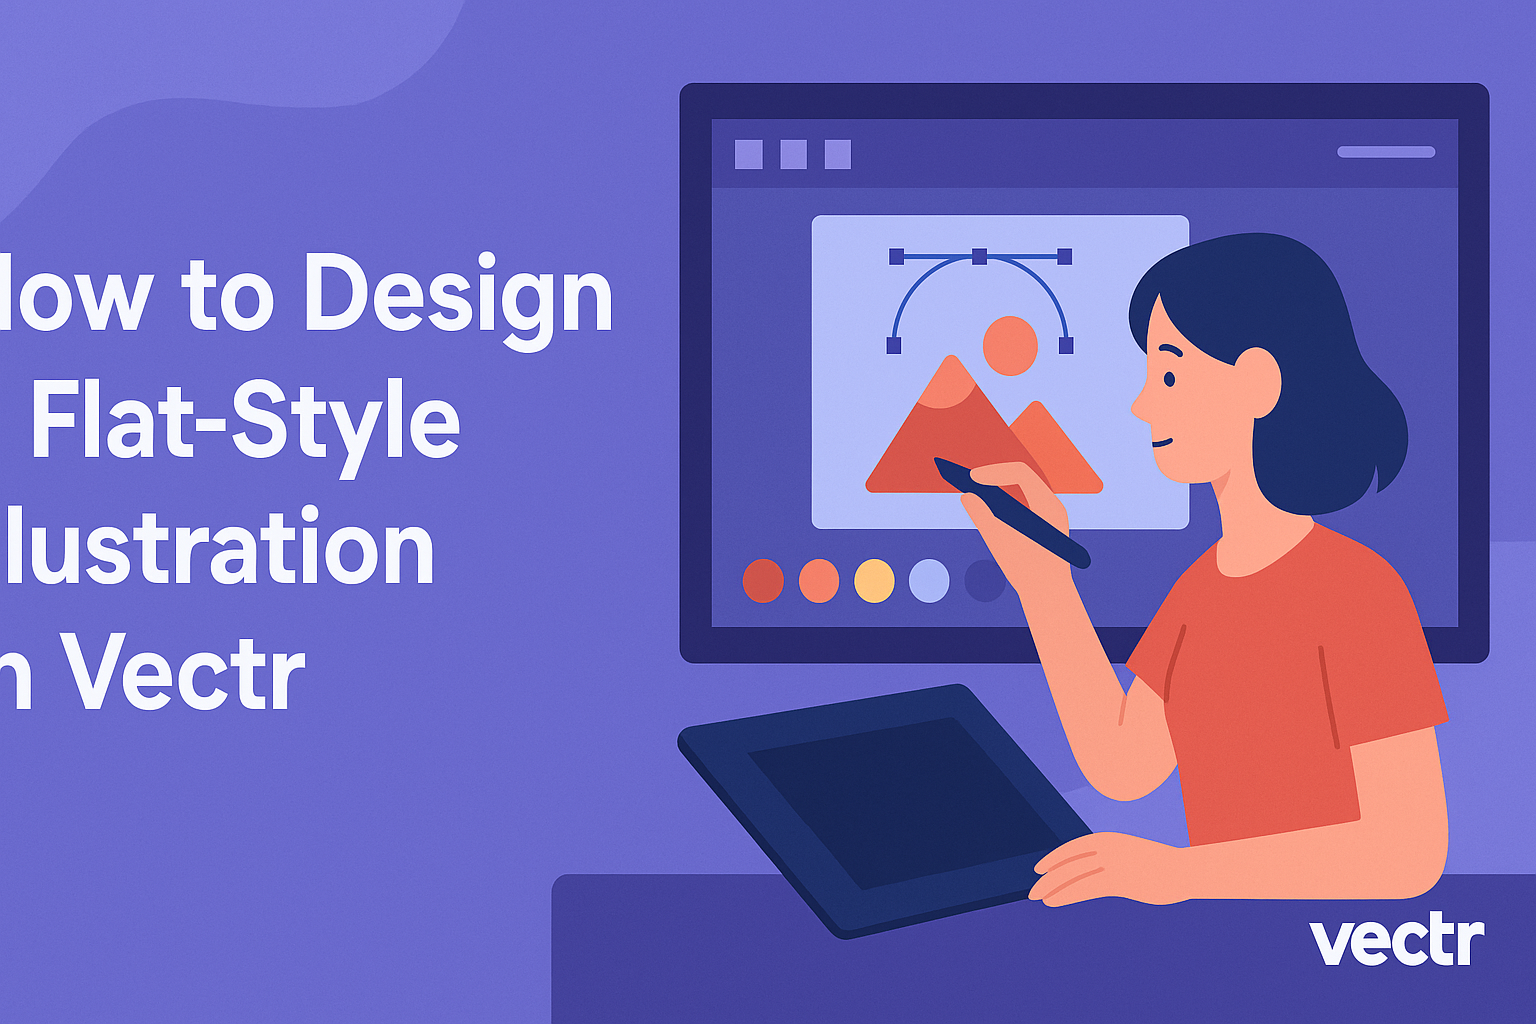
Flat-style illustrations have become popular for their clean and modern look. Creating a flat-style illustration in Vectr is straightforward and fun. With easy-to-use tools and features, Vectr enables artists to craft appealing graphics efficiently.
Many designers appreciate flat design for its simplicity and effectiveness in conveying ideas without unnecessary details. By focusing on basic shapes, bold colors, and minimalistic elements, flat illustrations stand out in today’s visually driven world. Understanding how to use Vectr to achieve this look can open up new creative opportunities.
This guide will take readers through the essential steps to design eye-catching flat-style illustrations using Vectr. With clear instructions and helpful tips, they can confidently create stunning visuals that enhance their projects.
Getting Started with Vectr
Starting with Vectr is an easy process. Users need to set up an account and familiarize themselves with the interface. This will make design tasks much easier and more enjoyable.
Setting Up Your Vectr Account
To begin using Vectr, a user must create an account. This can be done by visiting the Vectr website.
They should click on the “Sign Up” button and provide a valid email address and password.
After submitting the information, an email confirmation will be sent. Clicking the link in the email will activate the account. Once this step is completed, the user can log in and access Vectr’s features right away.
Creating an account allows access to saved projects and collaboration with others. Therefore, ensuring the information entered is accurate is essential for smooth usage.
Navigating the Vectr Interface
Navigating the Vectr interface is straightforward. The main screen shows the dashboard, where users find their projects.
The menu bar at the top contains options like “File,” “Edit,” “View,” and more.
On the left side is the sidebar, which includes tools for drawing and editing. Users can select shapes, text, and other elements. Clicking on any tool will show more options and settings.
At the center, users find the workspace where the design takes place. This area is where they can drag and drop elements and see the live changes. Familiarizing with these components will help users create designs efficiently.
Design Fundamentals
Design fundamentals are key components to creating flat-style illustrations. These elements help establish a solid foundation and guide the creative process.
Understanding Flat Design
Flat design simplifies visuals by using minimalistic elements. It avoids three-dimensional effects like shadows and gradients. Instead, designers focus on bold colors, simple shapes, and clean lines.
This style promotes clarity and efficiency. It’s suitable for digital platforms where text is crucial. Flat design allows viewers to grasp content quickly.
A common technique is to use contrasting colors to create focus. Designers often utilize grids to align elements. This enhances the visual appeal and keeps the composition balanced.
Choosing Your Color Palette
Selecting a color palette is vital in flat-style illustration. Colors set the mood and help convey the intended message.
A well-thought-out palette often includes 3-5 main colors. These should work together harmoniously.
Using complementary colors can add vibrancy. It’s important to consider color psychology, as colors evoke different feelings. For instance, blue may suggest calmness while red can symbolize excitement.
Designers often create palettes using tools like Adobe Color. This can simplify the process of selecting colors that complement each other.
Working with Basic Shapes
Basic shapes are the building blocks of flat design. Circles, squares, and triangles can construct complex forms.
Designers begin by sketching these simple shapes to outline their illustrations. The shapes should be used strategically to create a balanced composition.
Combining shapes can lead to unique designs. For example, two circles can form the head and body of a character.
Using minimal details in shapes keeps the design clean. Adding small elements, like dots or lines, can bring personality without cluttering the image.
Creating Your Illustration
When designing a flat-style illustration in Vectr, properly organizing elements is essential. It involves layering objects, integrating text, and applying textures or shadows. These steps enhance the visual appeal and effectiveness of the illustration.
Layering Objects
Layering is a key technique in flat-style illustrations. It helps create depth and organization.
Start by adding simple shapes one at a time and arranging them in distinct layers.
Tips for Layering:
- Use the layering panel to manage elements easily.
- Place background elements at the bottom and foreground shapes on top.
- Adjust the opacity of layers if needed for visual effects.
Grouping related elements keeps the workspace tidy. This approach aids in editing elements without disrupting the overall layout.
Adding Text and Typography
Integrating text effectively enhances any illustration. Choose fonts that align with the illustration’s style. Simple, bold typefaces often work best for flat designs.
Text Tips:
- Limit font varieties to maintain visual harmony.
- Adjust size and placement for readability and emphasis.
- Consider color contrast with the background for clear visibility.
If needed, use text boxes to control spacing and alignment. An engaging header or label can invite viewers into the design.
Applying Textures and Shadows
While flat illustrations are known for their simplicity, subtle textures and shadows can add depth. However, it is vital to keep these effects minimal to maintain the flat style.
Applying Effects:
- Textures can be added by layering semi-transparent shapes over colors.
- Use soft shadows to create dimension without overpowering the design.
- Stick to a limited color palette that matches the existing design elements.
These techniques allow the illustration to retain its flat design while providing some visual interest. Balancing simplicity with these effects helps keep the overall look cohesive and appealing.
Finalizing and Exporting
Before finishing an illustration in Vectr, it’s crucial to refine the design and know how to export it properly. These steps ensure that the artwork looks polished and is saved in the correct format for use.
Refining Your Design
Refining is an essential step. Attention to detail can enhance the final product significantly.
Here are some key points:
-
Check for Alignment: Use Vectr’s alignment tools to ensure shapes are properly aligned. Misalignment can distract from the overall look.
-
Adjust Colors and Gradients: Ensure the colors work well together. Use gradients sparingly to add depth without losing the flat style.
-
Review the Negative Space: The space between objects matters. Try to maintain a balance to give the design a clean look.
Lastly, zoom in to inspect every part of the illustration. Small adjustments can make a big difference in a flat-style design.
Exporting Your Illustration
Once the design is refined, it’s time to export.
Vectr provides simple ways to save the artwork.
- Choose Export Settings:
Decide whether to export the entire page or just selected elements. This choice helps focus the output.
- Select File Format:
Common formats include PNG and SVG. PNG is great for raster images, while SVG is ideal for scalable vector graphics.
- Check the Preview:
Before saving, preview the export. Ensure the file size and quality meet the needs.
To complete the process, right-click the design and choose “Save as” to keep your illustration.
Alternatively, drag it to your desktop for quick access.