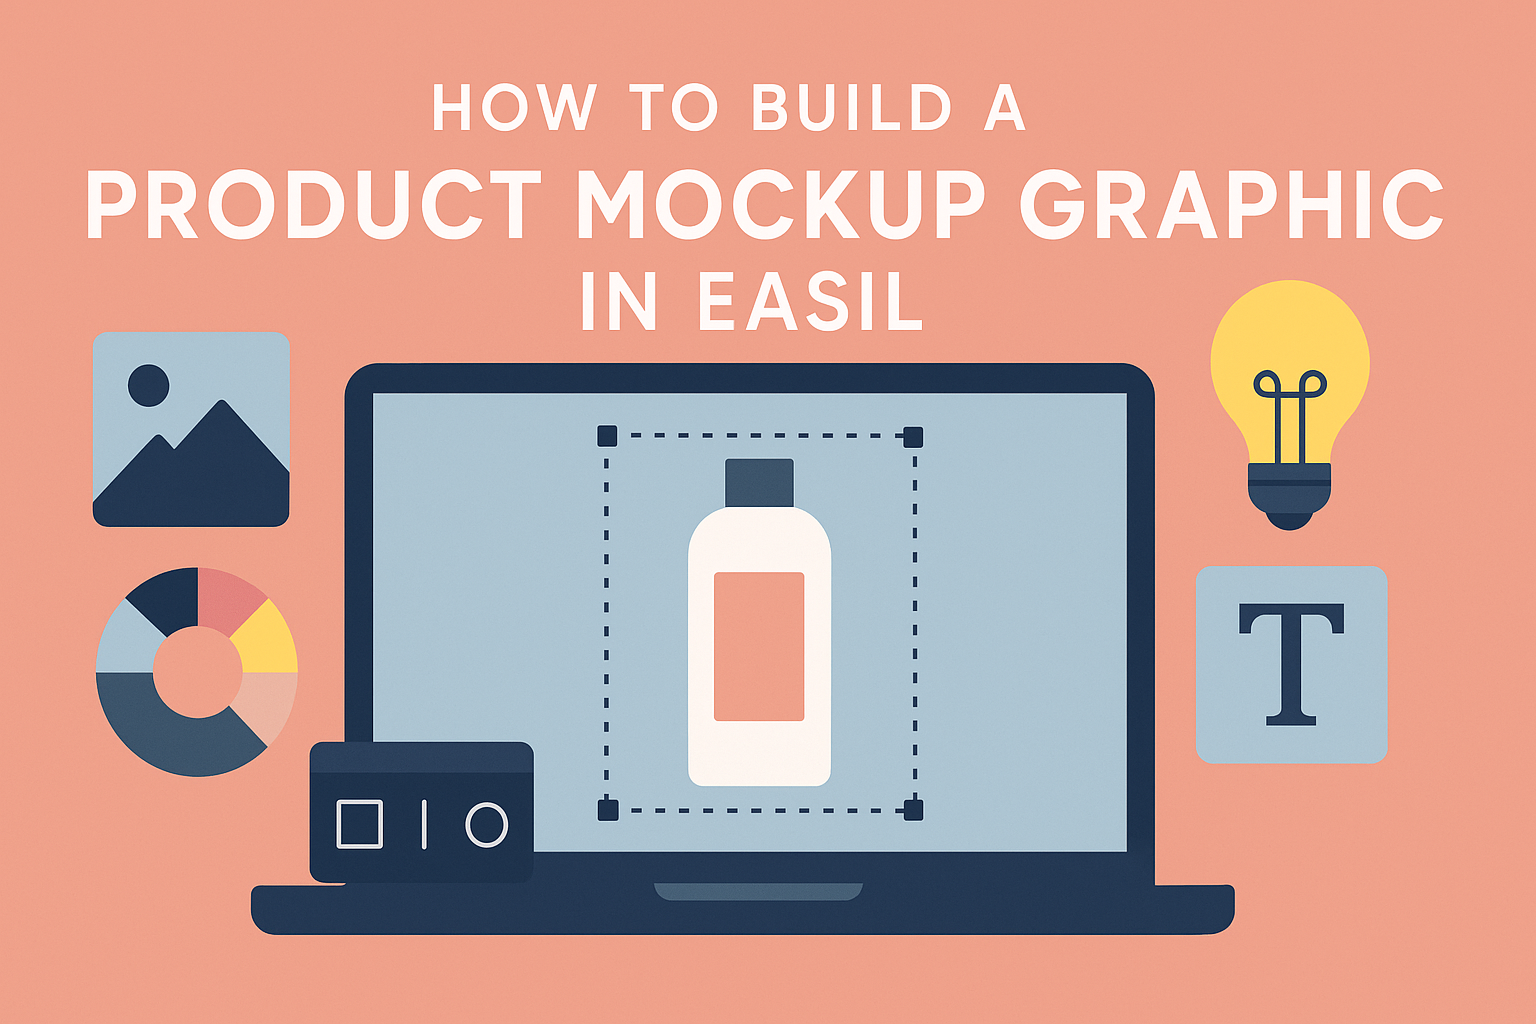
Creating a product mockup graphic can seem daunting at first, but it’s much simpler than it appears.
With Easil, anyone can design stunning mockups in just a few steps. This powerful tool allows users to showcase their products in a professional way that captures attention.
Whether it’s for a presentation, online shop, or social media, a well-designed mockup can make a significant difference.
Easil offers a range of templates that are easy to customize, making it perfect for designers and business owners alike. The ability to visualize products in different settings can enhance marketing efforts and attract more customers.
By following straightforward steps, individuals can produce quality mockups without needing advanced design skills. This blog post will guide readers through the process, ensuring they can create eye-catching graphics that truly reflect their brand.
Getting Started with Easil
Easil offers a user-friendly design platform that makes creating graphics simple and efficient. To begin, it is important to understand the interface and set up an account to maximize the experience.
Understanding the Easil Interface
The Easil interface is designed to be intuitive. Users will find a clean layout with easy access to tools and features.
Key areas of the interface include:
- Canvas Area: This is where users create their designs. They can move elements around and adjust sizes.
- Toolbar: Located at the top, the toolbar provides options for text, images, and other graphics. This is where users can access editing tools.
- Templates Library: Easil provides a vast library of templates. Users can easily browse and select from thousands of options designed by professionals.
Familiarity with these main areas helps users feel more comfortable as they start designing.
Setting Up Your Account
Setting up an Easil account is quick and straightforward. Users simply need to visit the Easil website and click on the “Sign Up” button.
They can register using an email address or through social media accounts like Google or Facebook.
Once registration is complete, users can customize their Brand Kit. This kit allows them to set default colors, logos, and fonts.
Customizing the Brand Kit helps maintain consistency in designs. Having everything ready enables users to start creating mockups smoothly and efficiently.
Designing Your Product Mockup
Creating a product mockup involves careful selection of templates and customization to reflect your brand. Attention to detail enhances the presentation and helps attract potential customers.
Choosing the Right Template
Selecting the perfect template is the first step in designing a product mockup. Easil offers a variety of templates tailored for different products like apparel, stationery, or tech gadgets.
When choosing, consider the following:
- Purpose: What message should the mockup convey?
- Style: Match the design with your brand’s visual identity.
- Format: Ensure the template supports your preferred dimensions and layout.
Templates that align with the product and vision make the design process smoother and more effective.
Customizing Design Elements
Customization is key to making the mockup unique. Easil’s design tools allow users to modify colors, fonts, and layouts to suit their needs.
While customizing, it’s important to:
- Maintain Consistency: Use brand colors and fonts to ensure brand recognition.
- Adjust Layouts: Rearrange elements to highlight the product effectively.
- Incorporate Graphics: Add visual elements that complement the product without overwhelming the design.
These steps allow for a polished look that resonates with the target audience.
Adding Your Product Images
The final touch in designing a product mockup involves uploading and placing product images. Easil enables users to upload images easily to enhance their designs.
Here’s how to effectively add images:
- High-Quality Photos: Use high-resolution images for a professional appearance.
- Placement Matters: Position images to draw attention to key features.
- Background Compatibility: Ensure the images contrast nicely with the background to stand out.
Following these tips helps create an engaging and attractive product mockup that effectively markets the product.
Refining Your Graphic
Refining a product mockup is essential for making it visually appealing. Careful adjustments to colors and fonts can enhance the overall look, while proper alignment and layering create a polished finish.
Adjusting Colors and Fonts
Choosing the right colors and fonts is key to a successful mockup. First, identify the color scheme that fits the brand. Tools like Easil offer color palettes that can help select complimentary colors.
Next, adjust the fonts to ensure they reflect the desired tone of the product. Bulky fonts might work for a playful design, whereas sleek fonts suit a more professional look.
Focus on contrast as well. Ensure that text stands out against the background. This improves readability. It may be helpful to test different combinations to see what resonates best.
Using the Alignment and Layering Tools
Alignment is crucial in making a graphic clean and organized. Easil provides guides and grids to help position elements accurately. This ensures that everything looks balanced and aligned perfectly.
Layering tools allow for stacking elements, making parts of the design stand out. For instance, placing text on top of an image can draw attention.
Adjust transparency and order of layers to create depth. Using these tools effectively can elevate the overall quality of the mockup, making it visually striking and professionally executed.
Exporting and Sharing
When it comes time to share a product mockup graphic, understanding how to export the design is crucial. The right preparation and file format can make a big difference in how the final product looks and performs on different platforms.
Preparing for Export
Before exporting the mockup, she should review the design for any necessary adjustments. Checking for alignment and ensuring that text is readable will enhance the final outcome.
Next, he should confirm that all layers are properly organized. Grouping similar elements can simplify the export process. When all is set, click on the export option in Easil. This often involves selecting a specific size or resolution based on where the mockup will be used.
He might also consider whether he needs a transparent background. Choosing this option can make the mockup more versatile for various uses. After these checks, it’s time to proceed with the export.
Choosing the Right File Format
Choosing the correct file format is essential for making the mockup usable.
Common formats include JPEG, PNG, and PDF. Each serves different purposes depending on digital needs or print requirements.
For example, PNG is excellent for maintaining transparent backgrounds. This is helpful for overlays on different surfaces.
JPEG, on the other hand, compresses images, making it ideal for online sharing but losing some quality.
PDF files keep vector quality intact, perfect for printing purposes.
It is wise for her to evaluate how the mockup will be used. This ensures that she picks the best format for her needs.