Creating an interactive pricing table can boost the appeal of any website.
PicMonkey makes it easy to design a visually appealing and effective pricing table that showcases services or products clearly. This tool is user-friendly and offers various customization options to suit any brand’s needs.
With PicMonkey, users can start by selecting a template that fits their style.
They can then add features and prices in a way that’s easy for visitors to understand. The interactive elements not only make the table attractive but also encourage potential customers to engage with the offerings.
Anyone looking to enhance their website will find that an interactive pricing table can play a significant role in converting visitors into buyers.
It’s a simple yet powerful way to display value and help customers make informed decisions. With a few clicks, they can create a pricing table that meets their specific needs and looks great.
Getting Started with PicMonkey
PicMonkey is a user-friendly tool for creating designs and graphics. It offers a variety of features that make it easy for anyone to start their design journey.
Setting Up Your PicMonkey Account
To begin, users need to create an account on PicMonkey. They can visit the PicMonkey website and click on “Sign Up.”
Users will find options for a free trial or various subscription plans. The basic plan is a popular choice, allowing access to essential features at an affordable price.
Once the account is created, users can log in and explore the dashboard.
It’s a good idea to familiarize themselves with the various options available, such as templates, graphics, and text tools. Proper setup ensures a smoother experience later on.
Understanding PicMonkey’s Interface
PicMonkey’s interface is designed to be intuitive and straightforward. The main dashboard displays several sections, including “Create New,” “My Projects,” and “Templates.”
Users can click on “Create New” to start designing. A variety of templates and blank canvases are available for different needs.
On the left sidebar, users will find tools for working with images, text, and effects. Clicking on each tool reveals more options, making it easy to add elements to a design.
The top toolbar includes options for saving and sharing projects, which are essential for ongoing work. Familiarity with the interface will help users make the most of their time in PicMonkey.
Designing Your Pricing Table
Creating an effective pricing table involves multiple steps. Designers need to focus on the template choice, layout customization, text, typography, and brand colors.
Each step is important to engage customers and simplify decision-making.
Choosing a Template
Selecting the right template sets the stage for the entire pricing table. PicMonkey offers various pre-made templates that can be customized. It’s essential to choose one that aligns with the website’s design and target audience.
When evaluating templates, consider layout options. Look for templates that clearly showcase each pricing tier. They should highlight important details like features and prices. A clean design enhances user experience.
Take advantage of PicMonkey’s drag-and-drop features. This makes it easy to rearrange elements within the template. With the right template, users can quickly absorb pricing information.
Customizing Table Layout
After choosing a template, customizing the layout is crucial. The layout should be intuitive and easy to navigate. Arrange the pricing tiers in a way that allows for easy comparisons.
Using grid layouts can simplify the design process. Organizing information systematically helps users quickly find what they need.
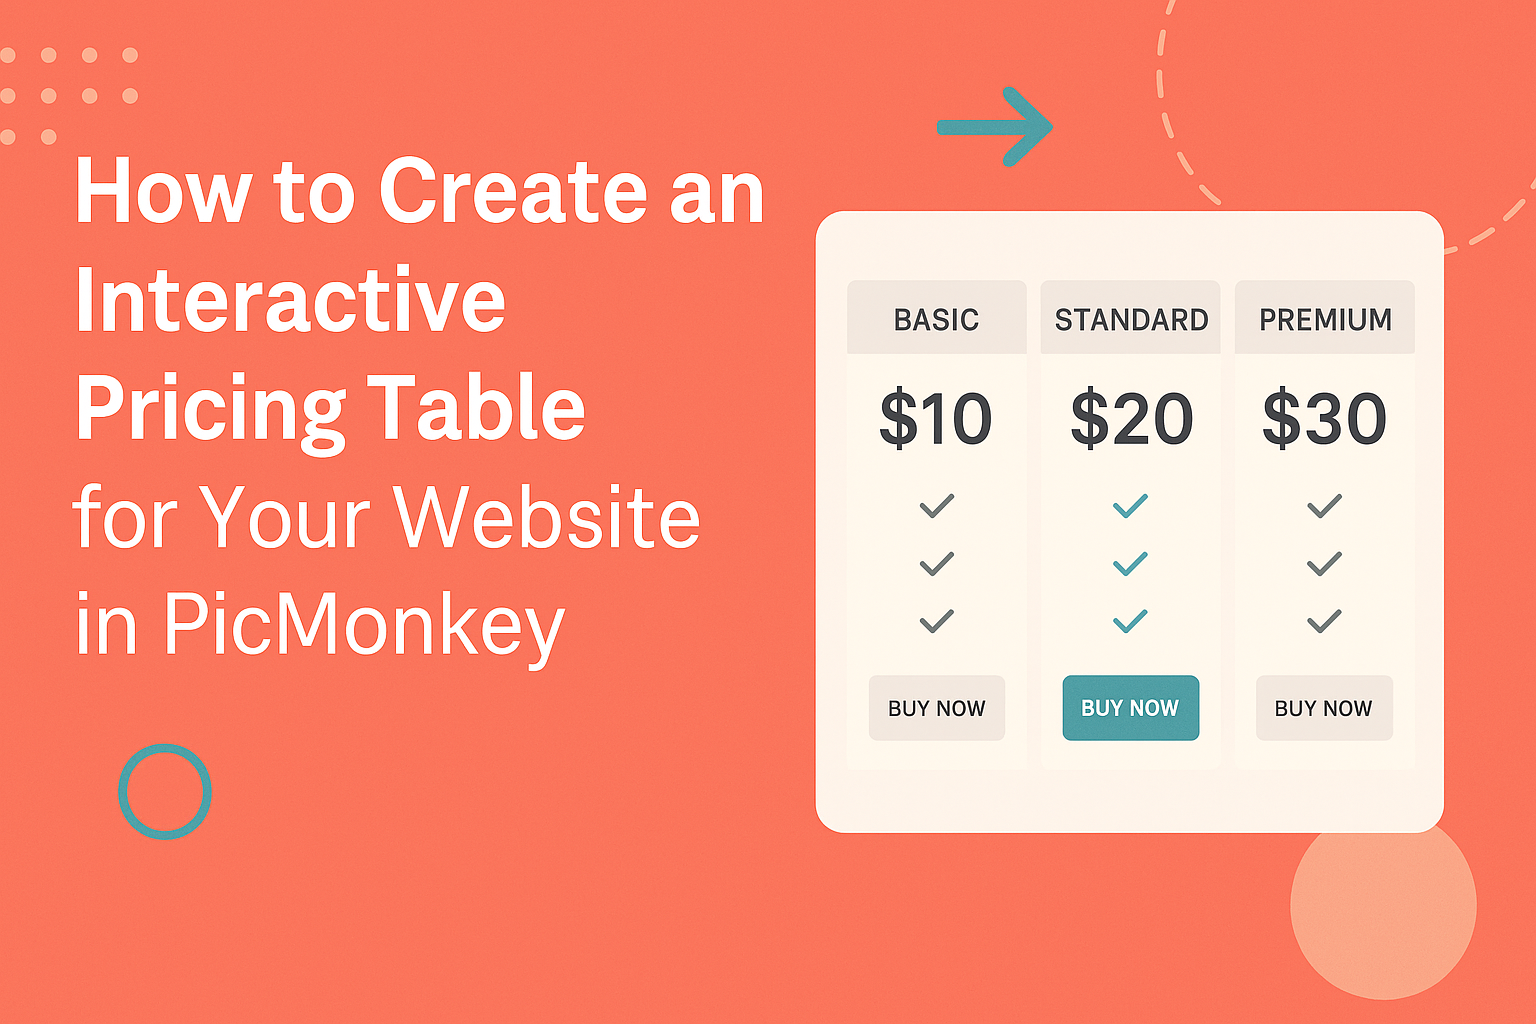
It’s helpful to place the most popular option at the center for better visibility.
Adding margins and spacing between elements improves readability. Avoid cluttering the table; each section should be distinct. This makes the table more inviting and user-friendly.
Adding Text and Typography
Text and typography play significant roles in a pricing table’s effectiveness. Clear, concise descriptions help potential customers understand the features of each tier. Avoid jargon and keep language simple.
Use bold fonts for headings, prices, and call-to-action buttons. This draws attention to critical elements. Good contrast between text and background enhances readability.
Incorporate bullet points for listing features. This format helps break down information, making it digestible.
Overall, effective use of text ensures that essential information is communicated quickly.
Incorporating Brand Colors
Brand colors should be reflected in the pricing table to maintain consistency. Using the brand’s color scheme builds recognition and trust. When choosing colors, make sure they align with the overall website design.
Apply colors to elements like backgrounds, text, and borders. A vibrant color for pricing can help it stand out. Similarly, subdued colors for extra details can create a balanced look.
Testing different color combinations in PicMonkey is easy. Designers can visualize how different shades work together. This makes it simpler to select colors that enhance the table while remaining true to the brand.
Enhancing Table Interactivity
Improving table interactivity can make a big difference in user experience. By adding hover effects, links, and buttons, users can engage more with the pricing table. Here are some detailed ways to enhance interactivity.
Using Hover Effects
Hover effects add a layer of engagement when users mouse over different parts of the table. Simple CSS changes can alter the background color, highlight prices, or change text styles.
In PicMonkey, users can apply these effects easily. For example, they might choose a subtle shadow under the pricing options to make them pop.
To implement this, he can select the table element and adjust the styles in the design panel. This makes the table feel dynamic and keeps users curious.
Adding Links and Buttons
Incorporating links and buttons into the pricing table helps direct users to specific actions. For instance, each pricing option can include a “Buy Now” button that links to a checkout page.
He should ensure that buttons are visually distinct and easy to find. Colors like bright green or orange can make the buttons stand out.
Also, adding informational links can provide users with details about the features of each pricing tier. This approach leads to better decisions.
Integrating with Your Website
Seamless integration with the existing website is crucial for an interactive pricing table.
Using responsive design ensures that the table looks good on all devices, from desktops to smartphones.
He can use shortcodes to embed the table into a page effortlessly. This helps maintain a consistent look and feel across the site.
Additionally, testing the table’s functionality across browsers will ensure users have a smooth experience.
Regular updates and tweaks can keep the pricing table relevant and user-friendly.