Designing a custom planner cover can be a fun and creative process. With PicMonkey, anyone can easily create a stunning cover that reflects their style and personality.
Whether it’s for a school planner, a work binder, or a personal journal, a unique cover can make organizing documents more enjoyable.
PicMonkey offers user-friendly tools and templates that simplify the design process. Users can start with existing designs or create from scratch, making it accessible for those without prior design experience.
This flexibility allows for personalized touches that truly make the planner their own.
Embarking on this design adventure will not only enhance the planner’s appearance but also inspire motivation and productivity. It’s amazing how a little creativity can transform a plain planner into a beautiful tool that one will want to use every day.
Getting Started with PicMonkey
PicMonkey is a user-friendly platform that allows anyone to create stunning designs.
To get started, users need to create an account and familiarize themselves with the interface.
Creating Your Account
To begin using PicMonkey, the first step is to create an account. Users can sign up by visiting the PicMonkey website and clicking on the “Sign Up” button.
They have the option to register using their email or connect via social media accounts like Facebook or Google.
Once the account is created, users often receive a confirmation email. It’s important to follow the instructions in that email to activate the account.
After activation, users can log in and explore all the available features.
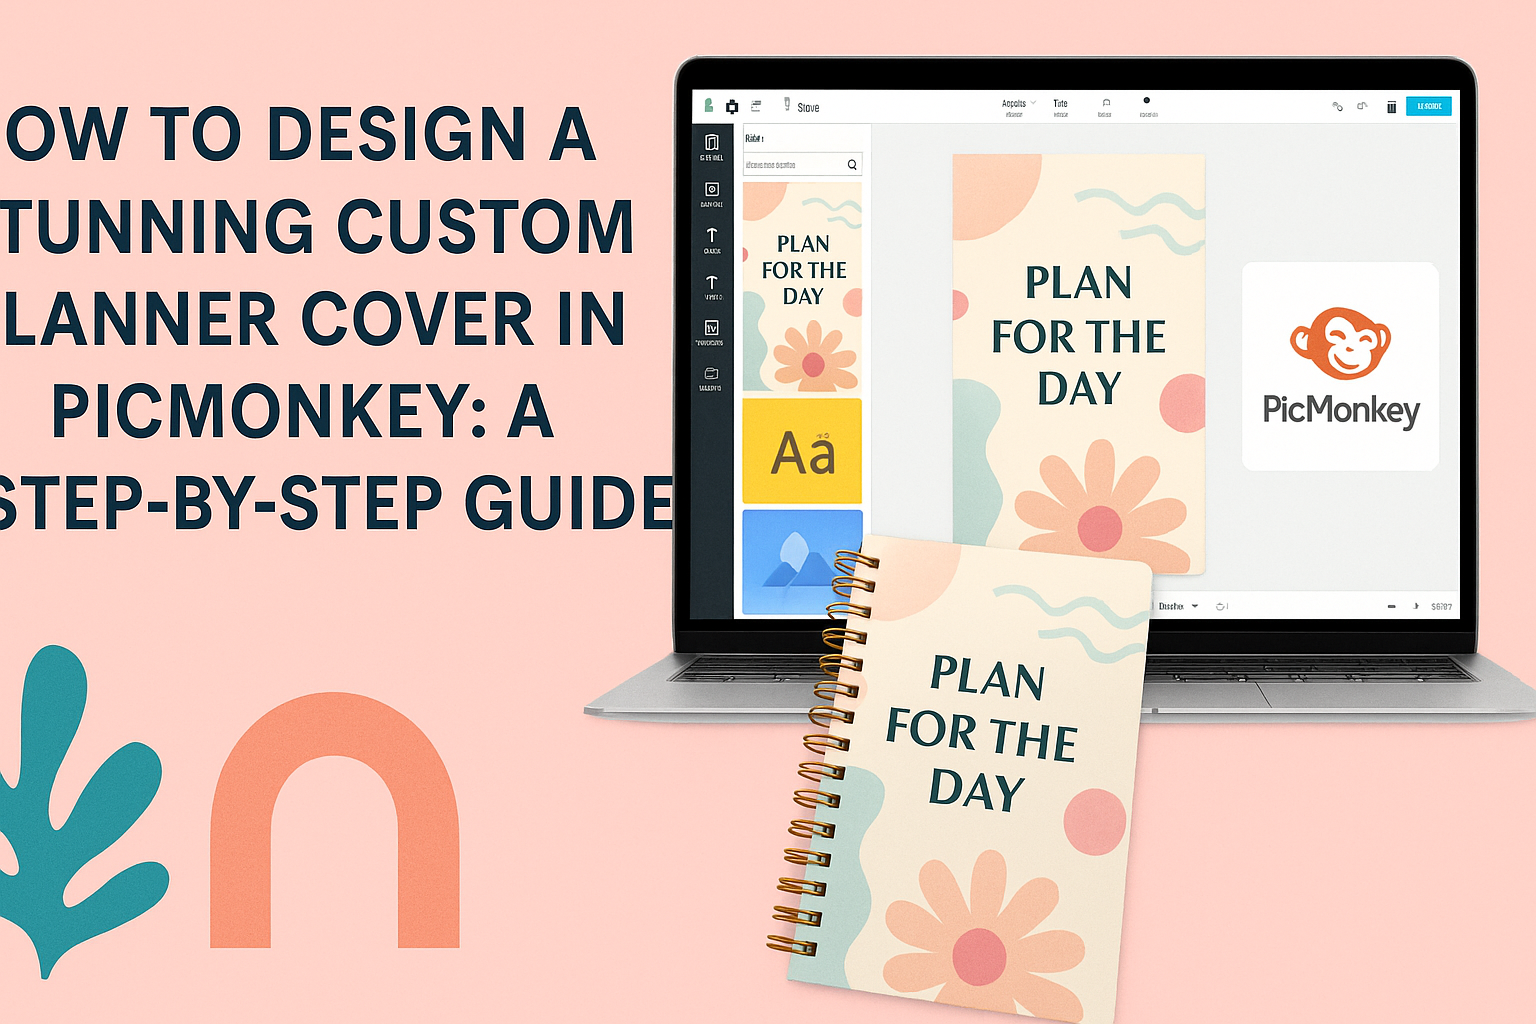
Navigating the Interface
After logging in, users will find themselves on the PicMonkey dashboard. This area is designed to be intuitive and straightforward.
The left sidebar features various tools like templates, graphics, and effects. Users can easily click through different options to find what they need.
In the center area, users can see their current project or template. The top toolbar contains options for saving, sharing, or printing their designs.
Getting familiar with these sections makes it easier to start designing. Users can experiment with features to learn how to best use the platform and enhance their designs.
Designing Your Planner Cover
Creating a custom planner cover is an exciting way to express personal style. By selecting the right template, customizing layout, choosing a color scheme, and adding text, anyone can craft a stunning cover.
Selecting a Template
Choosing a template is the first step in designing a planner cover. PicMonkey offers a variety of customizable templates. Users can browse through categories such as minimalist, floral, or artistic designs.
When picking a template, consider the planner’s purpose. A vibrant cover might suit a personal planner, while a sleek design may work better for a professional one.
Once a fitting template is selected, it’s easy to adjust elements and create a unique look.
Customizing the Layout
The layout is crucial in making the planner cover visually appealing. PicMonkey allows users to drag and drop elements, resize images, and rearrange graphics easily.
Balance is key; ensuring that images and text are placed harmoniously will make the cover attractive. Users can also consider using grids to align objects neatly.
Experimenting with different layouts can lead to surprising and beautiful results.
Choosing Color Schemes
Color plays a significant role in design. When selecting color schemes for the planner cover, consider the emotions they evoke. Soft pastels may convey calmness, while bright colors can create energy.
PicMonkey provides a color palette tool to help users find complementary colors. Sticking to a maximum of three main colors can keep the design cohesive.
Checking color combinations can enhance the overall appeal of the cover.
Adding Text and Typography Tips
Text brings personality to the planner cover. When adding text, it’s essential to choose fonts that match the design’s style. For instance, a whimsical font may suit a creative planner, while a clean font works well for a corporate one.
Users should also pay attention to font size and spacing. Clear, legible text is vital, even from a distance.
Using bold or italic styles can help emphasize important words, creating a dynamic look.
Personalizing Your Cover
Customizing a planner cover allows for a unique expression of personality. Two effective ways to achieve this are by incorporating personal photos and utilizing stickers or graphics.
Incorporating Personal Photos
Using personal photos is a wonderful way to make a planner cover personal and special. The process starts by choosing clear and meaningful images. These can be family pictures, favorite vacation spots, or inspiring quotes displayed artistically.
In PicMonkey, users can easily upload their selected images. They can adjust the size and placement by dragging the corners or edges.
Adding filters or effects can enhance the appearance, making the photos stand out even more. These custom touches create a cover that tells a story and offers daily inspiration.
Using Stickers and Graphics
Stickers and graphics add a fun and creative element to any planner cover. PicMonkey offers a wide selection of graphics that can be used to complement personal photos or stand alone.
Users can browse through categories like nature, travel, or motivational themes.
Once selected, stickers can be resized and rotated to fit perfectly on the cover. It’s also easy to layer multiple stickers for a richer design.
By using bright colors and playful designs, the cover becomes lively and engaging.
Finalizing and Saving Your Design
After putting together a great planner cover in PicMonkey, it’s time to finalize the design. This step ensures everything looks perfect before saving.
First, take a moment to review all elements. Check for alignment, font sizes, and colors.
Make sure all text is clear and readable.
Next, export the final product. Click on the “Download” button, usually found in the top right corner.
Choose the file type, such as PNG or JPG, based on your needs.
It’s a good idea to use high resolution for better print quality. If the planner cover will be used digitally, a lower resolution might be sufficient.
Don’t forget to give your file a relevant name. This makes it easier to find later.
Saving in an organized folder helps keep designs neat and accessible.
Lastly, consider saving a copy in PicMonkey. This allows for future edits without starting from scratch.
Keeping the original project helps him or her make changes later.