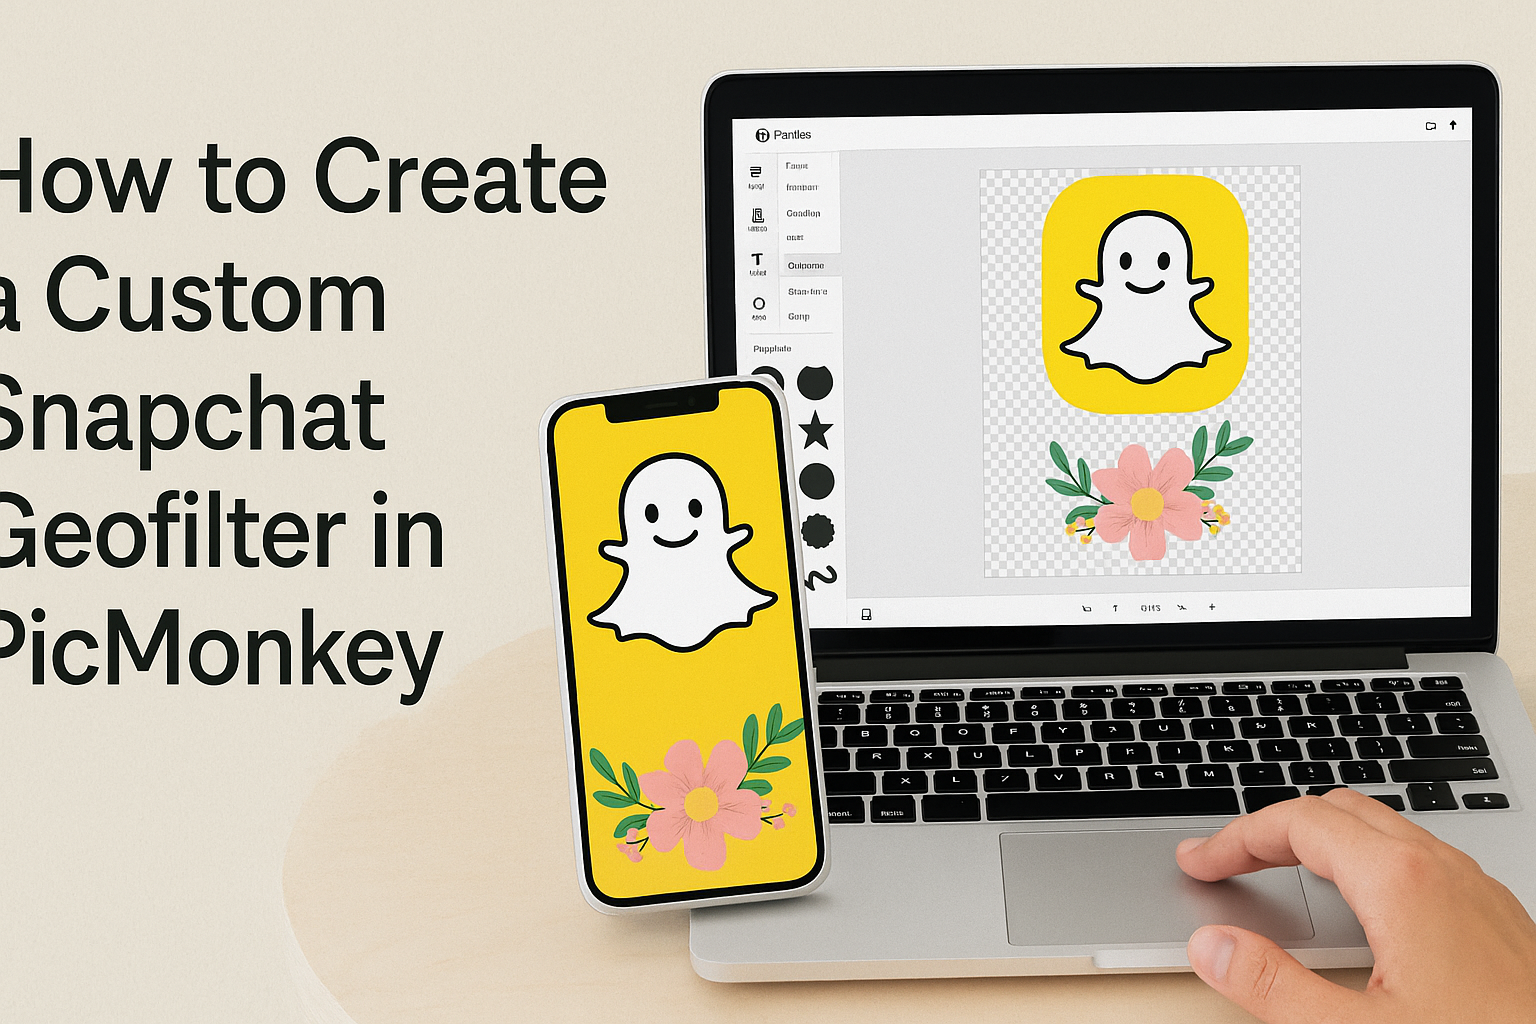
Creating a custom Snapchat Geofilter can be a fun way to add a personal touch to events or celebrations.
Using PicMonkey makes this process easy and accessible, allowing anyone to design unique filters without needing advanced design skills.
Whether it’s for a wedding, birthday, or community event, a personalized filter can enhance the experience for guests and make memories even more special.
With a wide variety of templates and graphics, PicMonkey offers the tools needed to bring creative ideas to life.
Users can start by choosing a design that fits their theme, then customize it with their own images and text. This flexibility enables anyone to create a standout Geofilter that captures the spirit of their event.
Once the design is complete, users can quickly upload their filters to Snapchat and enjoy sharing their creations.
By following a few simple steps, anyone can stand out on social media and make their special moments even more memorable.
Understanding Snapchat Geofilters
Snapchat geofilters add a fun and personalized touch to snaps based on location. They can be used for events, special occasions, or just to express creativity. Here’s a closer look at what geofilters are and why someone might want to create a custom one.
What Is a Geofilter?
A geofilter is a graphic overlay that can be added to photos taken on Snapchat within a specific location. These filters help users personalize their snaps by adding unique designs that relate to their surroundings.
Geofilters are used for various events, such as birthdays, weddings, or community gatherings. They can only be accessed in certain geographic areas, making them effective for creating a sense of place.
To create a geofilter, users often design their own graphics, ensuring they have a transparent background. This allows the picture behind the filter to be visible.
Why Create a Custom Geofilter?
Creating a custom geofilter can enhance the experience of any event or gathering. Users may want a unique design that reflects their personality or theme.
A personalized geofilter allows for better engagement on social media. Guests can use it in their snaps, spreading the word about the event to their friends.
Custom geofilters are also great for businesses. They can use these filters to promote products or services during events. By adding a logo or design associated with the company, they can increase brand visibility.
In essence, a well-designed geofilter can make memories more memorable and boost social media presence.
Setting Up Your PicMonkey Account
Creating a PicMonkey account is the first step toward designing a custom Snapchat Geofilter. This section will cover how to sign up and explore the platform’s features for a smooth design experience.
Signing Up for PicMonkey
To start, visit the PicMonkey website. Users will find a prominent “Sign Up” button. Clicking this will lead to the registration page.
They can choose to sign up with an email address or use a social media account. Using an email requires entering a few basic details, like a name and password.
After completing the registration, users receive a confirmation email. Clicking the link in the email activates the account. Now, they are ready to log in and explore the tools PicMonkey offers.
Navigating the Interface
Once logged in, the PicMonkey interface welcomes users with a clean design. The homepage features several options to start a project.
Users can choose “Create New” to begin with a blank canvas or select templates for inspiration.
On the top menu, there are options like “Edit,” “Design,” and “Collage.” Each tool offers various features. For example, the “Edit” tool allows for photo adjustments, while “Design” is perfect for creating graphics.
To access additional features, the left-hand sidebar provides handy buttons for layers, text, and graphics. Users can easily upload images and manage their projects all in one place, ensuring a user-friendly experience.
Designing Your Geofilter
Creating a custom Snapchat Geofilter starts with the right design choices. This involves selecting a suitable canvas size, adding engaging graphics and text, and customizing the design elements to fit the event’s theme.
Choosing a Canvas
To begin, the canvas size is crucial for a successful geofilter. Snap recommends using a size of 1080 x 1920 pixels for best visibility on the app. This vertical rectangle format ensures the filter looks great on most smartphone screens.
When setting up your canvas in PicMonkey, select the Transparent canvas option. This feature allows the design to blend seamlessly with the Snapchat camera’s live preview. Ensuring that the background is transparent is essential so that users can see the images captured.
Adding Graphics and Text
Once the canvas is set, it’s time to add graphics and text. PicMonkey offers a variety of pre-made graphics and fonts.
Users can browse through these options to find elements that match their theme.
Incorporating fun elements, like icons and illustrations, can enhance the filter’s appeal. For text, choose readable fonts, as they should be clear even on small screens. Also, consider using contrasting colors to make the text pop against the background.
Customizing the Design Elements
Customization is key to making the geofilter unique. PicMonkey provides tools to adjust colors, add effects, and layer images. This flexibility allows users to create a distinctive look that represents their event.
Changing the color of graphics can provide a personalized touch. Additionally, using layers lets designers position elements creatively.
Pay close attention to spacing and alignment, as even minor adjustments can significantly enhance the overall look. This process is about capturing the essence of the event in a fun, visually appealing way.
Finalizing and Uploading Your Geofilter
Once the Geofilter design is complete, it’s time to ensure everything looks great and is ready for submission. This involves previewing the design, exporting the file, and finally submitting it to Snapchat.
Previewing the Geofilter
Before finalizing, it is essential to preview the Geofilter. This step helps catch any last-minute mistakes.
In PicMonkey, users can utilize the preview feature to see how their design appears in different settings.
Check for any alignment issues, missing elements, or unclear text. Make sure the colors and images are as expected. Ensure that the design fits the theme of the event or location it represents.
Users can make adjustments easily in PicMonkey. This is the perfect time to test how it may look on Snapchat, ensuring it’s visually appealing and effective.
Exporting the Final Design
After previewing and making necessary adjustments, the next step is exporting the design.
To do this, the user must select the “Export” option in PicMonkey.
It is recommended to save the file as a PNG format. This format maintains transparency, which is crucial for Geofilters.
Users should choose a resolution of at least 1080 x 1920 pixels for the best quality.
Once exported, the Geofilter file is ready for upload. It’s a good idea to check the file size and ensure it’s under Snapchat’s limit.
Submitting to Snapchat
Now that the Geofilter is ready, it’s time to submit it to Snapchat.
Users should head to the Snapchat Create page to start the submission process.
After logging in, the user can select “Create Filter.”
Next, they will upload their exported Geofilter design.
It is important to set the desired location and dates for the filter’s use.
Users can draw a fence around the area where the Geofilter will be available.
Finally, after completing the details, users can review everything before submitting.
This ensures that the Geofilter will work correctly on the intended date and location.