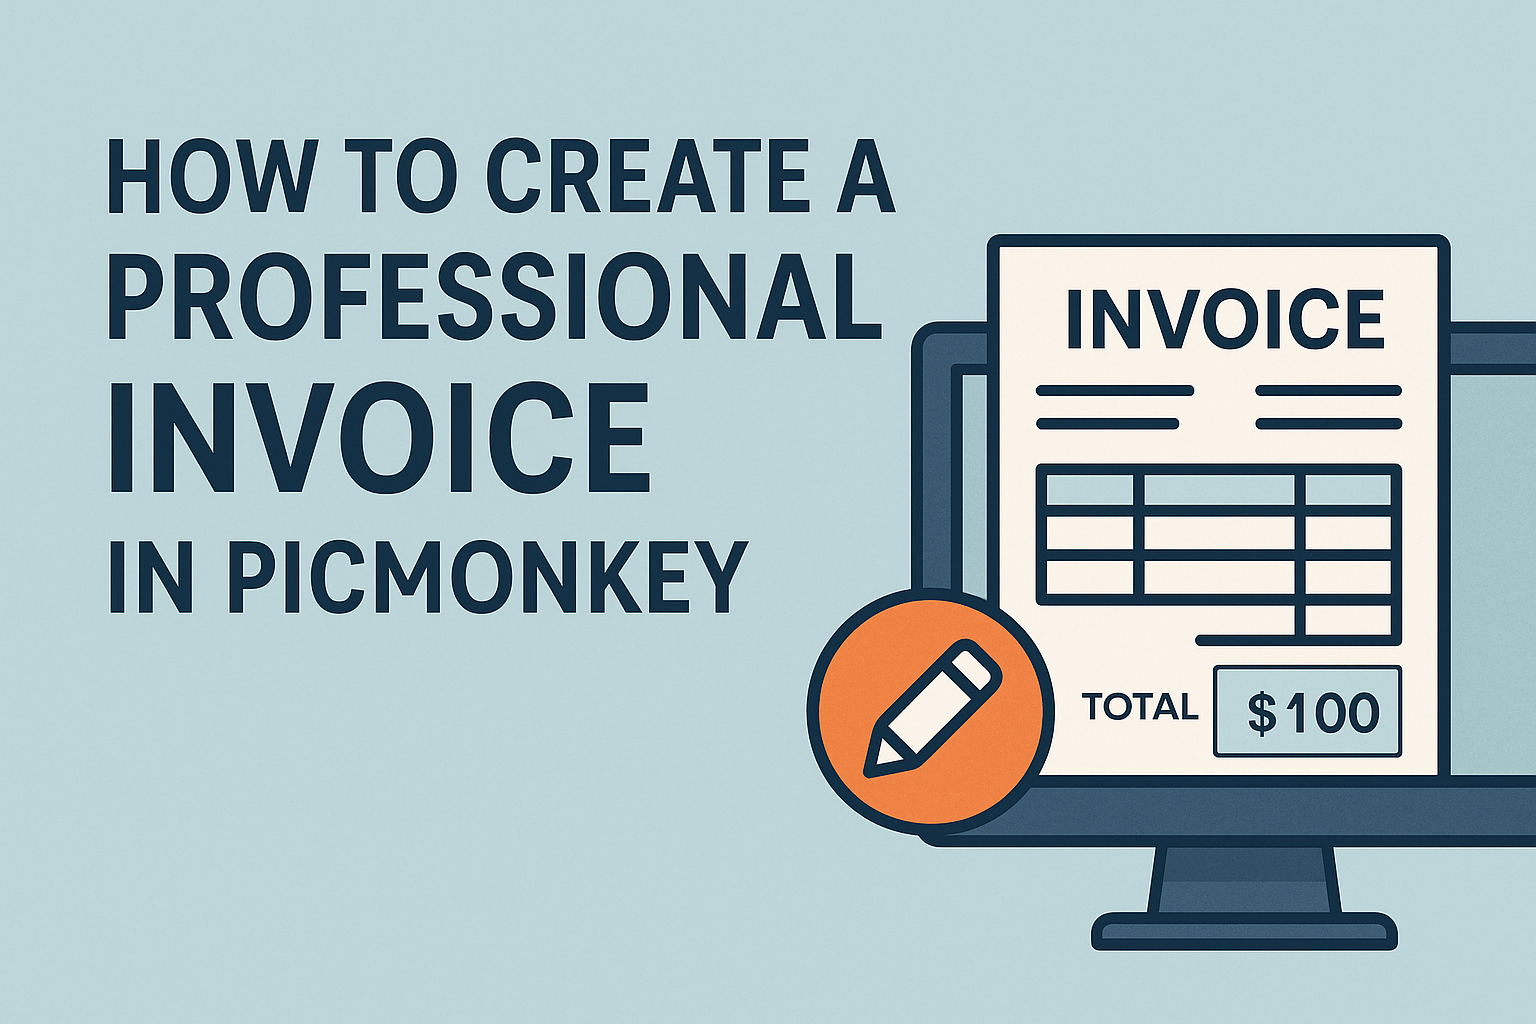
Creating a professional invoice can seem overwhelming, but it doesn’t have to be.
With PicMonkey’s user-friendly tools, anyone can design an invoice that looks polished and fits their brand. Using customizable templates and easy editing options, PicMonkey makes it simple to produce an invoice that impresses clients and ensures timely payments.
Designing an invoice in PicMonkey allows for creativity and professionalism. Users can add their company logo, adjust colors, and choose from various layouts to make the document truly unique.
This flexibility not only enhances the invoice’s appearance but also strengthens the brand image.
Whether he is a freelancer or runs a small business, having a clear and attractive invoice is essential. PicMonkey’s features guide users through the process, making it quick and efficient.
With just a few clicks, anyone can create an invoice that stands out and conveys professionalism.
Setting Up Your PicMonkey Account
Creating a professional invoice in PicMonkey starts with setting up an account. This process is simple and allows users to choose a plan that fits their needs.
Registering on PicMonkey
To register on PicMonkey, users need to visit the PicMonkey website. They can find a clear option to sign up.
Once there, it is essential to enter basic information like email and password.
After submitting the information, an email confirmation may be required.
By clicking the confirmation link, users activate their accounts. This step allows them to explore various features and tools within PicMonkey, making it easier to create invoices.
Choosing the Right Subscription Plan
PicMonkey offers several subscription plans to fit different needs. Users can start with a free trial to explore the features.
Plans vary by price and benefits, including access to premium templates and advanced editing tools.
For those who frequently create invoices, a paid plan can provide more options and save time.
It’s important to review the details carefully to choose the best fit. Comparing what each plan offers will help users maximize their experience while creating professional invoices.
Designing Your Invoice
Creating a professional invoice involves careful design choices. A well-structured invoice not only looks good but also presents information clearly. Here are important steps to keep in mind when designing an invoice in PicMonkey.
Selecting a Template
Choosing the right template is crucial for setting the tone of the invoice. PicMonkey offers a variety of templates tailored for different industries. Users can browse through these templates and select one that fits their brand and services.
Consider the purpose of the invoice. A simple, clean template works well for many businesses. For others, a more stylish design may better represent their brand image.
Make sure the template has space for all necessary details like service descriptions and payment terms.
Customizing the Template
Once a template is selected, customization can begin. This is where users can truly make their invoice unique.
PicMonkey allows modifications, such as changing colors, fonts, and layouts.
To maintain professionalism, select colors that align with the brand’s color scheme. Ensure that fonts are clear and legible.
It’s also important to keep the layout organized. Users can rearrange sections to highlight vital information, ensuring it stands out.
Adding Brand Elements
Incorporating brand elements makes the invoice more personalized and professional.
Include your company logo at the top of the invoice. This helps clients immediately recognize the document.
Using consistent colors and fonts in line with your branding is key. Adding contact information and a thank-you note at the bottom can enhance the customer experience.
This shows appreciation and encourages timely payment, reinforcing a positive relationship with clients.
Finalizing Invoice Details
Once the design of the invoice is complete, it’s essential to input the right payment information and review legal requirements. These steps ensure that clients receive a clear and professional document ready for payment.
Inputting Payment Information
Accurate payment information is crucial for a smooth transaction.
Start by clearly displaying the payment methods accepted. Options may include bank transfers, credit cards, or online payment systems like PayPal.
Next, include the detailed payment instructions. Specify the account number for bank transfers and any relevant payment links.
It’s also helpful to set a due date for the payment. Indicate clearly when the client should complete their payment.
This encourages prompt responses and streamlines cash flow.
Reviewing Legal Requirements
Legal requirements vary by location but are vital for professionalism.
Ensure the invoice includes your business’s legal name and registration number if required.
Also, consider any necessary tax information. This might include sales tax or VAT, which should be calculated and displayed accurately on the invoice.
Finally, it’s wise to include terms and conditions. These might cover late fees or payment terms, so clients are aware of any implications.
This transparency fosters trust between businesses and their clients.
Saving and Sending Your Invoice
After designing a professional invoice in PicMonkey, it’s important to know how to save and send it properly.
There are efficient methods available for exporting the invoice and directly emailing it to clients.
Exporting as PDF or Image
To keep the invoice looking sharp, exporting it as a PDF or image is crucial.
PicMonkey allows users to easily export their designs by selecting the “Export” option. From there, they can choose between several formats, including PDF, which is ideal for maintaining the layout and quality.
Users can also opt for PNG or JPEG formats depending on their needs.
To do this, simply click on the appropriate format in the export menu.
For invoices, PDFs are recommended since they preserve text and images without distortion. Once the desired format is selected, users can name the file and click “Export” to save it to their computer.
Emailing Directly from PicMonkey
Sending invoices directly from PicMonkey adds convenience to the process. After exporting the invoice, users can easily share it via email.
By clicking on the “Share” option, they will see different options for emailing. They can enter the client’s email address, add a subject line, and include a friendly message to accompany the invoice.
This feature streamlines communication, allowing users to stay organized by managing both design and delivery in one place. It’s a great way to ensure that clients receive their invoices promptly and professionally.