Creating a website with Canva is exciting, but ensuring visitors can easily navigate is crucial.
Adding a navigation menu enhances user experience by guiding visitors to different sections of the site seamlessly. With a well-structured menu, users can find information quickly, keeping them engaged.
To get started, users need to utilize Canva’s simple tools to create their navigation menus.
This process involves adding page titles and customizing the menu’s appearance for a personal touch. It may seem challenging, but the steps are straightforward and user-friendly.
By following easy-to-understand instructions, anyone can improve their Canva website’s functionality. They can turn a basic design into an organized space that meets visitors’ needs. A good navigation menu not only looks professional but also makes a website more inviting.
Getting Started with Canva
Canva makes it easy for anyone to create beautiful designs. Whether for personal use or professional projects, the platform offers a simple way to get started with graphic design.
Signing up for Canva
To begin using Canva, one needs to create an account.
This can be done by visiting the Canva website and clicking on the “Sign Up” button. Users can sign up using an email address, their Google account, or Facebook.
Once registered, they will receive a welcome email. This email often contains tips on how to get started.
It’s important to verify the email to unlock all features. Canva provides a free version and offers a subscription for extra features. This allows users to choose what best fits their needs.
Overview of Canva Dashboard
After signing in, users will land on the Canva dashboard. The dashboard is user-friendly and organized.
At the top, a search bar allows users to find specific templates quickly.
On the left side, there is a menu with options like “Home,” “Templates,” and “Projects.” This menu helps users navigate different design options.
Below, users can view their recent designs, making it easy to revisit past projects.
Additionally, Canva displays popular templates for inspiration. Users can click on a template to start editing immediately. Comprehending the dashboard is crucial for efficient design work.
Designing Your Website in Canva
Creating a website in Canva is a fun and straightforward process. Selecting the right template and customizing it can make a big difference in how your site looks and works. This section will cover essential tips for choosing and modifying templates to fit specific needs.
Choosing the Right Template
When starting with Canva, selecting the right template is crucial. Canva offers various website templates designed for different purposes.
He or she should look for templates that match the website’s goals, whether it’s for a portfolio, blog, or business. Key features to consider include layout, style, and functionality.
To filter templates, use the search bar and enter keywords related to the project. This can help narrow down choices. Also, examine how easy it is to add navigation menus on the selected template. Finding a template that fits well will save time later.
Customizing Your Template
After choosing a template, it’s time for customization. Canva allows users to change nearly every aspect of their template.
He or she can adjust colors, fonts, and images to align with their brand identity. Using the color palette tool, it’s easy to pick colors that complement each other.
For fonts, selecting a pair that balances readability and style is important. Canva also enables the addition of images, videos, and graphics, enhancing visual appeal.
Don’t forget to keep the layout clean and organized for a better user experience. Making small adjustments can significantly impact how visitors interact with the website.
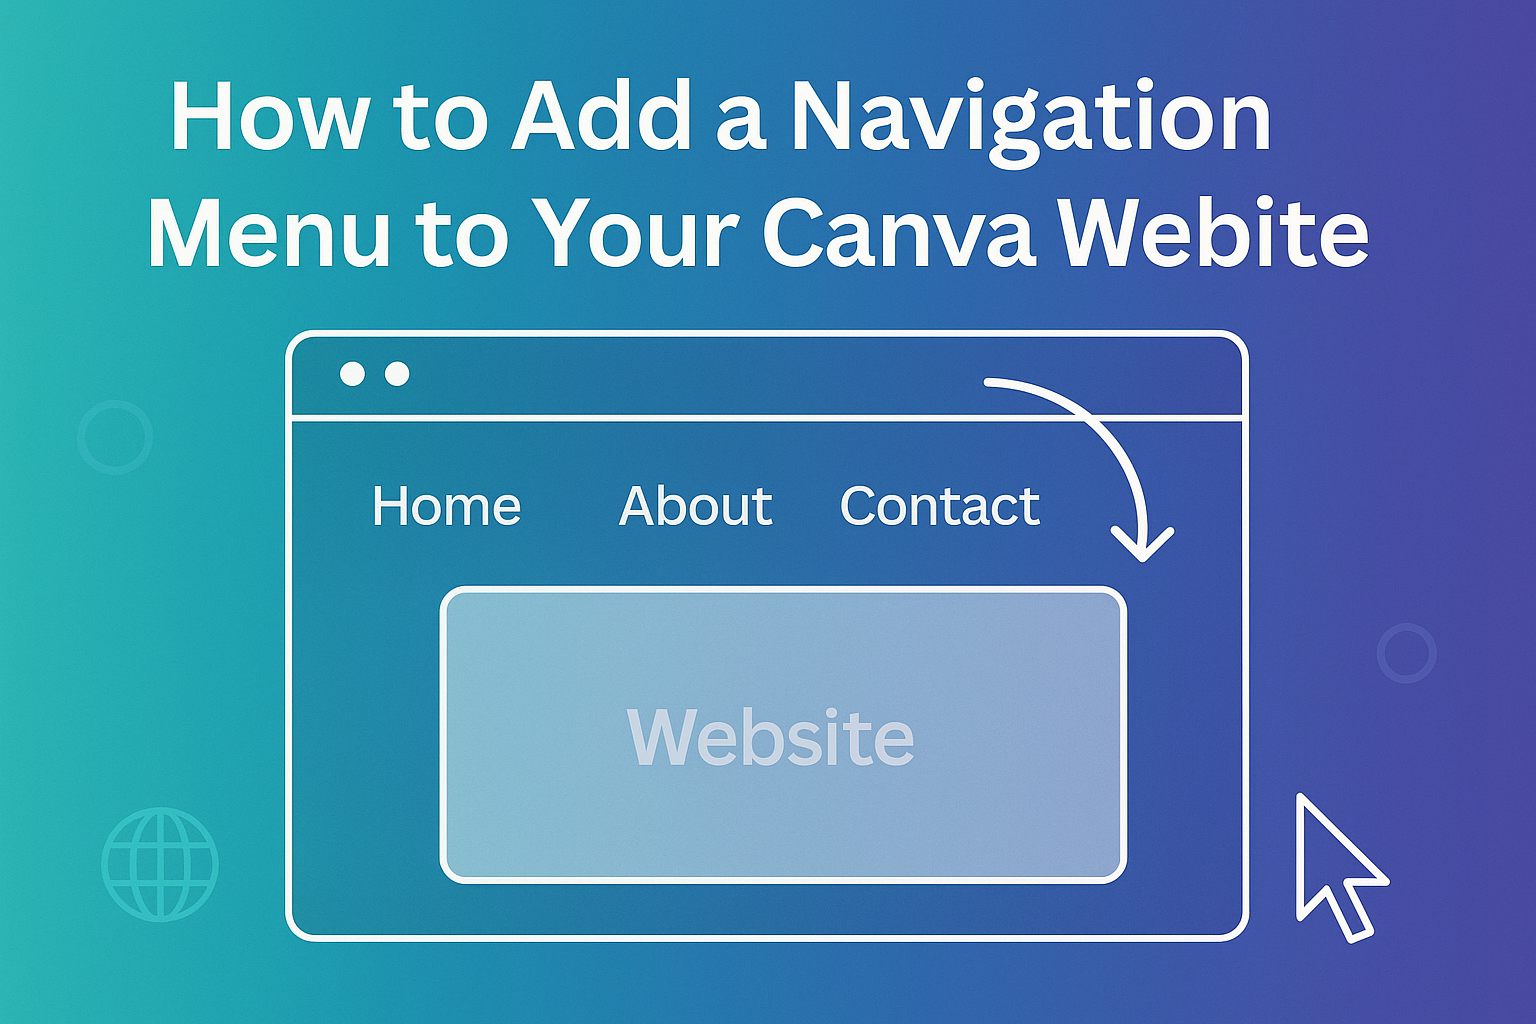
Adding a Navigation Menu
A well-structured navigation menu improves user experience on a Canva website. It helps visitors find important pages quickly and easily. Below are key steps to add and customize a navigation menu effectively.
Planning Your Navigation Structure
Before creating a menu, it’s important to plan its structure. Think about the main pages a visitor would want to see, such as “Home,” “About,” and “Contact.”
It’s helpful to list these pages in order of importance. A simple list may look like this:
- Home
- Services
- Portfolio
- Blog
- Contact
This way, she can ensure that the most vital pages are easily accessible. Additionally, keeping the number of menu items limited—around five to seven—makes it easier for users to navigate without feeling overwhelmed.
Creating the Menu Items
To create the menu items in Canva, she should start by adding pages to the website. Click on the “Pages” tab located on the left side. After that, click on the “Navigation” tab and select “Add Menu.”
Next, she can choose the pages to include in the navigation menu. Each menu item should have clear titles that reflect the page’s content. If she prefers not to display a specific page in the menu, simply leave its title blank.
Once the menu items are selected, they automatically appear at the top of the website. This makes it easy for viewers to navigate to preferred sections right away.
Customizing the Design of Your Navigation
The design of the navigation menu plays a key role in its effectiveness. She can customize its appearance by selecting different styles and layouts that match the overall look of the website.
Canva offers options to change colors, fonts, and sizes. It’s helpful to ensure the menu stands out but also complements the site’s design. Using bold or contrasting colors can draw attention to the navigation bar.
She can also decide whether to have a horizontal or vertical menu. A dropdown menu might work well for websites with many pages, keeping the interface clean and organized. Notice how the design choice affects the overall look and feel of the site.
Publishing Your Canva Website
When ready to share a Canva website, it’s vital to understand the steps for previewing the site and making it live. These actions ensure the design looks the way it was intended while setting it up for visitors to view.
Previewing Your Site
Before publishing, previewing the website helps in catching any design errors or issues.
To preview, the user can click on the Preview button in the menu bar. This opens a new window that displays the site as visitors will see it.
During this stage, the user can navigate through the pages. They should look for anything that seems off, such as broken links or formatting issues.
It’s a good practice to check both desktop and mobile views since designs can look different on various devices.
This step is important because it allows the user to make final adjustments before the site goes live.
Making Your Site Live
Once satisfied with the preview, it’s time to make the website live. To do this, the user needs to click the Publish Website option.
A dropdown menu appears where they can choose whether to include a navigation menu.
Next, they will select a domain. Users can opt for a free domain provided by Canva or connect an existing domain.
After making these choices, clicking Continue will finalize the publishing process.
The website will then be accessible to anyone who visits the chosen URL, showcasing the user’s hard work.