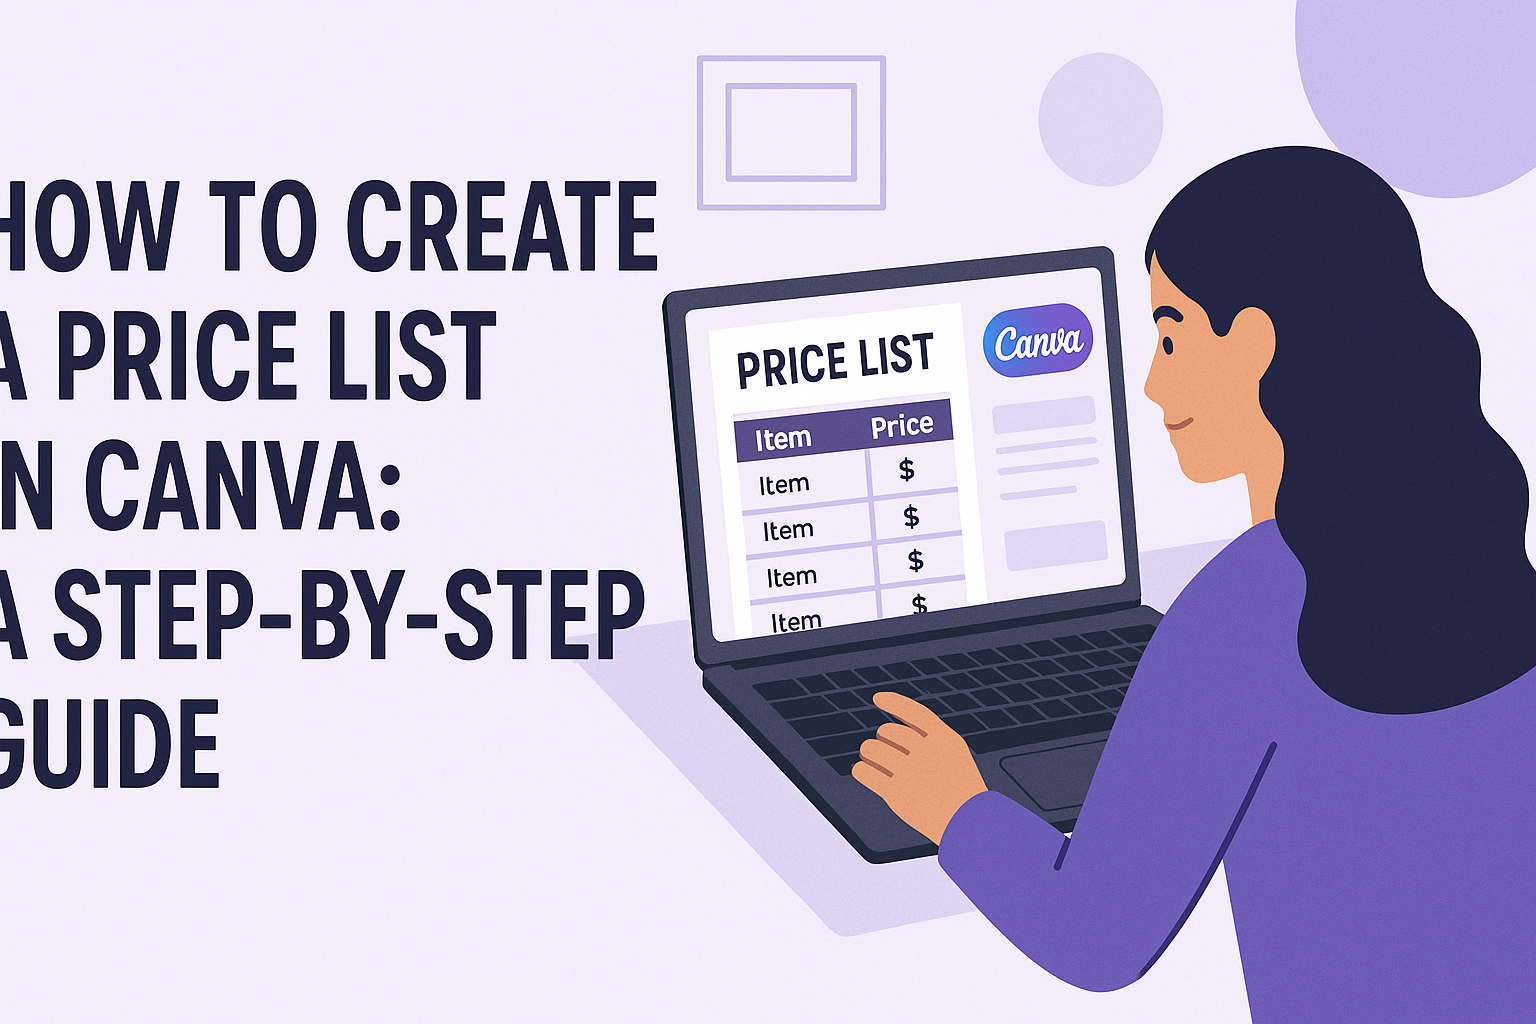
Creating a price list can be essential for any business looking to clearly communicate their offerings. Canva makes it easy to design an attractive and professional price list that can enhance a brand’s image.
With a variety of templates and customization options, anyone can create a price list that fits their needs.
The process is straightforward and user-friendly. By using Canva, individuals can craft lists that are not only informative but also visually appealing.
This article will guide readers step-by-step on how to create their own price list, ensuring they can present their products or services effectively.
Whether one runs a small shop or a larger business, having a well-designed price list can make a big difference. They can engage customers and simplify the purchasing process. Following these tips will help make every price list unique and professional.
Getting Started with Canva
Canva is a user-friendly design tool that makes creating visuals easy.
Before diving into making a price list, it is essential to set up an account and become familiar with the interface.
Creating a Canva Account
To start using Canva, one must create a free account. This process is simple and can be done by visiting the Canva website.
- Click on the “Sign up” button on the homepage.
- Users can register using an email address, Google account, or Facebook account.
Once the account is created, they can choose to start with a free plan or explore paid options for additional features. After signing up, it may be helpful to confirm the email address to activate the account fully.
Navigating the Canva Interface
The Canva interface is designed to be intuitive and accessible for beginners. After logging into their account, users will see the main dashboard, which includes various design options.
On the left side, there are templates categorized by type, such as social media posts or documents.
- Users can search for specific templates using the search bar at the top.
- The center of the screen displays recommended designs, making it easier to start a project.
Additionally, the top menu bar includes options for creating designs, accessing shared projects, and managing account settings.
Exploring these features will help users become comfortable creating their price list.
Designing Your Price List
Creating a price list in Canva is an easy and enjoyable process. It allows for personalization while ensuring that important information is displayed clearly. The key aspects to focus on include choosing the right template, customizing design elements, and adding pricing information effectively.
Choosing the Right Template
When starting, selecting an appropriate template is crucial. Canva offers a variety of free and customizable price list templates. Users should look for a design that matches their brand’s style and purpose.
Consider templates with clear sections for products or services. If they want a sleek look, choosing a minimalist design is best. For a more vibrant aesthetic, pick something colorful and fun. Testing multiple options can help find the perfect fit.
Customizing the Design Elements
After choosing a template, it’s time to customize the design elements. Canva lets users edit colors, fonts, and images easily.
Using bold headings can help important information stand out. Choosing a color scheme that reflects the brand enhances recognition.
For fonts, it’s best to use two complementary styles to maintain readability and visual appeal.
Adding logos or unique images related to the business can personalize the list further. Ensure that images are high quality to enhance the overall look.
Adding Pricing Information
The final step is adding pricing information accurately. It’s important to list items clearly, starting with product names and descriptions.
Users can create a simple table or list to organize information neatly.
Include prices next to each item, using currency symbols for clarity. Adding discounts or special offers in a different color can attract attention. For example, marking down prices in red can signify a sale effectively.
Make sure all information is up to date and reflect the current offerings. Double-check for any typos or errors before finalizing the price list.
Finalizing Your Price List
After designing a price list in Canva, it’s important to review the details and ensure everything looks perfect. This section covers how to review the design and the steps to save and download the final product.
Reviewing Your Design
Reviewing the design is a crucial step to make sure the price list is clear and professional.
First, check for any spelling or grammatical errors. Mistakes can make a price list look unprofessional.
Next, ensure that all prices and descriptions are accurate. It’s helpful to compare the price list against existing information to avoid errors.
Lastly, pay attention to the visual layout. The text should be easy to read, and colors should be balanced and appealing. If needed, adjust font sizes or spacing to enhance readability.
Saving and Downloading Your Price List
Once the design is finalized, it’s time to save and download the price list. Canva offers several formats for saving, including PDF, PNG, and JPEG.
To save, click on the “Download” button at the top right corner. A menu will appear allowing you to select your preferred file type.
Choose PDF for high-quality printouts. After selecting the format, hit the “Download” button.
The file will be saved to your device. Make sure to check the downloaded file to confirm everything appears as expected before sharing or printing.