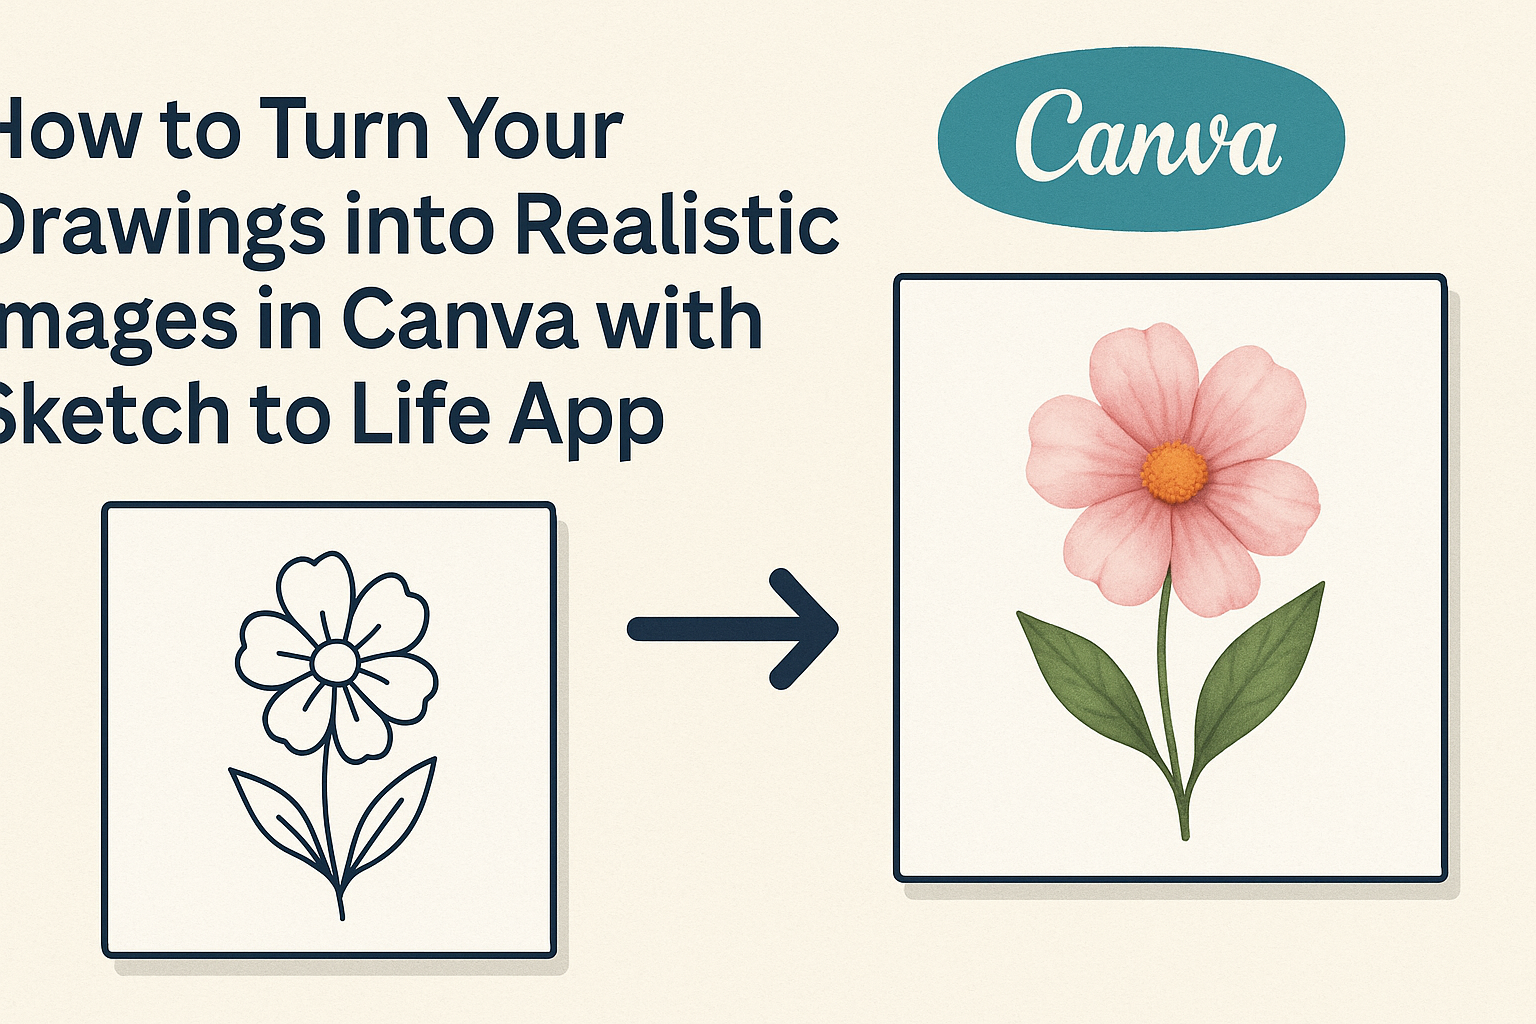
For artists and designers, bringing drawings to life can be an exciting challenge. With the Sketch to Life app in Canva, transforming simple sketches into stunning, realistic images is both easy and fun. This tool harnesses the power of artificial intelligence to enhance artwork, making it accessible for anyone looking to elevate their creative projects.
Using Sketch to Life, users can quickly convert their rough sketches into detailed images. By simply describing the drawing, the app generates a polished photo that captures the essence of the original artwork. This not only saves time but also opens up new possibilities for creativity and design.
Whether you are a seasoned artist or just starting, this app empowers users to experiment with their ideas like never before. The results are not only visually appealing but also allow for greater expression in any project or presentation.
Getting Started with Canva
Canva is a user-friendly platform for creating amazing designs. With the Sketch to Life app, turning drawings into realistic images becomes easy and fun. Here’s how to set up and navigate Canva.
Creating a Canva Account
To begin, visit the Canva website.
Users can sign up for a free account using an email address, Google account, or Facebook. After signing up, a confirmation email may be sent to verify the account.
Once the account is activated, users can log in and explore Canva’s features. The platform allows for collaboration, meaning users can invite friends or team members to join projects. Getting started is straightforward, opening the door to endless creative possibilities.
Overview of Canva Tools
After logging in, users will find a dashboard filled with design tools.
Canva offers templates for various projects, making it simple to start any design. From social media graphics to presentations, users can choose a template that meets their needs.
The toolbar on the left side provides access to features such as text, elements, photos, and backgrounds. Users can easily drag and drop items into their design, customizing fonts and colors to match their style. This versatility is one of Canva’s greatest strengths.
Navigating the Sketch to Life App
To use the Sketch to Life app, it can be found in the “Apps” section on Canva.
Users can simply click on it to start transforming drawings into realistic images. After accessing the app, they can upload their sketches.
The app allows users to describe their sketches with keywords, which helps the AI understand the drawing. This feature enhances creativity, making it easier to achieve the desired look. Once the image is ready, it can be downloaded or shared directly from Canva.
Preparing Your Drawing for Upload
Before uploading a drawing to the Sketch to Life app, it’s crucial to ensure that the image is of high quality. This will help the AI accurately transform the sketch into a realistic image. The following sections will guide you on how to optimize your drawing and properly capture it.
Optimizing Your Drawing Quality
To achieve the best results when uploading a drawing, the quality must be as high as possible. Here are some tips:
- Use Clean Lines: Make sure the lines in the drawing are clear and distinct. This makes it easier for the AI to recognize shapes.
- Enhance Contrast: Darker outlines against a lighter background can improve recognition. Consider using a black pen to go over pencil sketches.
- Avoid Clutter: Keep the background simple to focus on the main elements of the drawing. Less distraction helps the AI focus on what matters.
Taking time to enhance these areas can lead to a more successful transformation from sketch to image.
Scanning or Photographing Your Sketch
How you capture the drawing is essential for quality. Here are some effective methods:
- Use a Scanner: Scanning ensures high resolution and clarity. Set the scanner to at least 300 DPI for the best result.
- Photograph Properly: If using a camera, ensure good lighting and avoid shadows. Place the drawing on a flat surface and take the photo directly above.
- Check Alignment: Make sure the sketch is straight in the frame. A tilted image can distort the AI’s understanding of the drawing.
Following these steps helps maintain the integrity of the drawing, leading to better results when using the Sketch to Life app.
Transforming Sketches into Realistic Images
Transforming drawings into realistic images is a fun and creative process. With the right tools, anyone can bring their art to life. The Sketch to Life app in Canva offers exciting features that make this transformation simple and effective.
Using Sketch to Life Features
The Sketch to Life app allows users to convert their sketches into images rapidly.
First, a person can upload their hand-drawn design directly into the app. Once uploaded, the app uses AI technology to interpret the drawing and generate a digital version.
To enhance the process, users can describe their sketches with a few words. This helps specify details, such as colors and styles. After these adjustments, they can click the “Generate” button, and in seconds, their sketch is transformed into a sharp image that looks professional.
Adjusting Image Realism Settings
Canva provides options to adjust the realism of the generated images.
Users can choose settings like aspect ratio to ensure the image fits their needs, whether for social media or print.
After generating the image, a person can fine-tune features, such as brightness, contrast, and saturation. These adjustments help achieve the desired look. The app allows for easy adjustments, making it a great tool for both beginners and experienced artists. By experimenting with these settings, users can create stunning visuals that accurately represent their original sketches.
Finalizing and Sharing Your Creation
Once your image is ready, it’s time to add the finishing touches and share your masterpiece with others. This process is straightforward and allows for personalization before showcasing the work.
Adding Finishing Touches
After converting the sketch, it’s important to refine the image.
Users can adjust colors, brightness, and contrast to enhance the final look.
Canva’s editing tools offer options like filters and cropping, making it easy to get the right feel.
She can also add text or other graphics to complement the image.
Using layering techniques can add depth and interest to her creation.
Lastly, reviewing the final design ensures that everything looks just right before sharing.
Exporting and Sharing Options
Once the image is complete, the next step is sharing it. Canva provides several exporting options, including JPEG, PNG, and PDF formats.
This flexibility allows users to choose the best format depending on their needs.
Sharing directly to social media is also available, making it simple to showcase the creation.
He can copy a link to the image for easy sharing via email or messaging apps.
Whether she is printing, posting, or using it in a presentation, the options cater to any project.