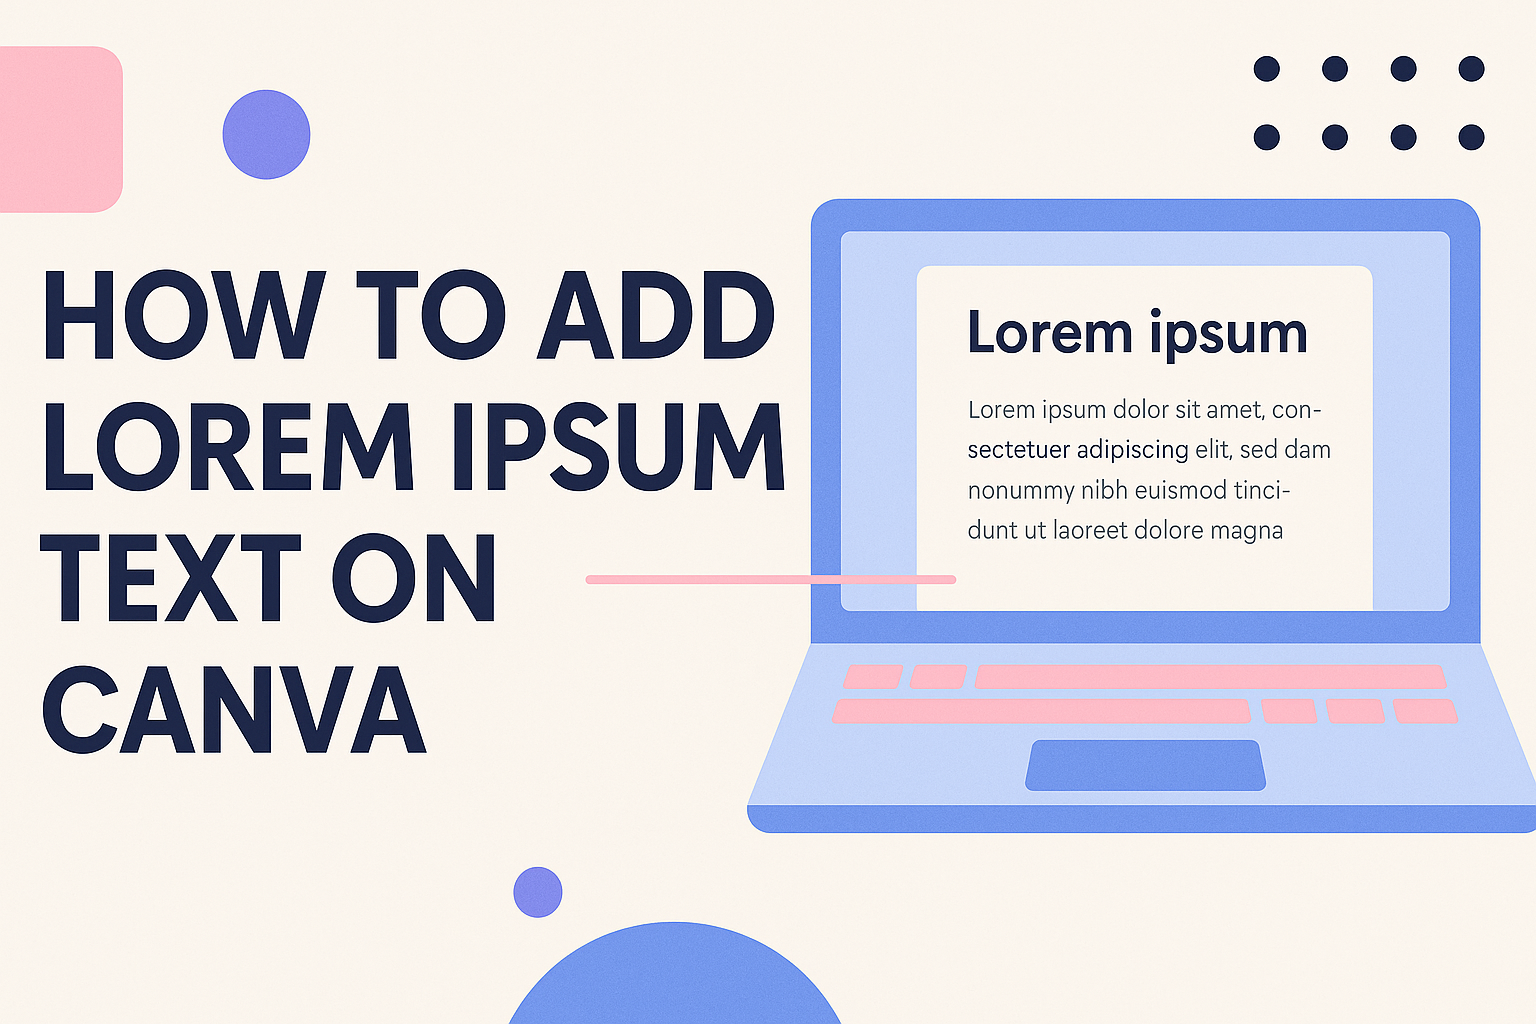
Canva is a popular tool for designing graphics, and users often need placeholder text to visualize their projects.
To add Lorem Ipsum text in Canva, just open the text tool, click where you want the text, and type “lorem” followed by the number of words you need, like “lorem 50.” This feature saves time and helps designers focus on layout without the distraction of creating original content.
Using Lorem Ipsum allows anyone to fill space effectively while keeping the design clean. It gives an impression of how the final piece will look once the actual text is added.
This is especially useful for beginners and professionals alike who want a quick way to manage text in their designs.
Whether creating a presentation, social media post, or any other type of graphic, knowing how to insert placeholder text can enhance the workflow. This guide will explain the steps in detail, making the process simple and enjoyable for all Canva users.
Understanding Placeholder Text
Placeholder text is a type of text that designers use to fill a space in a design. It shows how content will look without using real words.
A common example of placeholder text is Lorem Ipsum. This text is often used in the design field for mockups. It helps to keep the focus on the design rather than the actual content.
Here are a few reasons why placeholder text is useful:
- Visual Balance: It helps create a balanced look in layouts.
- Focus on Design: Designers can see how their layout works before adding actual content.
- Content Testing: It allows for testing different font sizes and styles without the need for real text.
Using placeholder text like Lorem Ipsum can make it easier to plan a design. By inserting just a few words, designers can quickly fill in text areas in programs like Canva. They can also specify the amount of text needed with a simple command.
For example, in Canva, users can type “lorem 50” to generate 50 words of Lorem Ipsum text. This feature speeds up the design process.
Getting Started with Canva
Canva is a user-friendly design tool that helps anyone create stunning graphics, including adding placeholder text. To begin using Canva, one must first sign up for an account and familiarize themselves with the dashboard.
Signing Up for an Account
To access Canva, the first step is signing up for an account. This process is straightforward and only takes a few minutes.
- Visit the Canva website: Go to canva.com to start.
- Choose a sign-up method: Users can sign up using their email, Google account, or Facebook profile.
- Fill in the required details: If using email, enter a valid email address and set a strong password.
- Confirmation: After submitting, a confirmation email may arrive. Clicking the link will verify the account.
Once this step is complete, users can log in and start creating designs.
Overview of Canva Dashboard
Upon logging in, users will be greeted by the Canva dashboard. This is the central hub for all design activities.
- Templates: The dashboard features a large selection of templates for various projects, including social media posts, presentations, and more.
- Projects: Users can find their previous designs here, making it easy to edit or reuse them.
- Design Tools: The left side contains tools for adding text, images, and elements like shapes and icons.
- Search Bar: At the top, a search function quickly helps find templates or elements.
Getting to know the dashboard will make designing with Canva much smoother.
Adding Lorem Ipsum Text in Canva
Adding Lorem Ipsum text in Canva is easy and can enhance any design project. Users can create placeholder text to visualize layouts without focusing on the content.
Selecting the Text Tool
To start, the user needs to select the text tool in Canva. This can be done by clicking on the Text option on the left-side panel.
They can then choose from different styles, such as Heading, Subheading, or Body Text. After selecting a style, a text box appears on the canvas. Here, the user can type directly, but they can also replace the default text with Lorem Ipsum later.
It’s helpful to move and resize the text box to fit the design. The text tool is essential for creating eye-catching visuals with professional-looking placeholder text.
Using Pre-Designed Text Placeholders
Canva offers pre-designed text placeholders that can simplify the design process. Users can find these options by navigating to the Elements tab and searching for “text placeholders.”
Once they find a suitable design, they can drag it onto the canvas. These placeholders already have the right formatting and placement that can save time.
After placing the design, they can easily double-click to edit the text. Replacing the sample text with Lorem Ipsum ensures they maintain the layout while focusing on design.
Customizing Lorem Ipsum Text
Customization is key when using Lorem Ipsum text in a design. Users can change the font size, color, and alignment to match their overall theme.
To do this, the user clicks on the text box to reveal the formatting options in the toolbar. From here, they can select different font styles, adjust the size, and pick colors that complement the layout.
It’s a good idea to play around with these options until the visual appeal meets expectations. This flexibility allows the user to create unique designs tailored to their specific needs.
Manipulating Text Elements
This section provides useful techniques for adjusting text features in Canva. By mastering these techniques, a user can enhance the visual appeal of their designs.
Adjusting Text Size and Font
To change text size in Canva, locate the text box. A toolbar will appear where the user can find a size dropdown. Click on it and select the desired text size from the options available.
Choosing the right font is just as important. The user can alter the font by clicking the font drop-down menu in the same toolbar. Canva offers a variety of fonts to match different styles and purposes.
It’s helpful to keep the font consistent throughout the design. This ensures clarity and a professional look. Less is often more when selecting fonts to avoid clutter.
Changing Text Color and Opacity
Changing the color of text in Canva adds personality to the design.
To change the color, select the text box and look for the color icon in the toolbar. Clicking on this icon opens a color palette. Users can choose from preset colors or customize their own.
Adjusting opacity can also enhance text visibility. After selecting the color, a slider will appear to adjust opacity. Lowering the opacity can create a softer look or allow background images to show through.
It’s best to ensure the text remains readable against background colors or images. A good practice is to use contrasting colors for text and backgrounds.
Layering Text Over Images
Layering text over images creates dynamic visuals.
First, upload the desired image to the design space. Next, add the text box and type in the required content.
To ensure the text stands out, users may want to apply effects like shadow or lift. These effects can provide depth and separate the text from the background.
Positioning is also crucial. Users can drag the text box to the most readable area of the image. Experimenting with different placements can lead to a more engaging layout. Adjusting the size and color of the text can further enhance its visibility, making the overall design more effective.
Advanced Placeholder Text Techniques
In designing with Canva, using placeholder text effectively can enhance the layout and visual appeal of a project. Here are some advanced techniques to optimize text placement, wrapping, and effects.
Using Grids for Text Placement
Grids are essential tools for aligning elements within a design. They help in achieving balanced layouts and keeping everything organized.
To start, create a grid by selecting the “Elements” option and then choosing “Grids.”
When the grid is ready, he can drag the Lorem Ipsum text boxes into the grid spaces. This method allows for precise control over text placement and spacing. It is beneficial for maintaining uniform appearance across various sections.
By adjusting the grid size, it becomes easy to tailor the design to fit a specific theme. This technique is particularly useful when dealing with multiple text blocks in a single design.
Implementing Text Wrapping
Text wrapping is another effective technique to create seamless connections between text and images. It allows the Lorem Ipsum text to flow around images or other elements, enhancing readability and engagement.
To enable text wrapping, select the text box and then position images nearby. Canva’s interface automatically adjusts the text flow around the images. This feature is great for making creative layouts.
To optimize this effect, consider using images with interesting shapes. They can add visual intrigue and break the monotony of standard rectangular layouts. Proper text wrapping makes designs look professional and polished.
Adding Text Effects
Adding text effects can greatly enhance the visual impact of placeholder text. Canva offers various options, including shadows, outlines, and color changes. These effects can help the text stand out against the background.
To apply effects, select the text box and click on “Effects” in the toolbar. A variety of styles will appear. He can experiment with different effects to see which one complements the design best.
Applying effects subtly is key. Overdoing them can distract from the overall message of the design. Keeping a clean, modern look will make the design more effective.
Saving and Exporting Your Design
After designing in Canva, it’s important to know how to save and export your work effectively. This section provides clear steps for previewing designs, exporting in various file types, and sharing options.
Previewing Your Work
Before saving a design, it’s helpful to preview it. This step allows the designer to check for any mistakes or adjustments needed.
To preview, click on the “Preview” button located in the top right corner.
This opens a full-screen view of the design. The designer can scroll through the pages and see how everything looks. If changes are needed, they can easily return to editing. It’s always good practice to preview the design multiple times to ensure everything aligns correctly.
Exporting as Different File Types
After a design is finalized, it’s time to export it. Canva allows users to export projects in various file formats. Common options include PNG, JPEG, PDF, and SVG.
To export, click on the “Download” button in the top right corner. Then, select the desired file type from the options. Each format has its uses. For example, PDF is ideal for print, while PNG is often preferred for digital use. Consider the purpose of the design when choosing the file format.
Downloading and Sharing Options
Once the design is exported, it can be downloaded or shared directly.
For downloading, after choosing the file type, users can simply click the “Download” button. The file will then save to their device.
For sharing, Canva provides a convenient option. Users can click on the “Share” button to send a link to others. This link allows collaborators to view or edit the design. It’s a great way to collaborate without sending files back and forth.
Design Tips for Effective Placeholder Text
Using placeholder text like Lorem Ipsum can help in design. Here are some helpful tips:
1. Choose the Right Size
The text size should fit the design. If it’s too small, it will be hard to read. If it’s too big, it may distract from the overall look.
2. Use Proper Alignment
Aligning the text correctly keeps the design neat. Left alignment works for most text. Center alignment can be useful for headings or emphasis.
3. Maintain Contrast
Make sure the text stands out against the background. A dark font on a light background or vice versa is usually best. This creates a clear visual for viewers.
4. Limit the Text Amount
Avoid using too much placeholder text. A few lines are often enough. This keeps the focus on design, not just the words.
5. Reflect the Actual Content
Try to use placeholder text that reflects the type of content expected. If it’s for a web page, use short paragraphs. For reports, more structured text works better.
6. Test Different Styles
Experiment with different font styles. Some designs look better with sans-serif fonts, while others may benefit from serif fonts.