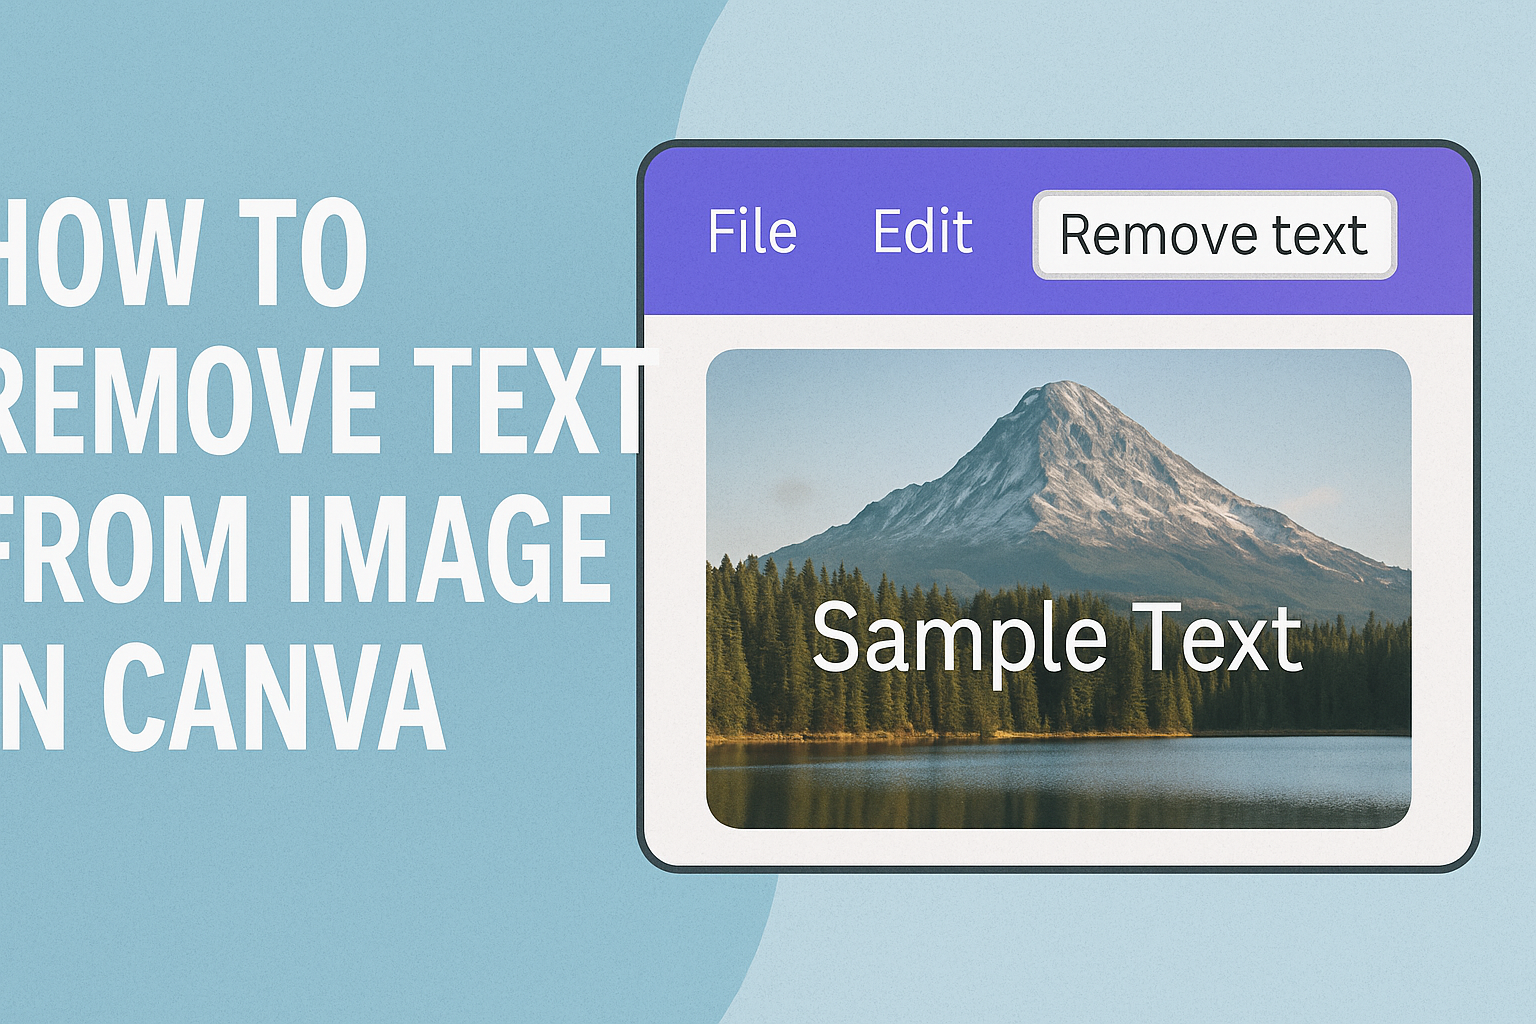
Removing text from an image can seem tricky, but Canva makes it simple and accessible to everyone.
With Canva’s Magic Eraser, users can easily erase text from photos in just a few clicks. This tool allows you to paint over the text you want to remove and watch it disappear, leaving behind a clean image.
This process is especially helpful for people who want to personalize their photos without any clutter.
Whether you are working on a design project or updating your social media images, having the ability to cleanly remove text can be a game changer.
Knowing how to use these features can open up new possibilities in design projects.
In addition to the Magic Eraser, Canva offers other tools to edit images efficiently.
For those who prefer a more hands-on approach, Canva’s tutorials provide step-by-step guidance.
Tutorials such as How to Remove Text from an Image in Canva offer users easy and quick instructions.
Understanding Canva’s Image Editing Tools
Canva provides a variety of tools that make editing images easy and fun. These tools help users to add or remove text, adjust colors, and apply filters to enhance images.
Overview of Canva’s Editor
Canva’s editor is intuitive and user-friendly. When users open an image, they are greeted with a vibrant workspace filled with options.
The left-hand side hosts a toolbar offering various design elements like photos, text, and shapes. Users can easily drag and drop these elements onto their canvas.
Above the workspace, there’s a menu with options for resizing, cropping, and adjusting colors. These tools offer precision when editing.
Using layers, users can stack elements, making it simple to create complex designs.
Canva also includes templates to help beginners get started quickly.
Text Tool Basics
The text tool in Canva allows users to add and customize text on their images effortlessly.
Text can be chosen from various fonts, ranging from fun and playful to professional styles. Users can adjust size, color, and alignment to fit their design needs.
Beyond basic fonts and colors, users can explore effects like shadow, glow, or even curve the text around a graphic element.
When selecting a text box, options to duplicate, delete, or arrange its position become accessible.
Using the Magic Eraser tool, users can even remove parts of existing text, offering flexibility in editing. This feature makes it easy to customize designs without starting from scratch.
Preparing Your Image for Text Removal
Before removing text from an image in Canva, you should choose an appropriate image and ensure a backup is available. These steps help maintain the quality of your work and prevent loss of your original content.
Selecting the Right Image
Choosing the best image is crucial for a successful text removal process.
It’s important to select a high-resolution image. High-quality images allow for smoother editing and better final appearance.
Consider the position of the text within the image. Texts near the edges or on plain backgrounds are generally easier to remove. A complex background with intricate patterns might require more effort for a seamless result.
Analyze how the removal might affect the overall design of the image. Think about the elements you want to preserve. By choosing wisely, you’ll achieve a more polished result with minimal effort.
Backup Your Original Image
Keeping a backup of your original image is essential. This ensures you can restore the original file if you make a mistake during editing or want to start over without losing the initial version.
Use cloud storage services to maintain accessible backups. Services like Google Drive or Dropbox keep your images safe and easy to access from any device.
Ensuring the safety of your original files allows for peace of mind as you experiment with text removal techniques.
Alternatively, save a copy of your image directly on your computer before making any edits. Regular backups help prevent accidental loss and ensure you have the original quality image at all times.
Techniques for Removing Text
To remove text from an image in Canva, different methods can be used. These techniques include using the eraser tool, cropping out the unwanted text, and painting over the text. Each technique offers its unique advantages and can be chosen based on the specific needs of the project.
Using the Eraser Tool
The Magic Eraser tool in Canva is a handy feature that helps in removing text efficiently.
By selecting this tool, users can target the unwanted text area easily. They simply brush over the text, and the tool erases it seamlessly, making it appear as if it was never there.
It’s important to adjust the brush size according to the text’s thickness to achieve a clean result.
This tool is especially useful for images with solid backgrounds, as it preserves the surrounding details.
Users should practice on a copy of the image first to get the hang of the eraser’s effects. This way, accidental erasures can be avoided, keeping the integrity of the image intact.
Cropping Out Text
Cropping can be a straightforward solution for removing text that is located on the edges of an image.
Users can drag the image corners to cut out portions containing unwanted text. It’s a simple and quick method that doesn’t require any tools or brushes.
This technique works best when the text doesn’t interfere with critical parts of the image.
For example, if the text is at the bottom of a scenic photo, cropping can help focus on the desired subject. Care should be taken to ensure that the remaining composition is still visually appealing and balanced.
It’s ideal for images where the text is in a non-essential area, making it easy to maintain the essence of the original image.
Painting Over Text
For images where text sits in a complicated area, painting over the text might be the best solution.
This involves using Canva’s design features to cover up the text with a matching color.
Users select a brush tool and choose a color that closely matches the background.
If the background has a gradient or pattern, it’s crucial to carefully blend the paint to make it look natural. Users may need to adjust the opacity and size of the brush for better blending.
This method requires attention to detail but is effective for making the text disappear without cropping or altering the image’s overall layout. If done well, the paint blends in, leaving no traces of the text behind.
Leveraging Canva’s Effects and Filters
Canva offers a variety of powerful tools, including effects and filters, that can help users refine their images even after removing text. This allows for creating a cohesive look and ensuring any adjustments blend seamlessly.
Blur Effects
Blur effects in Canva are great for softening images or adding a misty touch. They can be used to obscure parts of an image where text once was.
The blur tool can create a smooth transition between the erased area and the rest of the image, enhancing the overall appearance.
To use blur effects, select the image, click on “Effects,” and choose the “Blur” option. Adjust the slider to control the intensity.
For subtle adjustments, a lower intensity works well, while a higher intensity can emphasize focus on other image parts.
Effective use of blur can make the edited areas less noticeable, helping integrate them naturally into the design. This is particularly useful when trying to maintain a professional and polished look.
Cloning and Smudging
Cloning and smudging are advanced techniques that can significantly transform an image. Canva doesn’t have these tools explicitly, but users can adopt similar methods using what’s available.
The “Magic Resize” tool in Canva can assist by allowing users to clone areas indirectly through resizing and layering.
For smudging, replicate the effect by layering parts of the image creatively. Use overlapping layers to blend colors and patterns.
These techniques require a bit of creativity and practice. Cloning helps in replicating textures, while smudging can create smooth transitions, making the image edit look seamless and intentional.
Replacing Removed Text Areas
After removing text from an image in Canva, the next important step is to make sure the image looks complete. This includes matching the colors and adding suitable elements where the text used to be.
Color Matching
When text is removed, sometimes the area left behind does not blend well with the rest of the image. To fix this, it’s important to match colors carefully.
Canva offers a color picker tool which helps in selecting colors that already exist in the image.
Using the color picker, you can select a color from the image and apply it to the blank area. This ensures the section matches surrounding tones.
This tool is simple and helps maintain harmony in your design.
Adjusting brightness and contrast can further help to blend the new area. Pay attention to shadows and highlights to make it look more natural.
It’s good to do these adjustments in small steps, so the changes don’t become too noticeable.
Adding New Background Elements
Sometimes, matching colors isn’t enough. Adding new elements can cover the area where text used to be.
Canva offers various shapes, patterns, and lines that can be placed over the blank spot.
Choose elements that complement the existing design. For example, if the image has an outdoor theme, adding subtle floral designs or leaves works well. This not only covers gaps but adds creativity and style.
Creating a balance is key. Make sure that any new elements do not overpower the image. They should enhance the overall look, not distract from the main subject. Use layers to position these elements behind other parts of the image if necessary.
Advanced Tips for Clean Edits
Achieving a polished look when removing text from an image in Canva takes a bit of finesse. Here are some techniques to enhance your edits.
Zoom In for Precision:
Zooming into the image allows for detailed adjustments. This can help when using tools like the Magic Eraser, ensuring that only the unwanted text is removed without affecting surrounding areas.
Adjust Brush Size:
Depending on the text size, adjusting the brush size in the Magic Eraser tool can make a significant difference.
A smaller brush provides more control for tight spots, while a larger brush can efficiently handle larger areas.
Leverage Layers:
Using layers in your design can make editing simpler. By placing elements on different layers, adjustments and corrections can be done without interfering with the entire composition.
Use Canva’s Tools Effectively:
- Magic Eraser: This can quickly remove text with precision but may require multiple passes for complex backgrounds.
- Clone Tool: Useful for filling in areas with similar patterns from other parts of the image.
Double-Check Your Work:
After making edits, he or she should review the image to ensure no traces of the original text remain. Sometimes a fresh set of eyes can catch missed spots.
Exporting Your Edited Image
After editing your image in Canva, exporting it properly ensures it looks great anywhere you use it. Consider both the file format and download settings to get the best results.
Choosing the Right File Format
Selecting the best file format for your image depends on its intended use.
JPEG is great for standard web use with its small size and acceptable quality. It works well for photos and detailed images.
PNG, on the other hand, is the way to go if you need a transparent background or higher quality images. It retains more detail and supports transparency, making it ideal for logos and designs with text.
PDF, useful for documents or print materials, maintains the layout and quality of images and text.
GIF can be chosen for simple animations or graphics with a limited color range.
Choosing the right format ensures your image displays correctly, whether online or printed. Adjusting format based on the use case optimizes the balance between file size and quality, enhancing its effectiveness in various mediums.
Download Settings
When it’s time to download the edited image, correct settings make all the difference.
Canva offers options like image size and quality.
Increasing the size (measured in pixels) sharpens the image but increases file size. This is crucial for printed materials where clarity is key.
Web images typically don’t need a high resolution.
Choosing “All Pages” or specific pages is important in multi-page designs.
This setting decides if you’re downloading a single image or an entire presentation.
Consider using the “Crop” feature if you need a specific part of your design.
Selecting “Transparent Background” is available when using PNG format, which is handy for web elements on various backgrounds.
These settings help tailor your image to meet the specific needs of your project.